Rebuilding a Doseur / brake compensator valve
Posted: 28 Feb 2015
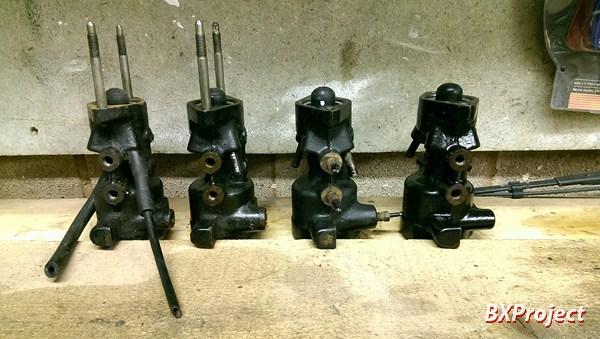
I've finally got around to overhauling a doseur valve for the BX having had the last remaining seals from Citroen around 6 months ago. The donor came from a non running car so I've no idea if it works or not, but it looks in reasonable condition;
The procedure its self was quite straight forward and I simply followed the appropriate section of the Citroen Work Shop manual, which offered some good tips on how to do some of the trickier operations. The relevant section can be found here;
http://www.bxproject.co.uk/phpbb3/downl ... .php?id=41
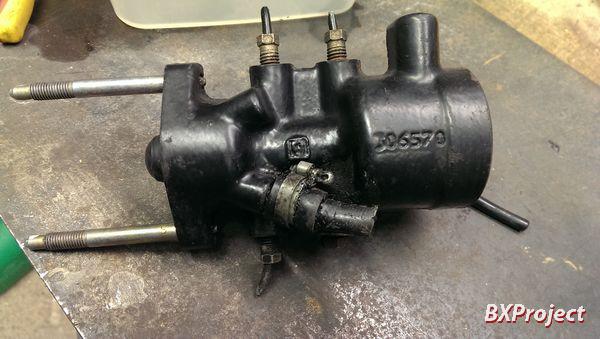
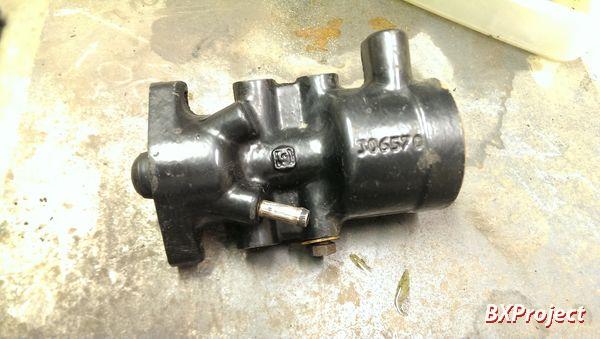
Firstly the body was cleaned up as much as possible before removing the old pipe unions;
Then the doseur was disassembled in accordance with the manual. The only bits was a little stumped on is that it refers to a 'bearing race' that has to be taken out carefully. Actually this is inside what the manual describes a 'shuttle' and neither removable or serviceable! It also took me a little while to be able to see the teflon ring that has to be removed to get to the rear ward seal. The picture below shows the shuttle removed from the centre, and the groove where the teflon and rearward seals should be.
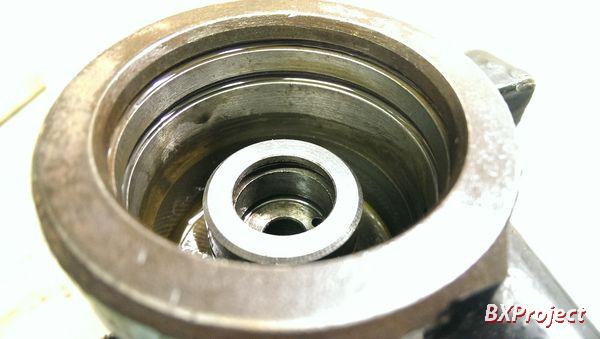
The Teflon seal is part number 95 495 759 and the rearward seal is 7903065984. I didn't replace the seal in the end car as these are no longer replaceable. The manual actually suggests that this part only needs a clean, and as it came out freely I'm confident it will be fine.
And that's it, as BX hydraulic refurbs go, its very simple. Its worth noting that the valves and the body are a matching pair, so once they've worn each other out, they can't be repaired. If you've got a really bad return leak (and sinking back end) then changing the the seals might help shift dirt if its blocking the valve, but in all likely hood wont make any difference.
I guess I'll know if its a working valve when i fit it next week!
More pictures HERE (including the parts number list and diagram)
Write up on the XM forum
Write up on the wonderful Citroen BX DIY pages
Original topic on BX Project
The procedure its self was quite straight forward and I simply followed the appropriate section of the Citroen Work Shop manual, which offered some good tips on how to do some of the trickier operations. The relevant section can be found here;
http://www.bxproject.co.uk/phpbb3/downl ... .php?id=41
Firstly the body was cleaned up as much as possible before removing the old pipe unions;
Then the doseur was disassembled in accordance with the manual. The only bits was a little stumped on is that it refers to a 'bearing race' that has to be taken out carefully. Actually this is inside what the manual describes a 'shuttle' and neither removable or serviceable! It also took me a little while to be able to see the teflon ring that has to be removed to get to the rear ward seal. The picture below shows the shuttle removed from the centre, and the groove where the teflon and rearward seals should be.
The Teflon seal is part number 95 495 759 and the rearward seal is 7903065984. I didn't replace the seal in the end car as these are no longer replaceable. The manual actually suggests that this part only needs a clean, and as it came out freely I'm confident it will be fine.
And that's it, as BX hydraulic refurbs go, its very simple. Its worth noting that the valves and the body are a matching pair, so once they've worn each other out, they can't be repaired. If you've got a really bad return leak (and sinking back end) then changing the the seals might help shift dirt if its blocking the valve, but in all likely hood wont make any difference.
I guess I'll know if its a working valve when i fit it next week!
More pictures HERE (including the parts number list and diagram)
Write up on the XM forum
Write up on the wonderful Citroen BX DIY pages
Original topic on BX Project