
I’ve taken a short break from the XPO restoration due to other commitments, but I did finally tackle some issues on the daily BX. Beyond rattles and broken trim, I’ve had some really bad audio quality from the front speakers. I figured it might be time to upgrade the 30-year-old front door speakers with something a little more up-to-date.
Choosing new speakers
The biggest problem I was having with the sound system was a lack of sound from the driver’s front door speaker. None whatsoever. I figured that after 30 years of music, probably at a high volume, they had finally given up the ghost. Not since the ’90s have I been up to date with what’s good and bad In-Car Entertainment market. Rather than try to get myself up to date, I decided to find speakers that complemented the head unit.
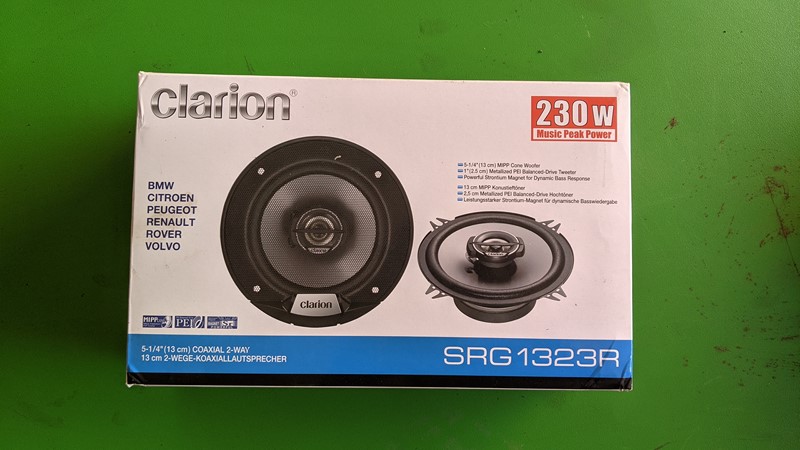
Some time back I swapped out my much loved Panasonic head unit for a Clarion FB275BT, simply so that I could stream music directly from my phone. So I looked on eBay for something from the same era and range and came upon these Clarion SRG1323R with a ‘Best Offer’ option. One cheeky offer later and these new old stock coaxial speakers turned up for just £45.
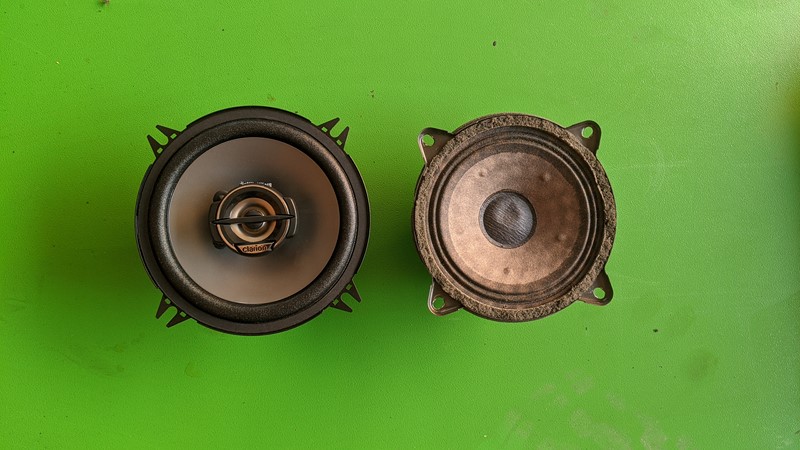
The new speakers are 13cm and visually much bigger than the old 10cm Philips speaker. They’re also much more powerful at 35w compared to the 15w of the originals. But are they too much bigger, will they even fit?
Will Clarion co-axial speakers fit in a BX door?
Being co-axial, the new Clarion speakers have an additional tweeter cone sat in front of the main cone, and here lies something of a problem. It sticks out further than the normal mounting locations, which could cause something of a problem.
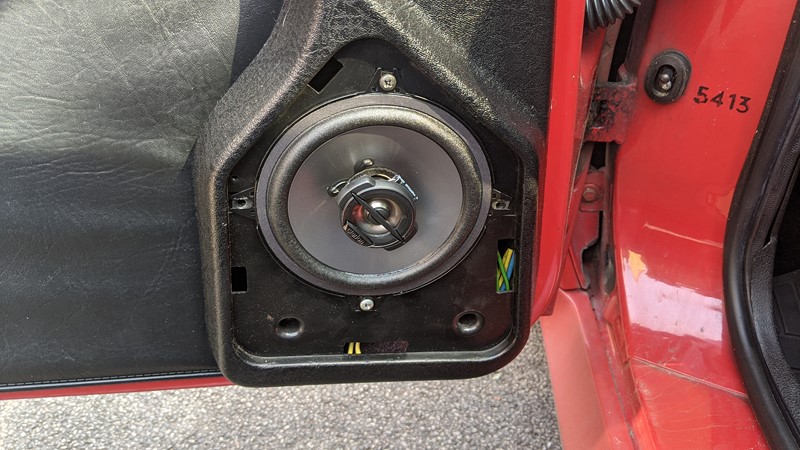
In the standard mounting position, shown above, the additional cone sits really far forward. Considerably more than the manual which came with the upgrade speaker set suggests. And because the Citroen BX has flush mounting speaker trims, there is a bit of a clash condition.
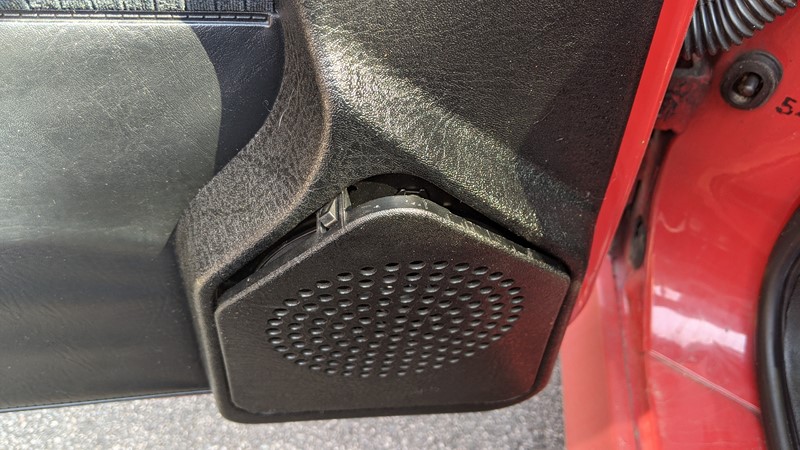
Simply put, in the ‘normal’ mounting location, the co-axial speaker won’t fit and allow the speaker grill to be installed. Oh, stuff! Fortunately, unlike modern cars, the speaker does not sit in a protected door box, so there is plenty of room behind for the speaker’s magnet to sit in. It’s also not especially difficult to take the door card off.
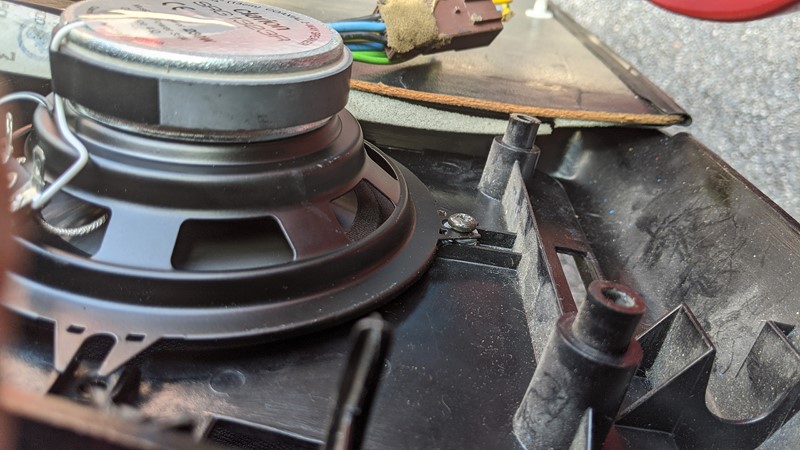
So the solution is to take the doo card off, and mount the speaker from behind. The existing mounting holes are between two supporting vanes on the back side, which raise the speaker just the right amount for the grill to be installed. In the picture above, the first screw is in place with some washers underneath to space the co-axial speaker back into the door.
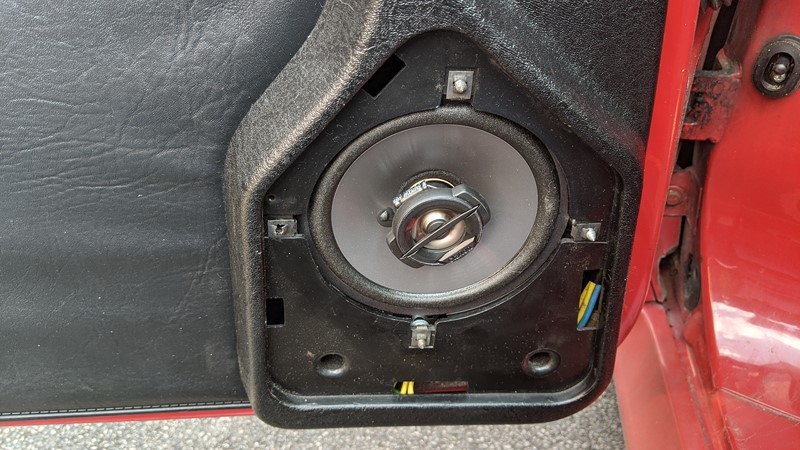
And that’s all that was needed. The first co-axial speaker installed is soon installed on the passenger side. I just have to make sure to orientate the ‘Clarion’ badge the same way on the drivers side.
The source of the sound problems
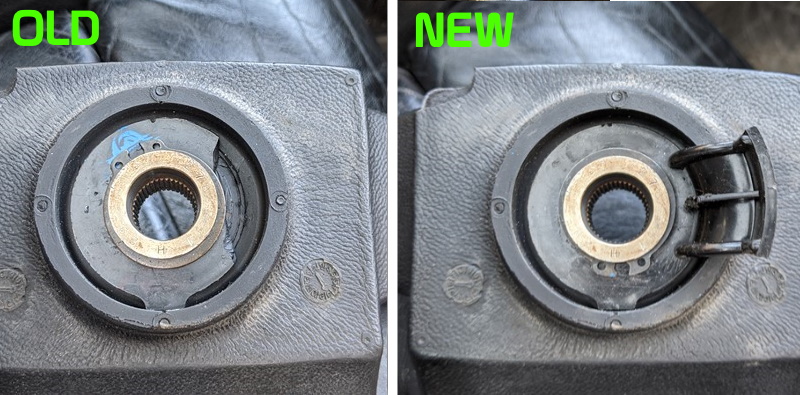
Pleased as punch with the installation on the passenger side, it was time to tackle the driver side. I was expecting to see the torn and saggy remains of the 30 year old speaker, but what I actually saw surprised me!

The root cause of the speaker problem, no connection. In-fact more than that, no connectors at all! When the door hinge was replaced, I had to remove the connectors to pull the cables out of the door. Evidently I forgot to reconnect them afterward. At least I now my hearing hasn’t failed!
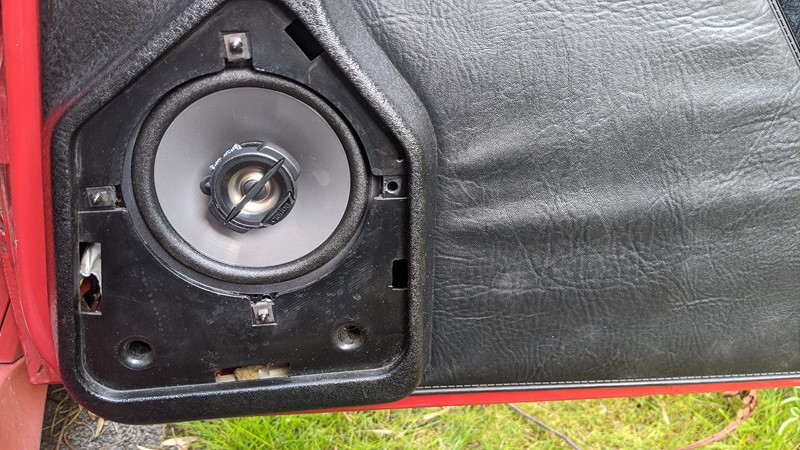
The driver side speaker was installed in the same way as the passenger door, with washers to space off from the door card. One of the screw holes is obscured from the back side by the leather effect trim, so I’ve opted to use just three fixings. I guess I’ll soon find out is that is a mistake!
While I’ve got the door trims off, I’ve taken some time for a bit of a tidy up. Re-glued the unseen edge of the trim material that was starting to peel. Removed some of the dirt from the bottom of the door. And applied some spray grease to the lock mechanism. Finally some of the wiring has had its routing corrected, so no more rattles there.
Running repairs and rattle hunting
Years of pulling the car apart and putting it back together have created no end of rattles and creaks in the interior trim. I’ve been slowly correcting my sloppy work as and when time allows, but there are a couple of issues that are becoming more annoying.
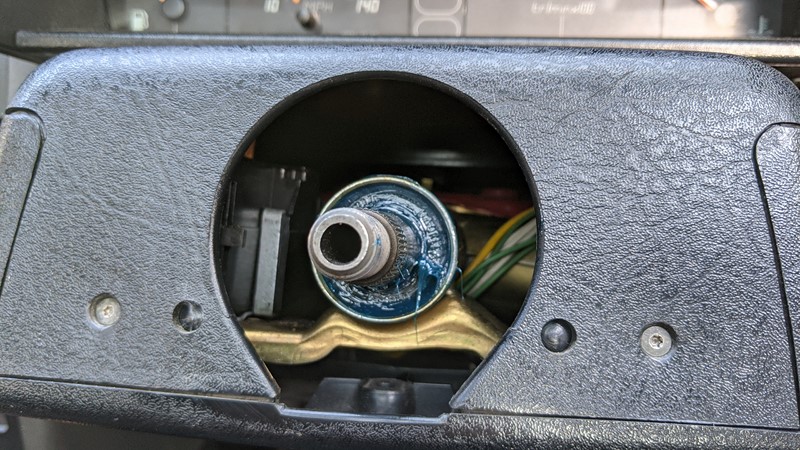
First up is the steering column shroud.
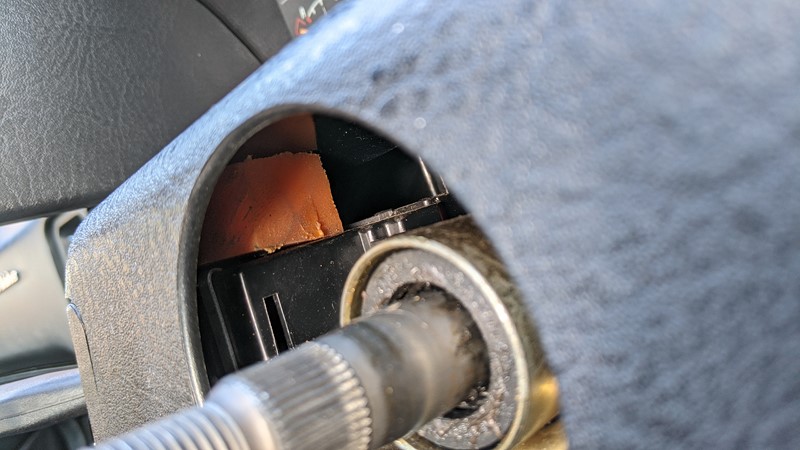
Above each steering column stalk, should be a piece of soft rubber that the upper part of the steering column shroud sits on to hold it firmly in place. This is present on the right side but has been missing on the left side for a long time. Without it, the upper shroud rattles against the instrument cluster and drives me nuts.
The solution was a “precision” cut piece of soft poly urethans material, the piece of orange in the picture above. I precision put, I shop pieces off the material off a big sheet with an angle grinder. I did take some measurements though!
It’s a minor issue, but I’ve noticed the steering wheel/column is a little grindy on rotation. The top bearing was looking rather dry, to it gets repacked with some high speed, high-temperature wheel bearing grease. I’m not sure if I’ll regret this later, but it’s definitely smoother now.
And finally, after probably 10 years of not having one, I finally replaced the indicator self cancelling lever on the back of the steering wheel. It broke after a tried to put the steering wheel back on not noticing the direction indicator was engaged, blocking the cancelling lever. It’s a long time not having self cancelling indicators, I’ve grown quite fond of them, so this could be quite a big change.
When are more speakers too many?
The improvement in sound quality in the car was instant. Well I suppose thats not a surprise now the speakers where plugged in. But with a Clarion head unit and Clarion front speakers, it made sense to install Clarion speakers in the rear parcel shelf right?
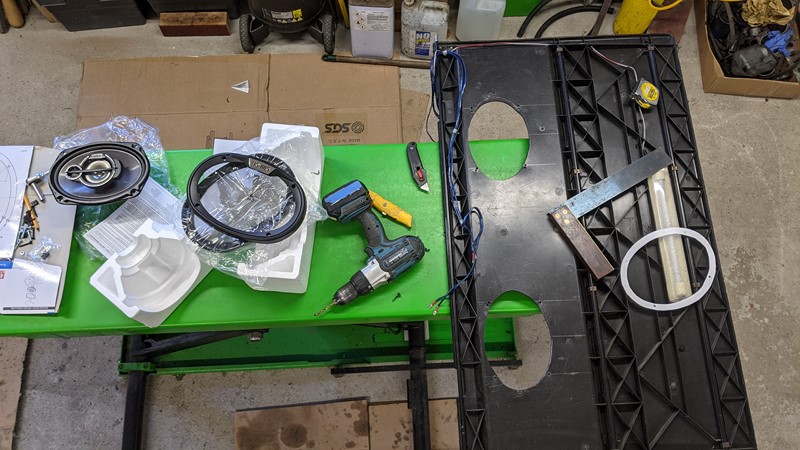
Another eBay new old stock bargain later and I had a matching set of Clarion SRG6933R 6×9″ speakers for the parcel shelf. I assume my younger self cut out the speaker holes with a hammer and lightly sharpened spoon. What a mess. Some time with a template, Sharpie, and die grinder later and the speakers drop straight in.
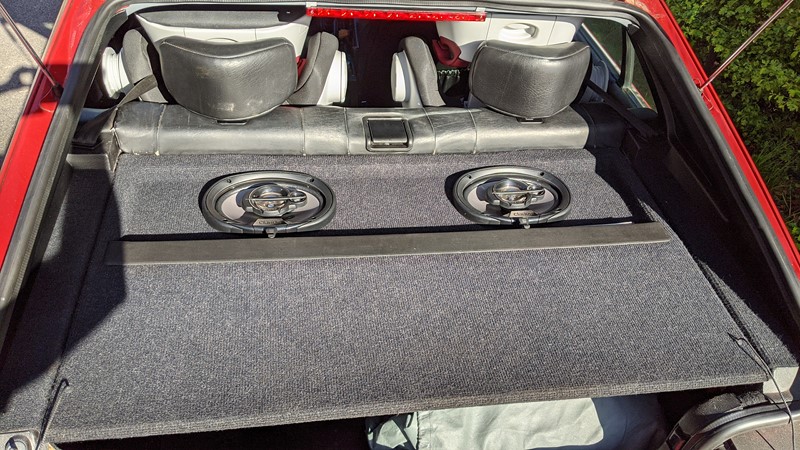
Much better. The sound quality isn’t much different compared to the JBLs that were in place. But my OCD side has been appeased with matching speakers all around. Improved sound and matching speakers all around. What more could I ask for.
Just one more thing, the amplifier.
When I bought the car back in 2003, it had all the wiring in the boot for a substantial sound setup. Being on a budget I’d managed to scrounge a cheap amplifier and connected it to some cheap Motorworld speakers. And as long as I’ve had the car the setup in the boot looked something like this;
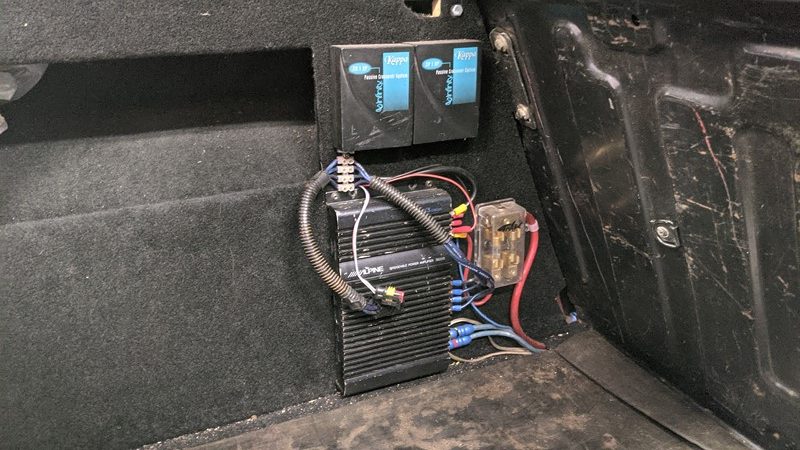
The compact Alpine 3522S amplifier was just the trick for powering the speakers on the parcel shelf. The 60amp direct feed cable from the battery was a touch of over kill, but very 90’s. The Kappa Infinity cross overs I found above the glove box, and where never connected. But it all works, right?
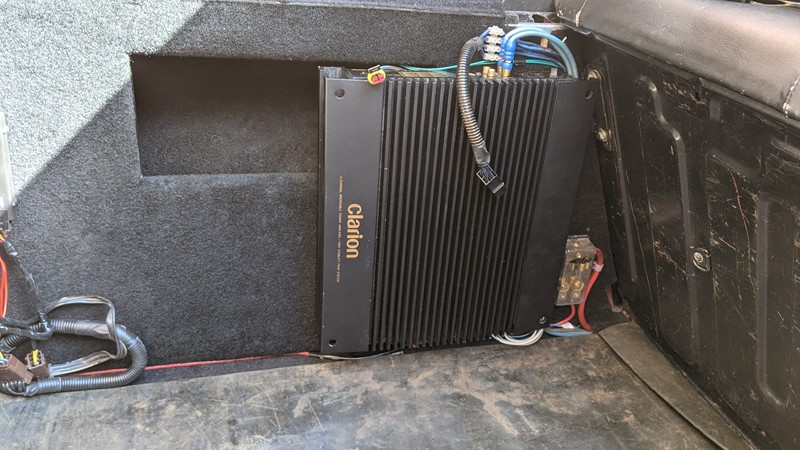
Well, yeah, it worked, but it didn’t say Clarion on it! So back to eBay for another amplifier bargain, this time a 1989 released 140w whopper. I have to confess, I didn’t look at the measurements before I bought this beast of a thing. I certainly didn’t expect it to 35cm wide!
This beast was far harder to install that should have been required. The audio input cables where simply too short to install the Clarion amplifier in anything but the upside down position, so some head scratching later and this was the best I could manage. It’s far to big, and more powerful than the speakers can manage, but it amuses the child in me.
Time to enjoy the new sound system
All together this complete upgrade of the sound system hasn’t been horrendously expensive, but the improvement is substantial. I have a massive stupid grin up my face every time I open the boot and see the colossal amp sat there. True Max Power excess! I guess I should get back to the main project now though.
M