
In my last article about the Fergie, I’d had a rather joyful day putting the topper on and destroying a not-so-well engineered PTO adapter. I figured that was as far as I would go with the restoration before returning it to its owner. Repatriation plans were dashed with another lockdown, but moving the Fergie was becoming more troublesome. Something must be done about the rust in the fuel! Can I get away with just lining the fuel tank?
Fuel and rust don’t mix.
Back in September, I’d had a bit of a go at cleaning out the worst of the oxidisation in the fuel tank. I threw a load of bolts in, and a good half hour of agitation cleared a huge about of rust out. At least enough to make a Matchbox car from. And this, it seemed, was more than enough to get the tractor started and running pretty well.
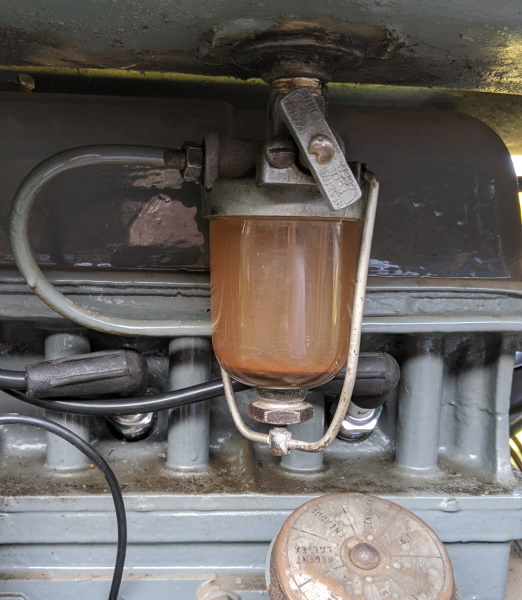
I hoped to collect any residual rust in the fuel bowl over time, which would end the problem. But a tank of fuel later, moving around the farm, and the rust was getting worse. A quick look in the tank and the bottom half was rustier than before I’d gone a half job cleaning it out. A new tank from Mayhill Tractors was just £130, but a double tank would need painting. So I figured there had to be a better option.
Epoxy fuel tank liner?
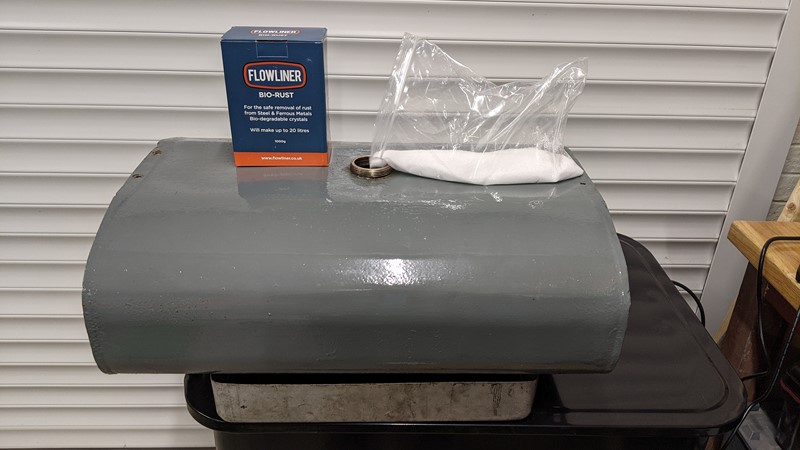
The right solution for me seemed to be to line the fuel tank. However, I quickly discovered this is widespread on older vehicles that are perhaps underused. And as a result, there are a plethora of options. Pour-in solutions from POR15 and SLOSH all seemed to have good write-ups and reviews, but in the end, I opted for Flowliner.
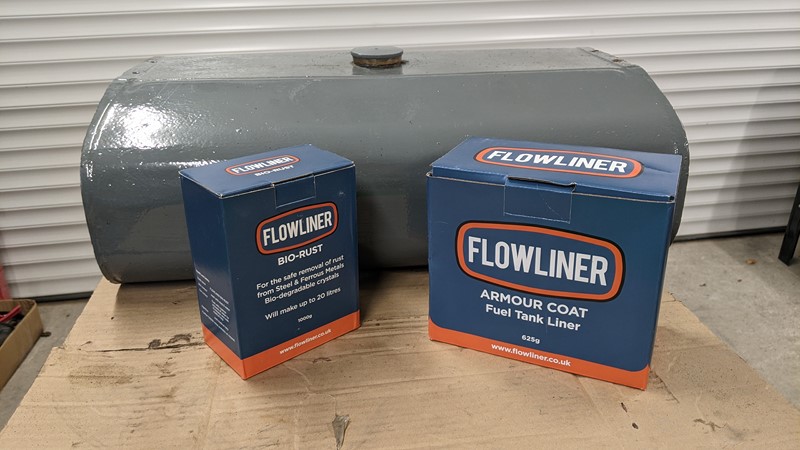
Why ‘Flowliner’? Beyond being supplied from the UK and having relatively low VOC chemicals, it seemed popular amongst motorbikers. At the time, it was also stocked by one of the main UK Fergie parts suppliers. However, they advertised it without the rust remover. So based on advice from the UK supplier, Wyldes, I ordered a kit directly from their website, which included 1kg of bio-rust salts and 625g of Armour Coat at just under £60.
Removing the old rust with Bio-Rust
Before lining the fuel tank, I needed to eliminate the excess rust. I’ll be using Flowliners’ Bio Rust to do this, but there are a few things I need to do first. First things first, bolts! When I first roughly cleaned out the tank, I threw in a handful of bolts, and some never came out!
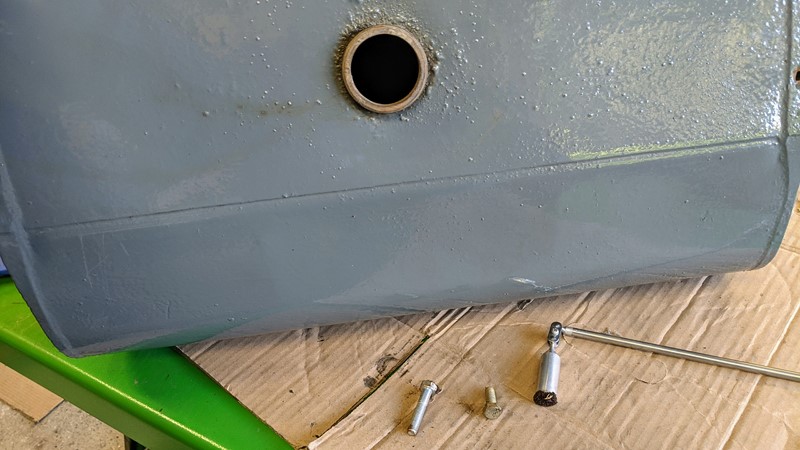
Some fishing later, and victory was mine. I will be making up the solution to be a little over half the tank’s volume, then rotating periodically as per the instructions. This means I’ll need to have a good seal on the tank. So before mixing up the solution, the fuel tap and bowl needed removing, and the hole needed plugging.
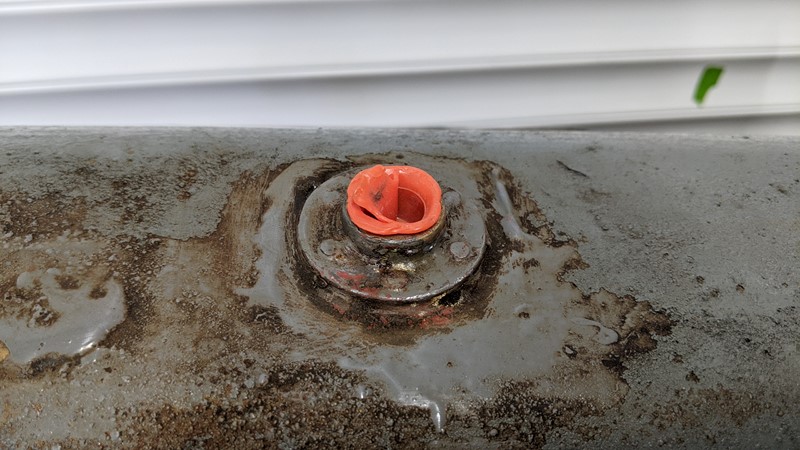
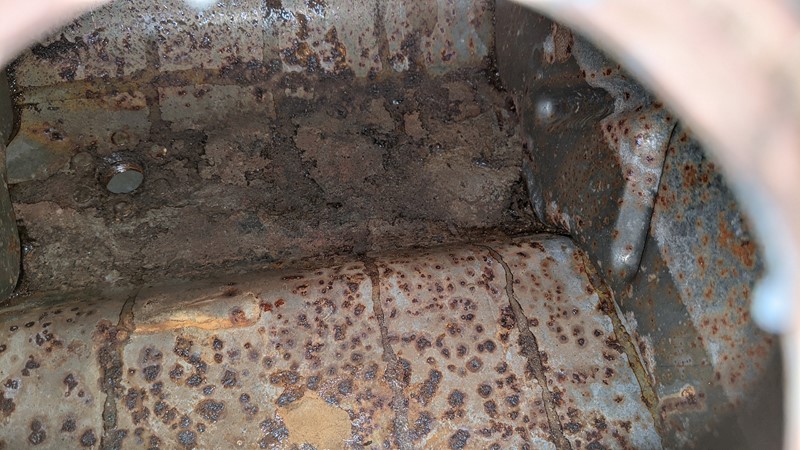
To plug the hole, I used an old plastic airline bung. I heated the bung slightly before pushing it into the hole, hence the slightly melted look. This almost worked perfectly. In fact, for the first pass of rust removal, it worked perfectly. And I guess it was a sensible time to get a ‘before’ picture.
The plate on the left is one of two baffles in the tank. This is why those bolts got stuck. You can make out, halfway up, a murky line. Above this line, there was surprisingly little rust, but below was another story. I really was optimistic in thinking the rust would flush itself out.
Flowliner Bio Rust treatment
Bio Rust comes as a bag of salts mixed with water and left in the tank to work away at whatever oxidisation is in the tank. The provided 1kg of salts makes up about 20 litres of pouring solution, which fortunately is a little over half the fuel tank’s volume. And it works well, sort of. But I’ll come to that in a minute.
Making the Flowliner Bio-Rust solution
The Bio Rust solution was easy enough to make. I poured warm water into the tank one pitcher at a time. Partly because the tank wouldn’t fit under the sink, but partly to check for unseen holes. The last thing I wanted was to find a hole and watch the fresh solution run out onto the floor.
With the water in, the salts followed. The tank was then agitated. I want to think of what followed as something akin to a strong man competition, but the reality was much closer to a Mr Bean sketch. Following the simple instructions, I periodically turned over the tank for the next 48 hours to allow the solution to act on all of the tank’s internal surfaces. And the result?
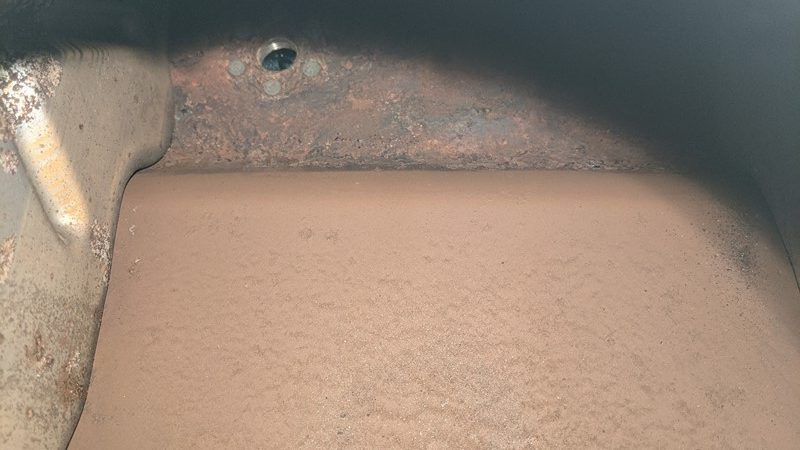
Flowliner Bio-Rust initial results
Honestly, I was hugely underwhelmed. But it was clearly working. The saddle of the tank previously had an even layer over the whole surface, but this had been reduced to patch dark spots. The solution was clearly working, so I bunged the hole back up and refilled it with the drained solution.
A whole week later and about half of the remaining rust had been removed, leaving very little. Nothing in the instructions suggested the tank had to be 100% free of rust. The solution was also no longer changing colour, so I guessed that’s as much reaction and rust removal as was possible.
Preparation for the fuel tank lining mixture
With as much rust removed as I felt possible, the tank was drained, washed and flushed as per the instructions. Then a long period of drying took place. I tried just leaving the tank out in the sun, but the rain stopped play. Airing in the garage was having no impact, so in the end, I left a hot air gun in the filler neck, on low power, for a few hours.
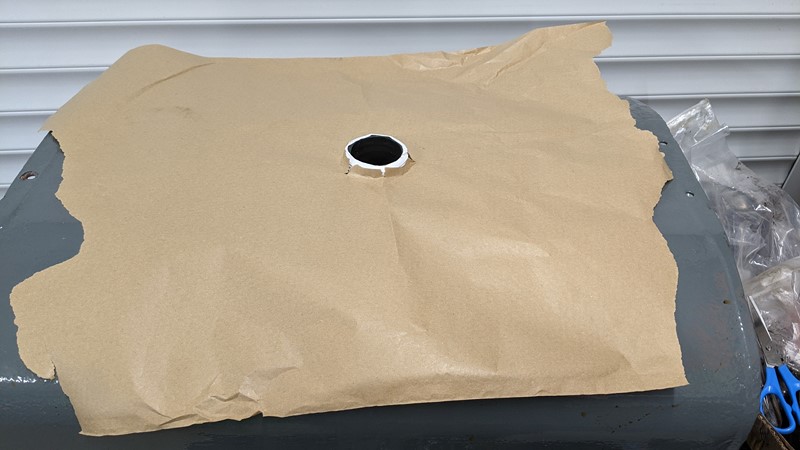
Fully dried, I set about preparing for the big pour. Now, I’m not suggesting I’m a massive mess maker, but I took no chances with this one. Masking tape lined the filler neck, then some PTFE on the cleaned tank threads. I found the tank hadn’t seen much prep before being sprayed. The threads were absolutely full of paint, swiftly removed with a mix of needle file, sharp knife and wire wool.
Similarly, the fuel cap needs protection from the lining mixture. The chain was wrapped with duct tape to stop it from flopping around. The fibre seal was removed from the cap, and I checked the pressure release hole for airtightness. The whole fuel cap assembly was then wrapped in clingfilm. It seemed like a lot of preparation at the time, but I quickly discovered that it was well worth it.
Flowliner Armour Coat
From their website, Armour Coat “is a solvent-free, white epoxy two-part ambient temperature cure product that offers outstanding mechanical, thermal, physical and high-temperature properties when fully cured”. Perhaps more importantly, these days, it is resistant to the ever-increasing ethanol content of modern fuels. I’ve seen no end of fuel hose destruction from E5 and E10 fuels. Both the Fiat X1/9 and the Citroen BX16Valve have suffered.
The Flowliner solution will also seal any pinprick holes. I haven’t found any to date, and it’s not letting any water out. That said, the bio-rust solution has lifted several plastic patches from inside the tank, and there is evidence of brass patching having occurred at some point. So a 100% liner is definitely going to be a plus. Mixing up the two-part epoxy and pouring it in was reasonably straightforward. Roto lining the tank was a little harder.
Applying the Flowliner Armour Coat

The instructions effectively instruct you to place the tank on all sides to let the liner mixture flow onto an area. The mixture is very sticky, so a good covering is left on the panel it was last sat on when the tank was turned over. Unfortunately, I couldn’t get a decent picture, but I could see that the top of the tank had excellent coverage using a mirror.
The picture above is partway through the covering process. The instructions really don’t take into account the baffle plates. You can see the poor coverage on the right-hand baffle plate. I wasn’t too worried about getting these covered; my focus was to get the lining on the outer panels, especially on the seams. You can see there is still some rust lifting off the fuel tank and mixing with the lining, but that should be okay.
Letting the fuel tank liner cure
After a few hours of periodically rotating the tank and occasional agitation, I left the fuel tank lining to cure. In the end, I left the tank for about seven days as I couldn’t get to the tractor to fit it. Then the de-preparation could begin. Removing the bung and filler cap. Removing the protecting tape. And finally, cleaning the threads for the filler cap and refitting.
While the fuel tank liner was curing, I also stripped down the whole fuel tank assembly and sent it for a trip in the ultrasonic bath. As I was taking the tap apart, I noticed a huge amount of rust trapped in it. We’d noticed how little fuel sometimes fed from the tank to the fuel bowl a few times. I wonder if this had something to do with it. Unfortunately, I couldn’t find a new tap seal, so I put the old one back in place, perhaps not the greatest plan.
The fuel tank lining seal of approval
Back down at the farm, the fuel tank was reinstalled on the tractor and new rubbers between the tank and tractor body. One trip to the petrol station later, and with giddy abandon, I threw caution to the wind and poured in a full 20-litre jerry can (and some lead additive). So far, so good, no leaks!
On opening the fuel tank tap, the sweet yellow engine nectar poured from the fuel tank into the fuel bowl faster than I had ever seen. Instead of taking minutes to fill the bowl, it took seconds. Clearly, something has improved here. And better still, the fuel stayed yellow and not cloudy and orange. The fuel tank lining seemed to have been a big success.
Well, that was until the fuel bowl filled and petrol started running straight out of the fuel tank. Evidently, the old seal was no good. Remember that giddy abandon of filling the fuel tank? Well, that bit back hard. While only half full, the tank was now surprisingly heavy. Whipping it off to change the tap seal was a little challenging to my lumbering, weak frame. But off it came, and a metric seal of about the right size replaced the original fuel tap seal.
Field testing the fuel tank liner
Only one thing for it, a field trip. One lap around the bottom field and then back home for some lunch. Starting was super easy, and the tractor was quite happy running around in the long grass again. I’ll say this about the Fergie, it may not be a practical tractor compared to some of its modern counterparts, but nothing makes me smile too much. I’ll miss it when it’s gone. Putting it back in the tractor shed, I noticed something very positive—still no rust in the fuel bowl. Evidently, the Flowliner Armour Coat fuel tank lining was doing its job.
I can’t wait to get back out on the Fergie.
M
NEXT – Kelsall Steam Rally
PREV – Hydraulic system, PTO and Topping
Back to Little Grey Fergie Articles
Back to Automotive Articles