
With the design (and I use the word loosely) settled on in Part 1, along with the bill of materials, I could order the timber. Now, as look would have it, Travis Perkins was having a Black Friday sale, so the materials were on my drive before I knew it. But before I could start building, I needed to clear the site, and there was a lot to remove.
The shed building materials arrive from Travis Perkins.
There is a trick to ordering this much timber, don’t pay the advertised prices. The big box stores like B&Q or Wickes have everything I need to build this shed, but at non-trade prices. That means they can have a significant markup. While not a trader, I am ordering enough material to make a whole building. So pretty much any builders merchants are happy to do a deal at the trade counter when the order is this big. I had prepared for trekking around local merchants to get the best price, maybe even a bit of haggling.
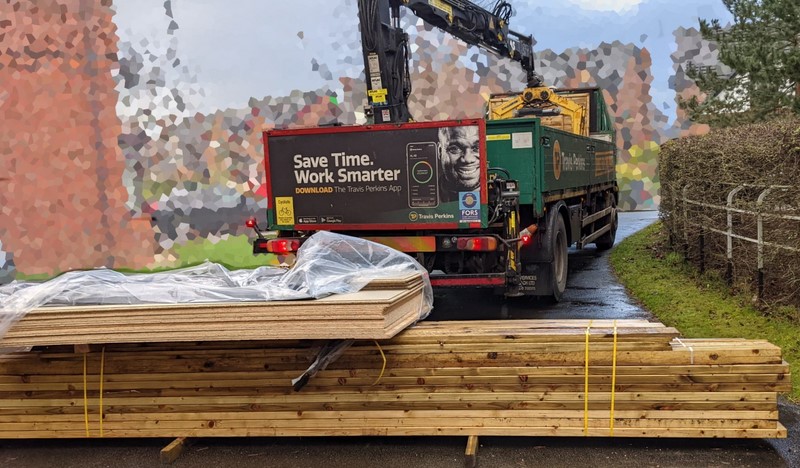
While getting a base price (non-trade) from a few merchants through their online stores, I found an offer at Travis Perkins. TP are not the cheapest builders merchants, but they are competitively priced. They have also previously provided excellent quality materials. Straight lengths of timber always make framing faster, and straight can be hard to find. I had a cash trade account setup and nearly 30% off the base price within a few clicks. That’s a considerable saving I couldn’t pass on, so a month earlier than planned, the driver skillfully unloaded the materials onto the drive without hitting the BX.
How the site of the mega shed starts
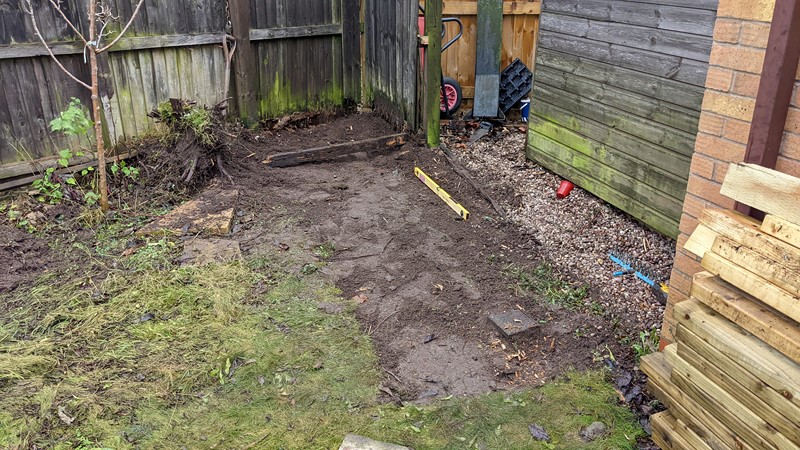
That well-known phrase, not enough room to swing a cat, is incredibly appropriate for where I will be building the Mega Shed. That would be one very bashed and bruised ‘Puddy tat’. It’s not so much that the site is small, but the triangular shape, with the existing shed positioned in the middle, really doesn’t allow for easy access.
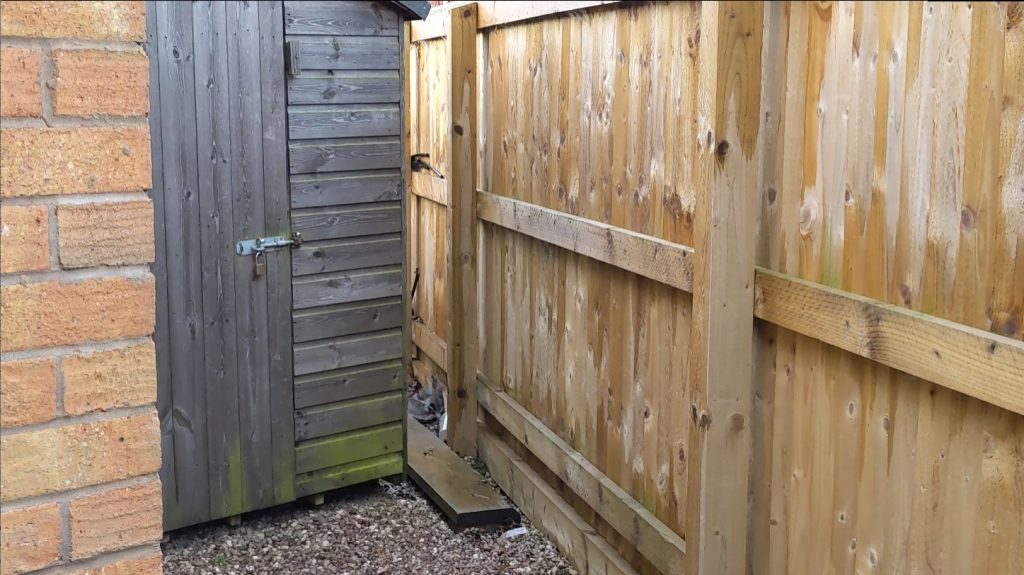
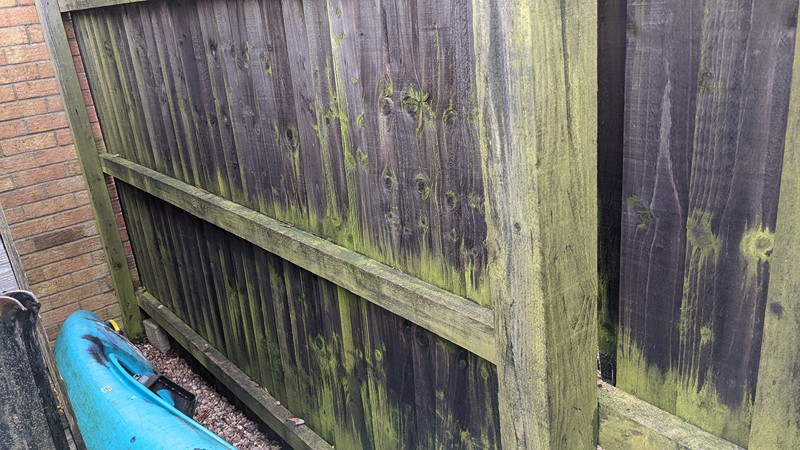
The gap to the back of the shed is less than 40cm between the fence and shed. It’s just enough for me to slide my rotund figure through, but getting into that almost useful space is a nightmare. Before taking the picture above, I’d already cleared the gardening and potting supplies, so it looks like a much bigger space already.
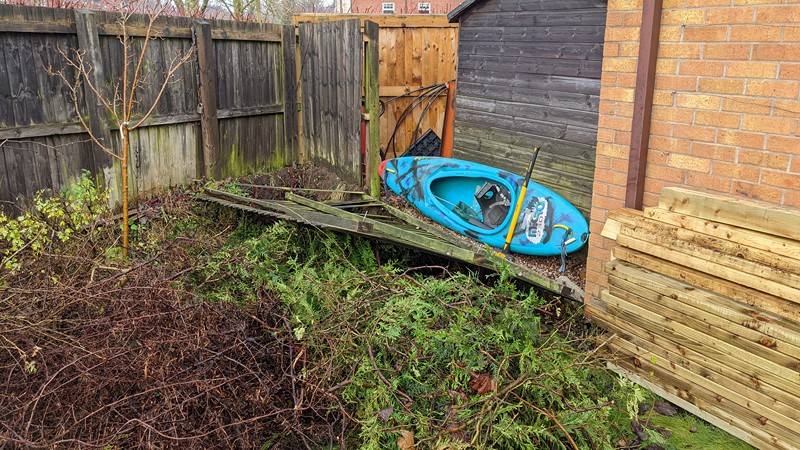
Behind the shed is a pretty useable piece of land, but it’s tough to access. It tends to be a dumping ground for stuff, much of it getting thrown in. The other side of the fence has, for many years, had a massive mound of earth against it. This pile of mud has been reduced to a more manageable size, but even turning the fence into a gate doesn’t give excellent access to this dumping ground.
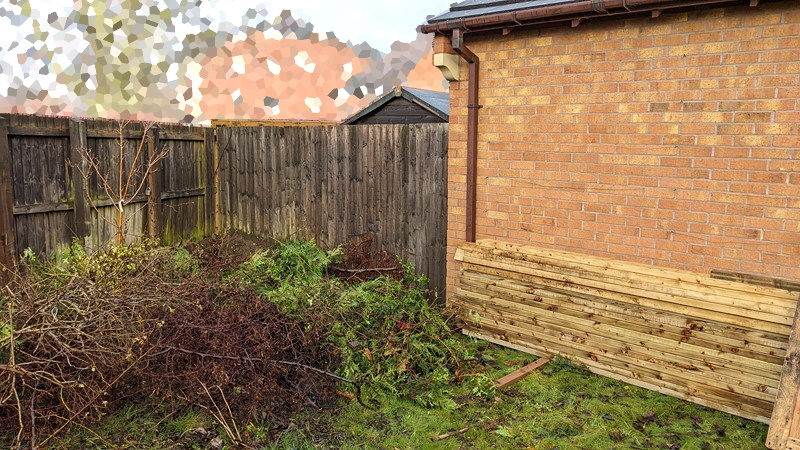
From the back of the shed, you’d be forgiven for thinking there is a vast space behind that four-meter wide fence. But unfortunately, there isn’t. I’ve also got the remains of an overgrown hedge that I don’t own, taking up a lot of space. However inert that pile of bush might look, don’t be fooled. It’s vicious and ready to pounce.
Preparing to move the old shed off the site
To start building the Mega Shed, I need to clear all the junk out of the way. I need to clear the site I want to build on and have enough room to access and build the shed. The shape of the site presents several challenges. I’ll have to consider this as I plan how to assemble the parts. The main wall along the garage will give the most significant challenge because of its size and how close it will be to the existing building.
Emptying the old shed
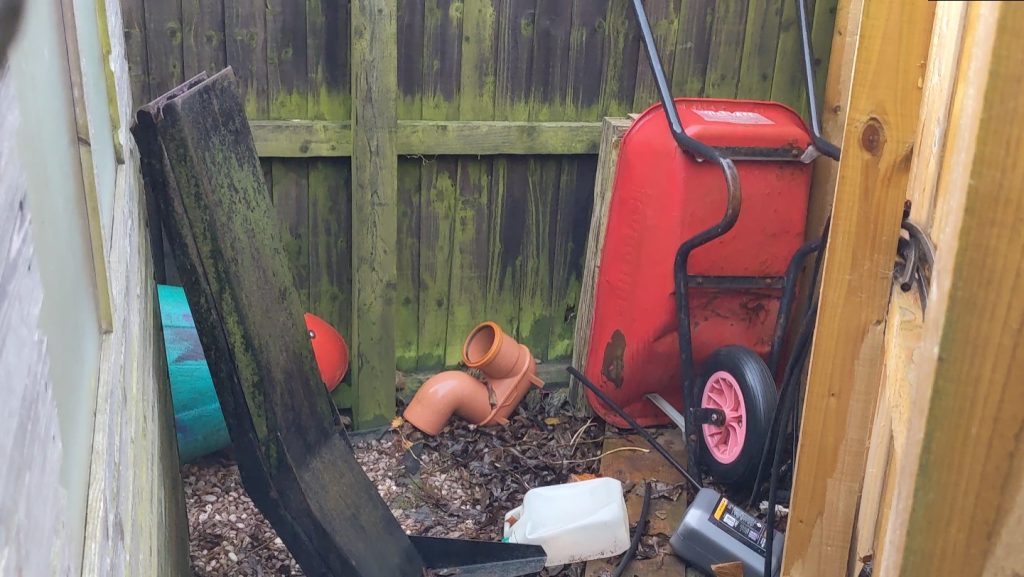
Despite the picture below, there isn’t much in the old shed. It looks pretty full, but mainly because of how the space is being used. There has been an element of throwing stuff into the shed, which I’m not usually a fan of, but sometimes needs must. So it shouldn’t be too hard to clear out.
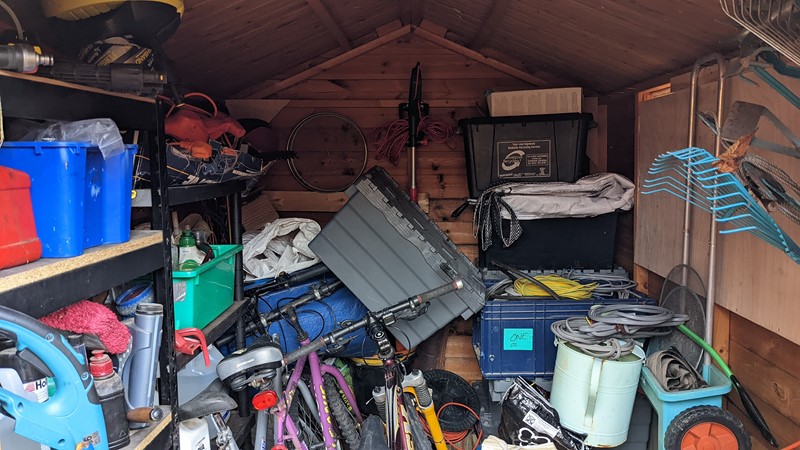
The boxes on the right represent many of my BX spares, and there is some severe weight there. Without a doubt, I can not move the shed with all this stuff in. Even with a lorry mounted crane, I suspect the floor would fall out first.

It was a good hour of playing Tetris with the miscellaneous stuff from the shed, and it all out. Most of the contents have been mercilessly hidden around the garden. In some cases, they’ve been weighted down to stop them from taking off in the wind. The rest has been piled in the garage rendering it completely unuseful. But it’s finally empty and half the weight it used to be.
Making a hole to pass the old shed through
To start building the Mega Shed, I need to move the shed out of the way. I had thought about taking it apart and selling it off, but I suspect I’ll need it for storing some of the things that were inside. So for now, I want to move it out of the way, whole. Unfortunately, there’s not enough room to bring it forward, so it has to go backwards.
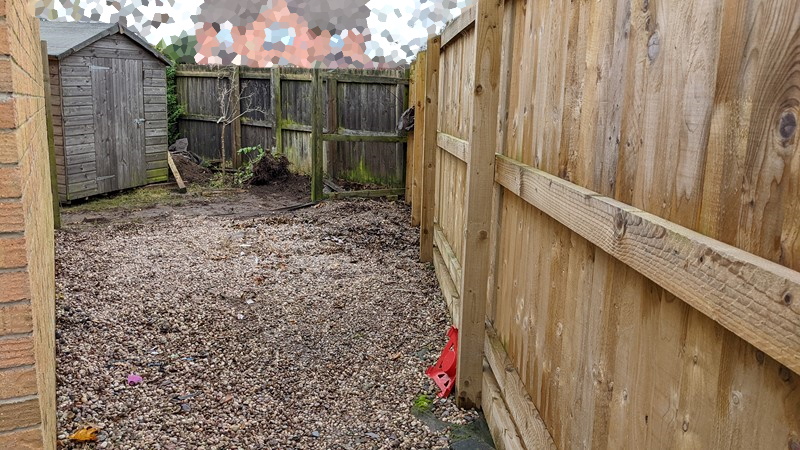
The only problem with going backwards is a fence in the way. Unfortunately, it’s utterly rotten at one end, so not worth saving. Nevertheless, I won’t lose sleep over its removal.
One saw a sledgehammer later, and now I have a big enough hole to slide the old shed through. I’ve also got better access to the junk behind the shed, so I can clear that away too.
Making room for the old shed
While I have a route for the shed to move through, there is nowhere for it to end up. I’ve recently ‘trimmed’ trouble-causing hedge, and the garden is full of the remains. There are some seriously spikey bits of hedge in here, and despite having gloves on, I now have a thrown under my skin.
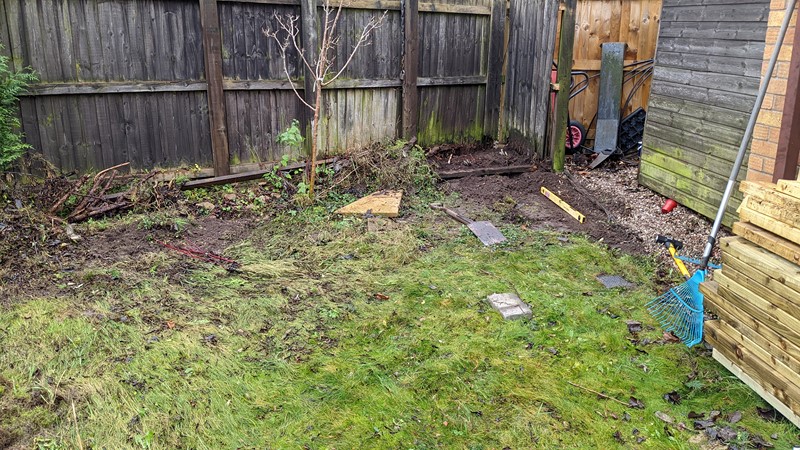
Sometime later, and the old hedge is moved to one side. I’m finally getting somewhere, but I’ve noticed something a bit worrying. The place I plan to put the new shed seems to have a hill in the middle of it.
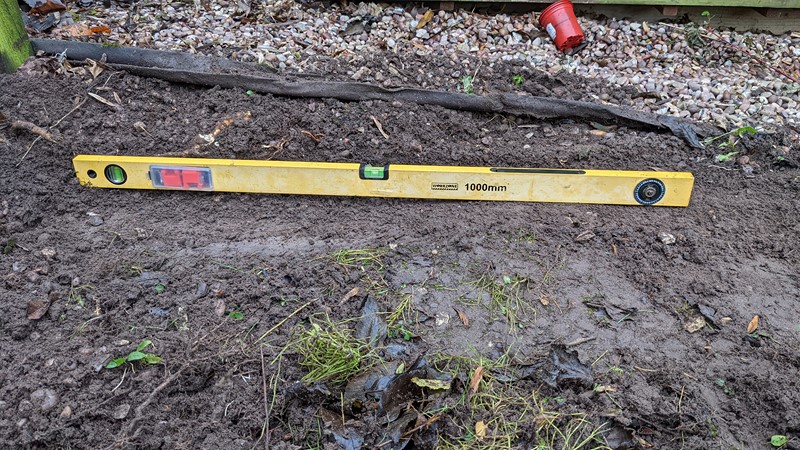
It’s hard to show just how unlevel the plot is. Under the old shed, there is quite a slope, despite it simply sitting on two-inch square lengths of timber. It goes a long way to explaining why the door didn’t use to shut right. I guess the whole shed is twisted.
The lack of level ground also provides a challenge to moving the shed. There is a 3-inch difference in height across where the shed will end up. There is also the remains of a heavily rooted shrub that’s in the way. However, with a little bit of swearing and a few hours later, I have the ground levelled off enough to move the old shed.
Added complication, or simply an opportunity.
While clearing out the site for the Mega Shed, I’ve found an inspection cover. Given the proximity to the garage downspout, it’s likely just to the surface water drain. But, rather worryingly, it’s underneath where the new building will be positioned. And if it goes the wrong way, it could be right in the path of the piers I want to build for the shed to sit on.
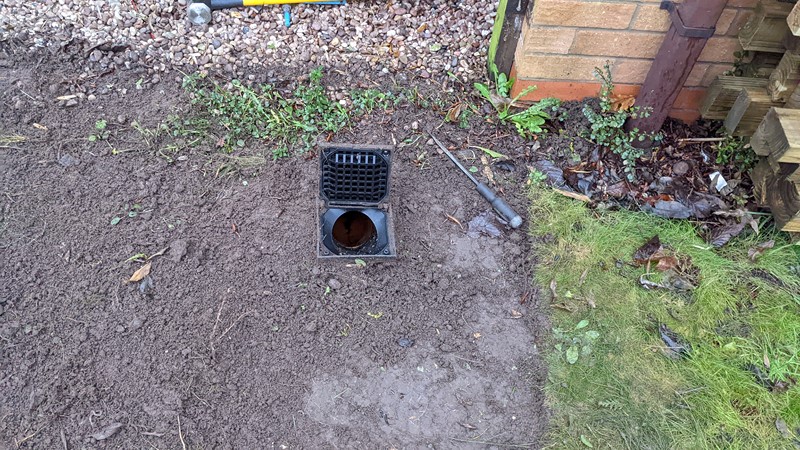
The neck of the inspection hole runs backwards along the garage wall, probably to the downspout on the other side of the garage. So long as it’s far enough away from the wall, I should be able to sink the piers with no problems. I’ll have to go easy on the digging. It could be quite a spanner in the works if the pipe is in the way, but I won’t know until the shed is moved.
The old shed making way for the new shed
Finally, after all the preparation, I can move the shed. I’m on my own for this, but my Grandad taught me that you could knock anything down with a long enough 2×4 timber—his words, not mine. But the principle is perfect here.

The bottom of the shed is formed of square timbers running the whole length of the shed. Perfect sliding rails. So I just need to put something on the floor behind the shed, and it should be possible to slide it out the way. Putting that 2×4 under the front edge, I can lift the shed under the door, then shove it backwards.
A few back-breaking hours later, I’ve moved the old shed out of the building area. It could do with being further back, but the ground has started going uphill and sideways. I’m entirely out of puff by this time, so it’s time to call it quits and take a long soak. My muscles demand it.
What’s next in the Mega Shed saga?
With the clearing of the Mega Shed site complete, I can crack on with the groundwork. All buildings are only as good as their foundations, and I’m going all-in on this one. I want the shed to last, for the base to be solid and for it to be well insulated. It will need to be an extensive base sat on heavy-duty foundations. A couple of bricks isn’t going to be enough. I guess we’ll find out how difficult this will be in the next part of the Mega Shed articles.
M
NEXT – Mega Shed – Part 3: Groundworks, Frame and Piers
PREV – Mega Shed – Part 1: Designing the shed
Back to Workshop Articles
Return to Home
Doing it solo makes it so much harder but a lot more rewarding and you only get into arguments with yourself : )
I’ve just spent the last few days re-roofing the back end of my garage that a local tornado and a couple of storms made a mess of. I only used clear corrugated plastic panels but I’m aching too and currently relaxing with a nice glass of whisky as a reward. Keep it up and I’ll keep following.
Long hot bath is usually my end to the day. Most of my body aches, but that’s probably down to a lack of movement for the last few years. If you don’t use it, you loose it.
I do get some invaluable help in the next part of the story. But I’m currently stalled on a step I can’t complete on my own. Just need friends and family to come and save me.