
As we start to leave lockdown, and I start to tackle some of the bigger jobs that need more than an Amazon delivery, I’m finding more need for a trailer. I do have a trailer, but the poor quality of decking material and years of neglect mean it’s not fit for carrying a load. Refurbishing the trailer has been something of an adventure.
A tail of two trailers
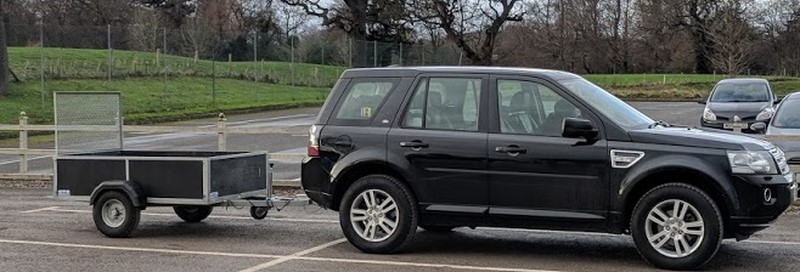
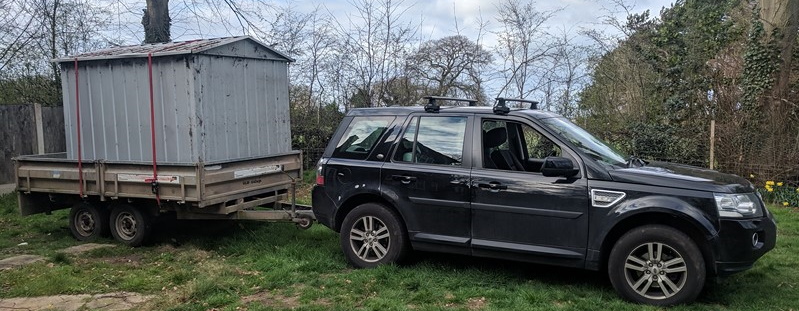
And it’s not just one trailer that needs some treatment but two! My own trailer is a dinky 6′ x 4′ load bed, but for those bigger trips, I have access to something twice the size. Unfortunately, the bottom fell to bits on the last run to the weighbridge with scrap!
Lining – Ally or Ply
For both trailers, I’ve had an ongoing internal conflict about using aluminium chequer plate or phenolic resin ply. Both trailers were originally clad with the phenolic resin plyboard. Both trailers regularly see a lot of moisture, being from standing outside or from the load.
A 3mm aluminium chequer plate bed will likely outlast many other parts of the trailer. There is enough reinforcement in the bed that the ally shouldn’t warp. The weight is pretty similar. Despite the chequer plate, the ally can be incredibly slippery in the wet.
Using 18mm phenolic resin plywood avoids issues with galvanic corrosion and is a little easier to work than the ally plate. It also has a much better slip-resistant surface. Care has to be taken to reseal cut edges or water penetrates the layers, and eventually rots them out.
It was a tough decision but in the end, the cost won. The phenolic resin plywood was less than one-third of the cost of the ally, and over both trailers, represented a huge saving.
How many boards?
For the bigger trailer, the simple flat nature of the area to be boarded made it obvious that three boards where needed. But for the smaller trailer with sides, some quick measurements were required before refurbishing the trailer.
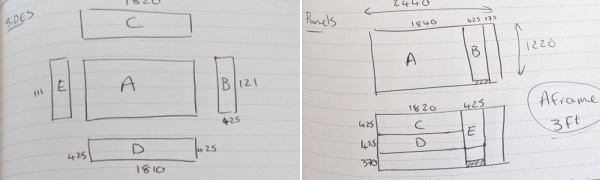
Measuring out the individual panels to give a 2D cutting list then meant a cutting arrangement could be quickly sketched out. There seems to be only the single solution, which does mean a few more offcuts than I’d really like. All in the refurbishment of both trailers would need five sheets.
Locating phenolic resin plywood
For quite a long time I’ve struggled with getting hold of the phenolic plywood. Local places where collection only and my trailer was too small to collect. The few places out of the area that would deliver were at least a third more expensive and were low on stock. A few online retailers would send board via courier but the price was more than double!
And this is where helping to refurbish the second, bigger trailer came in rather useful. We used the big trailer to pick up enough sheets for both refurbishments, which also meant we bought in bigger volume and allowed a small saving per sheet. The local Huws Gray depot was helpful and happy to help load on, an advantage of the sheets being over 2 meters in length?
Out with the old, in with the new
The owner of the bigger trailer has recently cleared out a barn, and what fortunate timing! For the whole day of the refurbishment, it rained. Sometimes light, some times heavy.
Pulling the boards out of the smaller trailer, we probably should have just been outside. The de-lamination had let in a huge amount of water turning the wood sheets into a sponge. There was an entire colony of ants in one side eggs and flying ant included!
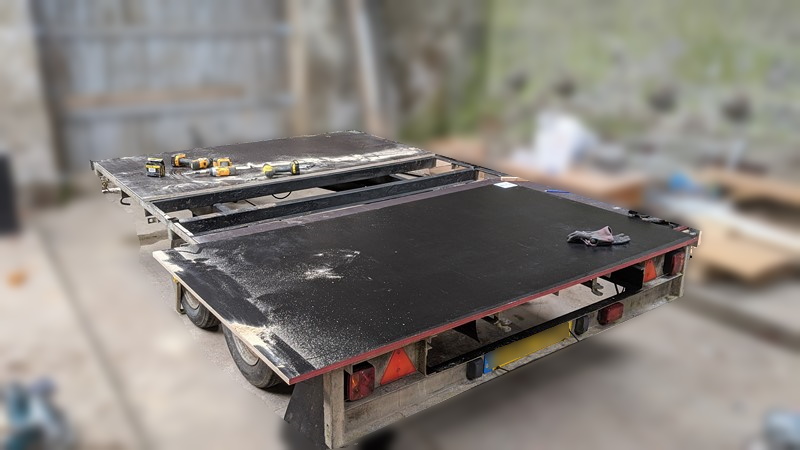
The refurbished trailer(s)
After 7 hours of cutting, painting and drilling the board for the big trailer were cut and the little trailer complete, bar some tidying up and re-installation of the lighting. The little one looks almost like it did 7 years ago when first purchased. The cut edges of the boards have been sealed with yacht varnish, and holes lined with silicon spray before new A2 stainless bolts where installed.
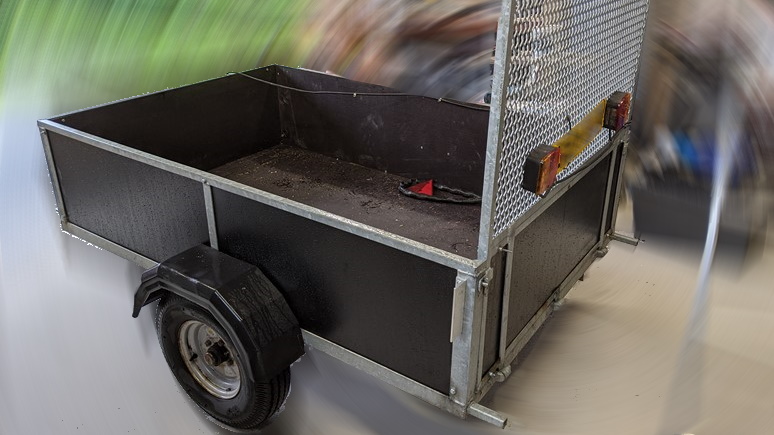
Hopefully, the board will last a bit longer than the originals which don’t appear to have had the edges sealed. In the longer term, the little trailer will get a cover and live outside while the bigger trailer will live indoors.
There are still some things to finish on both trailers. A better registration holder solution as we swap towing vehicles a lot. New breakaway cables on both, one being very short and the other looking past best. And a minor rewire. The little trailer may get its lights relocated to the sides allowing the tailgate to be removable. Oh and probably a new set of wheel bearings!
All in, I’m very pleased with the final finish. This will make the trailer useable again. It’s far easier to put car panels into a trailer than it is the car, and while it’s humble in dimensions, this trailer is really towing friendly.
M
Next: Trailer – Wheel Bearings