
There’s nothing more satisfying than good solid workbenches. Somewhere to turn those idle thoughts into a reality. And for me, you can never have enough space to work on. So, time to up my game and build some workbenches.
A ‘clean’ bench in the workshop
The first bench I want to finish is the ‘clean’ bench in the workshop. You may have previously seen this in the tool review videos. The frame is made from 70mm red pine which used to hold up the garage door. While it’s a great base for a workbench, it’s been missing a top.
Instead of a single dedicated piece of material, I’ve been putting up with any old piece of board I had lying around. Time had finally come to do something about it and finish it off with a robust solid top.
Planning a solid place for printers
The second bench I want to build is for in the house. There is only a small space allotted to my indoor toys, so getting the most out of it is important. My growing enthusiasm for 3D printing has turned the room into something of a tip and I desperately need a better work area. In this case, I need something tall yet heavy to give room underneath but stop the printer shaking.
To achieve the maximum space under the workbench, I’ve opted to weld something together out of steel. Completely oversized heavy chunks of steel. I’m using 2″ box section with 3mm wall thickness, way more structure than needed, but plenty of weight. The steel came from The Metal Store who offer a great delivery service and decent quality materials.
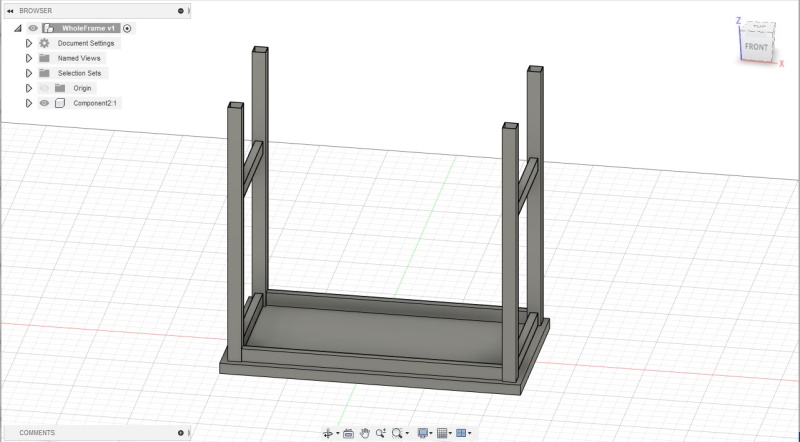
Before ordering the steel, I knocked up a quick model in Fusion 360. This took a little bit of fettling to get right as space the workbench is destined for is going to be a little bit tight. Too tight. But if I want to maximize the space, I need the legs as out of the way as possible. Overall dimensions will see the work stop span 120cm at 104cm from the floor, potentially top-heavy!
Making the base for the indoor workbench
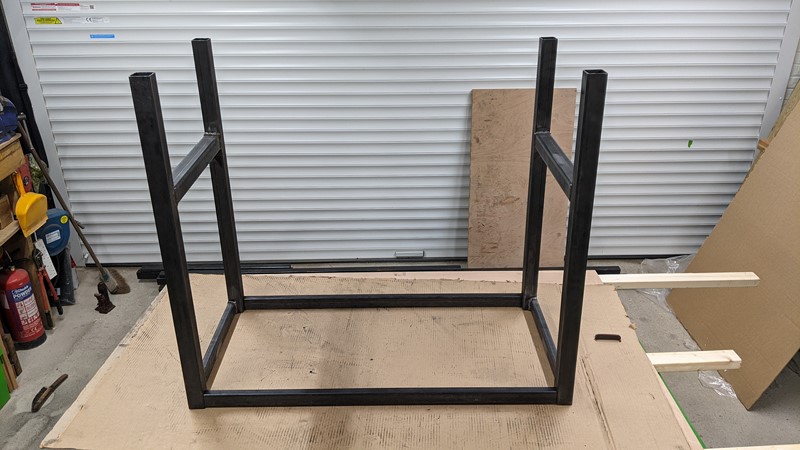
The steel was cut down using the Rage saw against the dimensions from the Fusion 360 CAD model. And I seem to get everything right first time, as is often the case with a well-laid plan. Well, everything except having enough welding gas to finish the job. I won’t be sharing close-ups of the welds, that’s for sure!
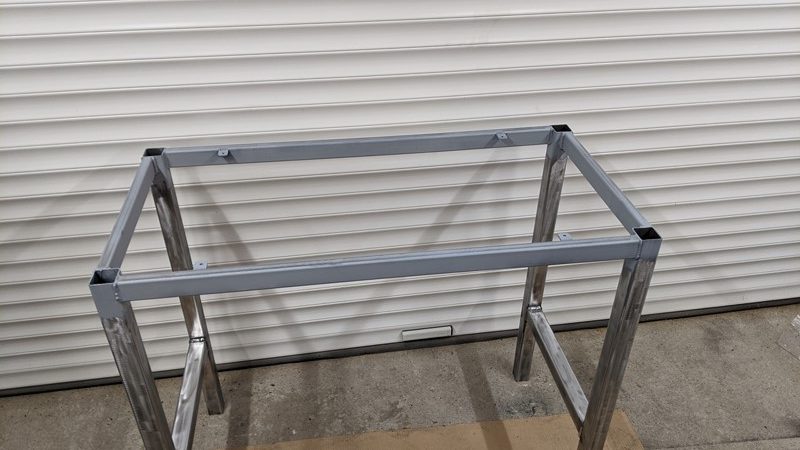
Once welded together, having checked the dimensions what felt like 100 times, I was ready to paint the base. Only first I had to remove the mill scale. I really wish I had done this thankless task before welding the pieces together. In the end, I used a mixture of methods to get the black of the steel. Multi-tool sander, hand sanding and a Dronco ‘cleaning fleece’ stripping pad on a grinder. The finish was so shiny it seemed a tragedy to paint it.
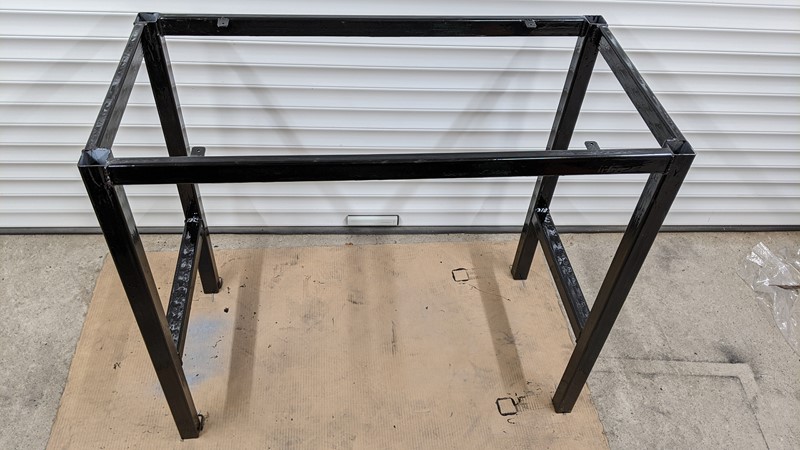
Painting the lovely stripped steel is exactly what I did, and I kind of wish I hadn’t. I opted for Hammarite Smooth allowing direct painting of the bare metal. It may say smooth on the tin, but the finish is anything but. Because the garage was so cold it went on like tar, and over time a huge number of runs occurred.
Waiting for the paint to cure was like waiting for a glacier to pass. The longer I waited, the more runs and streaks would appear in the paint. Doh! The finishing touch was some plastic feet for the bottoms of the legs. They give a more professional finish and will stop the steel digging into the carpet.
Tops for the workbenches
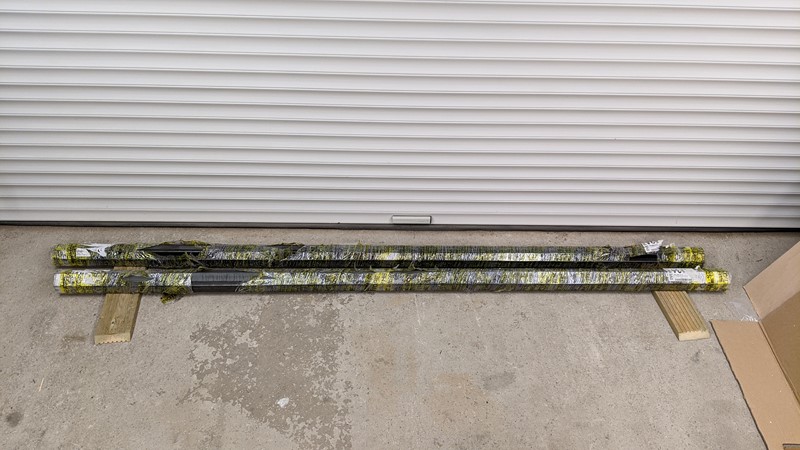
I do like to have workbenches with a wooden top, and love to work with hardwood when the cost allows. So it makes sense to go with my favourite of all the hardwoods, oak. Now I cant stretch to a single piece of oak big enough to do the two benches I plan to make, so instead I’ve opted for engineered oak.
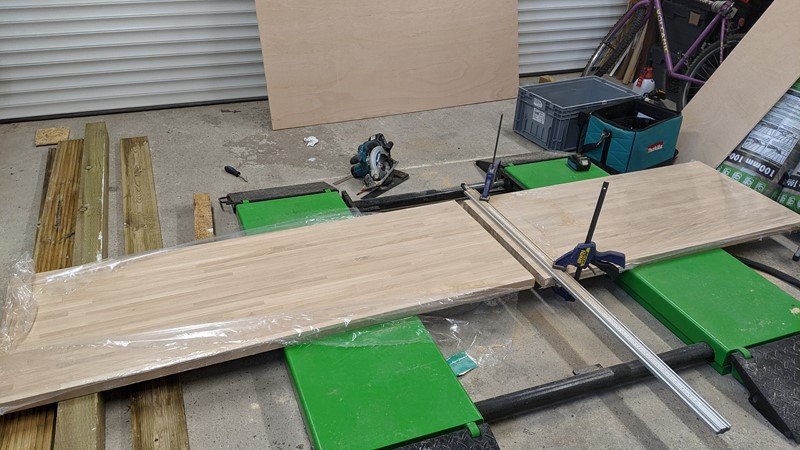
This 40mm x 600mm length is intended for worktops and features quite narrow staves. Purchased from The Chippy Shop for £150 delivered for the 3m length, it’s ideal for both a garage and office workbench. Heavy enough to provide a decent platform for 3D printers, yet just light enough that I can pick it up.

Once cut down to size, the two pieces of oak worktop were trimmed to give a 6mm radius on the edges. They were then sanded down in stages through to 200grit, more than enough for utility worktops. Finally, they were finished with Bxxxxx yachting varnish and allowed to cure off.
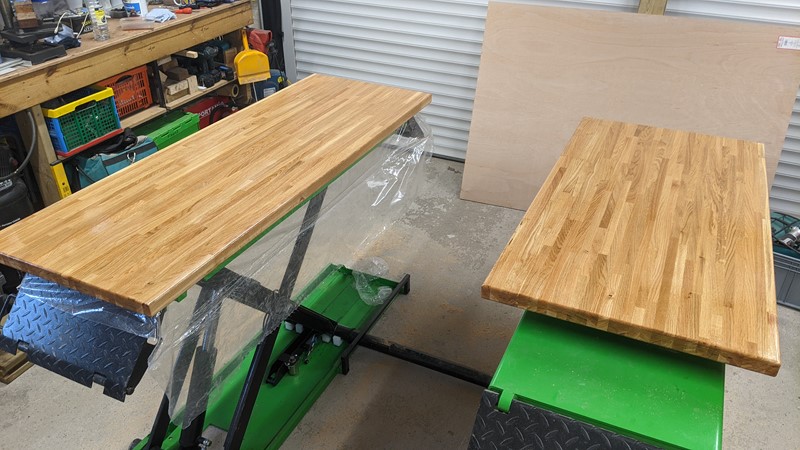
Finished ‘clean’ workbench
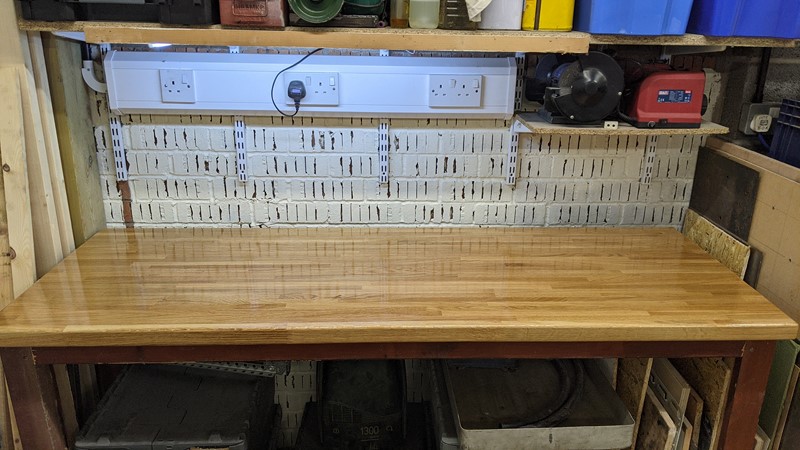
Having taken a few days of working and finishing, the final result for the ‘clean’ bench in the workshop is fantastic. Too good to put anything on in my opinion. I did have a bit of a problem with the yachting varnish, namely keeping the workshop temperature above freezing!
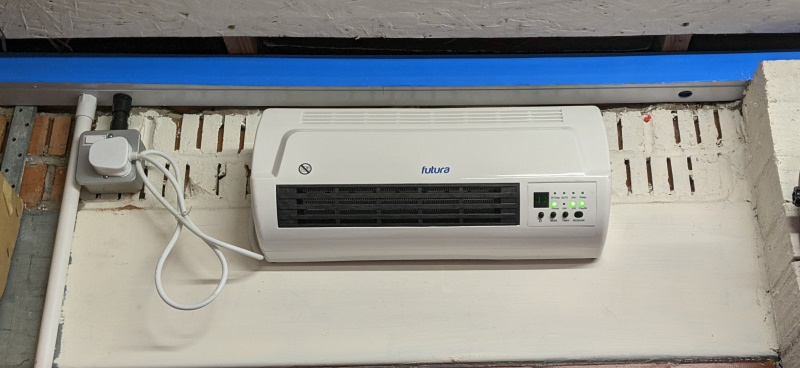
In the end, the solution was a Futura 2kw PTC based curtain heater from Amazon. A pretty simple little thing, more efficient than a traditional 3 bar electric heater. After a few hours of running the workshop, temperature managed to climb to almost 10°C. Not hugely warm, but enough that the varnish could flash off and eventually cure.
Finished indoor workbench
After what seemed like weeks waiting for the Hammerite to gain some solidity, I finally braved taking it indoors. It seems to have gained some wait as well. I had been managing to lift it just fine in the workshop, but it took two people to get it into the house.

Once the base was in place, I brought the worktop in and offered it up to the base. A bit of wiggling about to get it perfectly lined up and some screws secured the oak to the steel. What a beauty, and more than does the job.
M