The art of 3D printing is, at its most basic, all about melting plastic to create new shapes. That’s pretty much everything to using a 3D printer. First, select a suitable plastic filament, then set the right temperature to match the plastic type and movement speed. It should be possible to achieve perfection by a few basic calculations. But controlling the temperature is far more challenging than it sounds, and to get the best prints, I’m going to make a DIY Ender5 enclosure.
Why does a 3D printer need an enclosure?
Temperatures around the printer.
Currently, my Ender5 sits on a desk between the window and the door to the room. Unfortunately, the desk also sits over a radiator. This location is just about the worst place to put the printer in terms of temperature changes. The sun on the window in the afternoon is the biggest challenge. Then the draft from the door opening and closing significantly impacts the temperatures around the printer.
From experimentation, these factors alone can see a ~10degC change in temperature around the printer and on a long print, they will ruin the final printed part. An enclosure goes a significant way toward reducing this temperature variation. Most significantly, it will stop the draft every time the kids come to see how the printing of their new toy is coming along!
Conservation of energy
It’s true to say that a 3D printer’s primary operation is turning electricity to heat. Be this the heat in the printer’s nozzle, the print bed, or for the really posh setup, in the heated filament holder. Okay, the level of power a 3D printer uses is nothing compared to that of a kettle or vacuum. However, trapping some of that heat at hundreds of watts an hour will provide good savings and help offset the cost of the enclosure.
If you’re interested, 3DPrinterly has an excellent breakdown of power consumption and costs. It’s a good article, but you’ll have to read between the vast number of adverts!
Volatile Organic Compounds (VOCs)
With most, if not all, printer filaments, heating them releases compounds into the air. These weakly bonded compounds are generically referred to as Volatile Organic Compounds. Broadly, VOCs are part of anything man-made which is soft or sticky. The health impacts of VOCs aren’t entirely clear. However they can cause eye, nose and throat irritation and headaches. More critically, when I print, the whole room gets a fine layer of these VOCs, and it’s a nightmare to clean. The enclosure will help to avoid the health impacts and the mess.
What enclosures does the market have to offer?
Clearly, there is a market need for a 3D printer enclosure, and there are a lot of solutions, both DIY and off-the-shelf. Many of these solutions offer great integrated features such as ventilation flaps, tool holders and integrated lights. Some even include layers to contain fires, should one break out while the printer is unattended.
Official Creality Ender 5 enclosure
Perhaps the most obvious choice for the Ender 5 printer is the enclosure purpose designed by the people who make the printer. The Creality enclosure for the Ender5 is a complete enclosure with a soft body, viewing windows and a structure that makes it easy to move and send in the post.
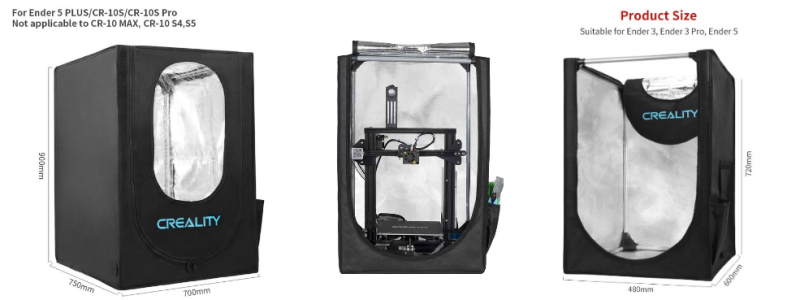
The Creality solution isn’t costly either, just £76 delivered within the UK. However, it is a little uninspiring. A great big black rectangle in the corner of the room won’t brighten the place up. The soft walls also reduce the opportunity for modification. And the 360-degree enclosure makes it quite a fight to get the printer in and out as needed.
Designing an enclosure for the Ender 5
The Creality Ender5 enclosure might not tick many boxes for what I want to achieve in my DIY enclosure, but it does provide a starting point for dimensions! My day job means I build a lot of rigs and structures and use many aluminium universal profile structural elements. It’s pretty simple stuff, with a T-shaped slot on each side that accepts a vast range of connecting components.
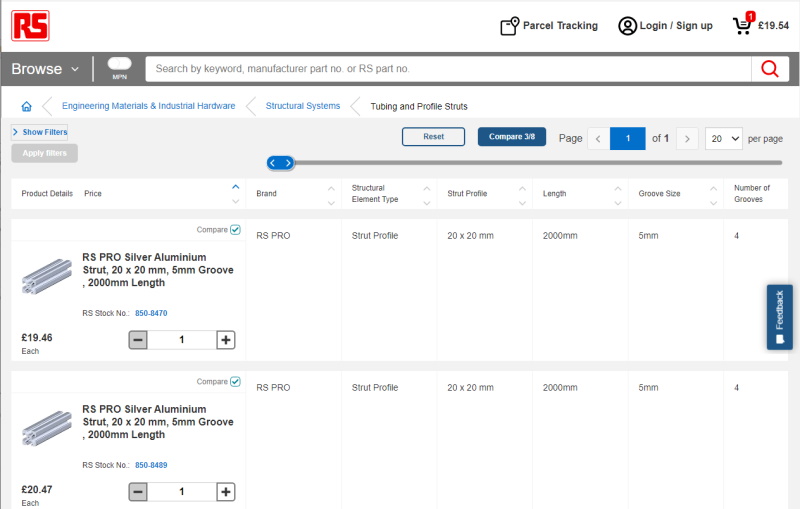
The killer cost of this type of assembly is the connection pieces. However, I have some tricks for this to save money later. The actual length of the aluminium profile is relatively cheap, although I don’t know why RS has two prices for the same thing! 20mmx20mm profile is more than solid and rigid enough for this enclosure application. I make the enclosure 600mm wide, 550mm deep and 750mm high. These dimensions will be smaller than the Creality enclosure but measure up ok against the Ender5 Pro.
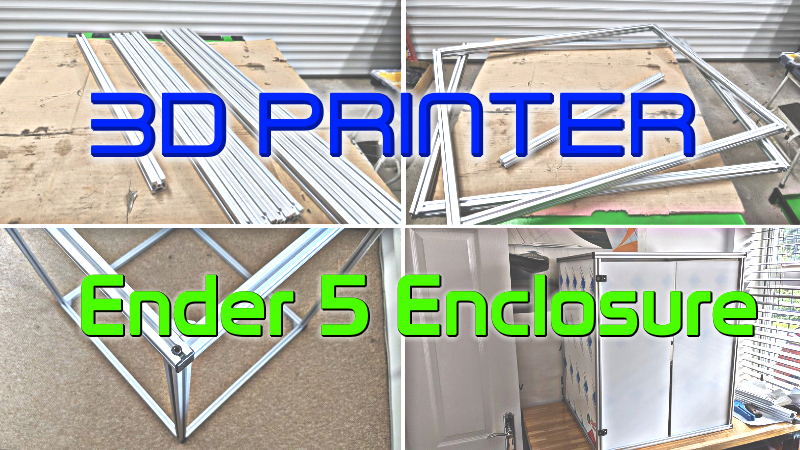
Making the Ender 5 enclosure frame
Cutting the frame material to size
To minimise wastage, I ordered the 3m lengths of the aluminium profile from RS. Planning ahead and creating a cutting list for the perfect material cuts is hugely satisfying. Of course, I’ll still have a little wastage, but even short 5cm offcuts have their uses.
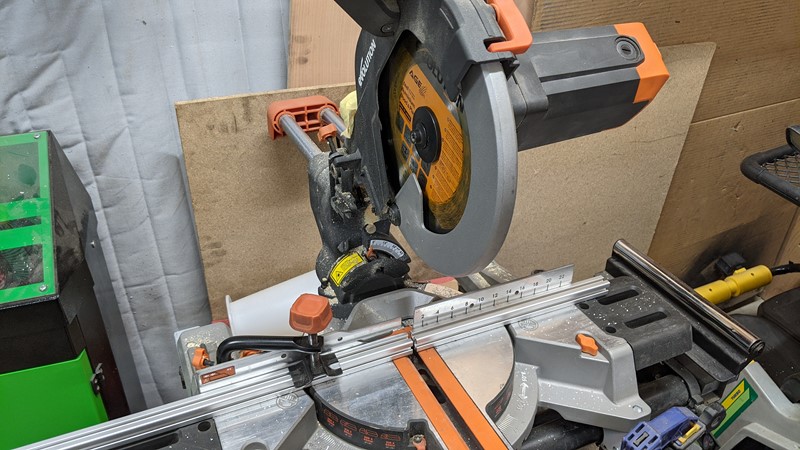
Using the Evolution Rage saw, with its multi-material blade, gives a great 90-degree cut which makes bolting the frame together easier. However, I found the first few cuts a bit rough, and teeth were missing on the blade, so a new blade was installed, and the rest of the metal was cut down.
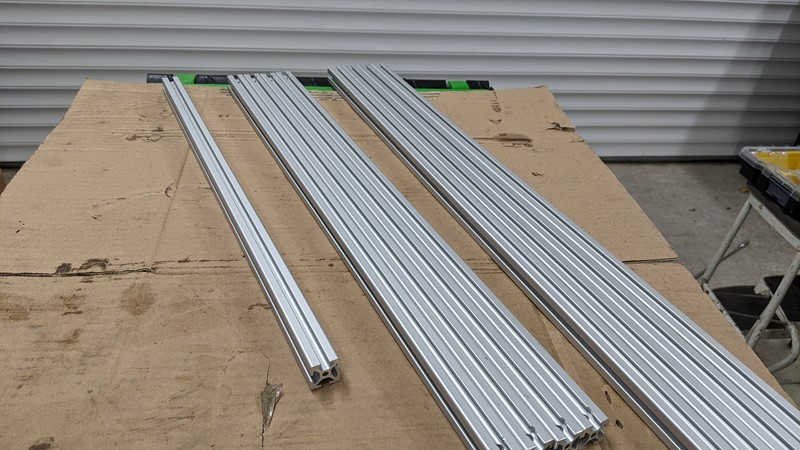
Four pieces make up the base, and four make up the roof. Then I have a decent piece of leftover for another project. I doubt it will take long to find a use for it. Note also that the short length has been drilled and counter sunk to accept a bolt.
Assembling the metal frame
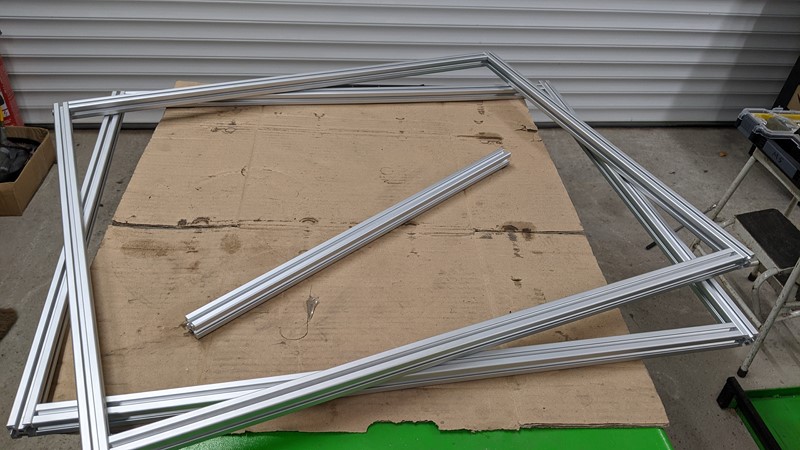
The ends of the long lengths are then tapped for M5, the original hole being 4.3mm. Then the bolt can be slid through the hole in the short length and threaded into the hole in the long length. While this arrangement does mean there is potential for the long length to spin, it saves a lot of money on the connection elements.
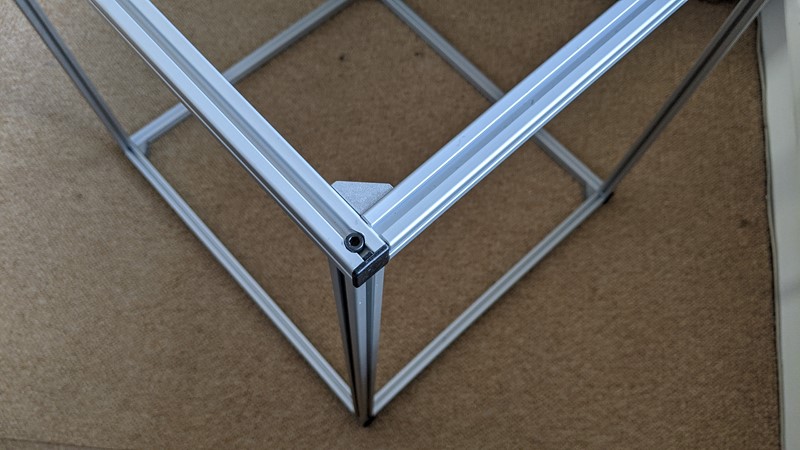
The vertical material lengths are cut and installed with more traditional alloy corner pieces. Again, these are very expensive from RS and the like. However, considerably cheaper options can be found on eBay or Aliexpress. Hopefully, you’ll find links to cheap alternatives on Amazon at the bottom of the article. The final connections look pretty neat to me.
Adding walls to the enclosure
One of my favourite things about using the universal profile is the groove that can be used to hold sheet material. Given careful measurement, adding shelves or walls to an assembly is quick and easy. In this case, unlike the Creality enclosure, I want to be able to see the build plate without opening the door.
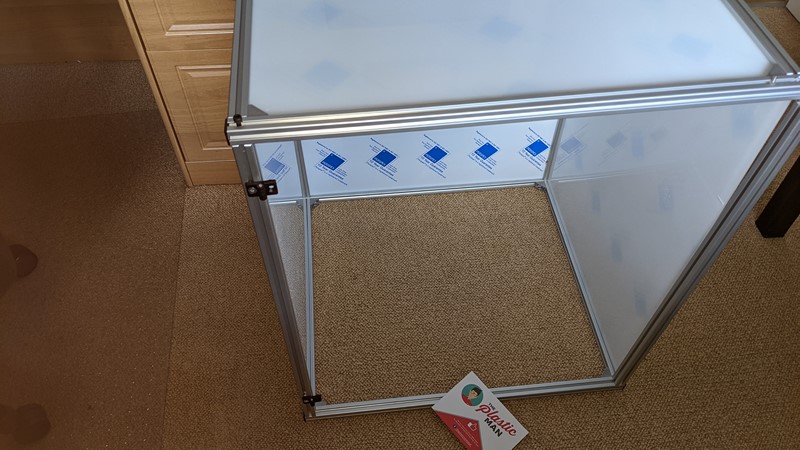
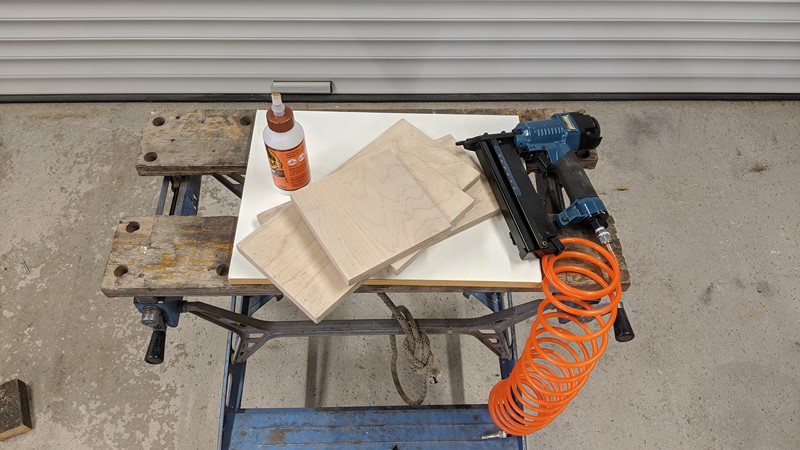
For the sides and top, I’m using a 3mm clear perspex from The Plastic Man. I’ve used The Plastic Man a few times now. You can go onto their website and order perspex pre-cut to practically any size you want. It’s just about the cheapest perspex I’ve found, and it’s always perfectly cut. And this means that once it arrives, it drops perfectly into place!
The final Ender5 enclosure
The final Ender5 enclosure is simple and slick, and I’m really happy with the final result. While it isn’t as thermally insulating as the Creality official enclosure, it does a good job of stopping drafts. I’ve already seen improvements in the prints coming off the print bed.
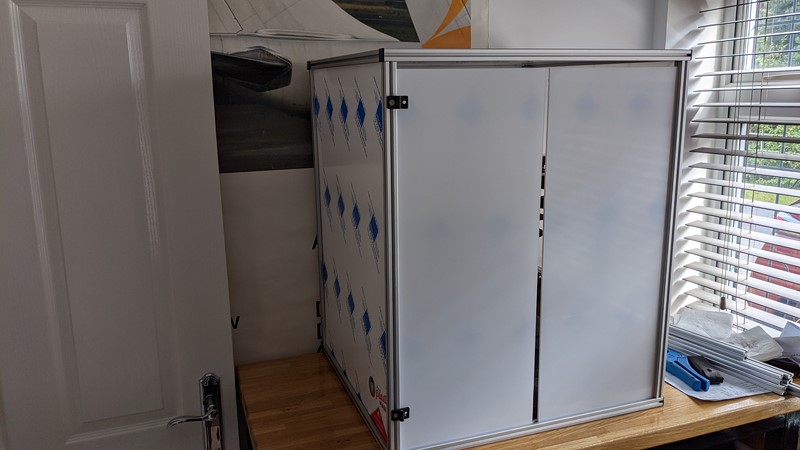
The big doors make the whole printer fully accessible, and plenty of natural light reaches the print bed when the window is open. For now, I’ve left the plain protective layer on one side of the plastic sides. This film helps to give a good spread of lights which has helped with pictures!
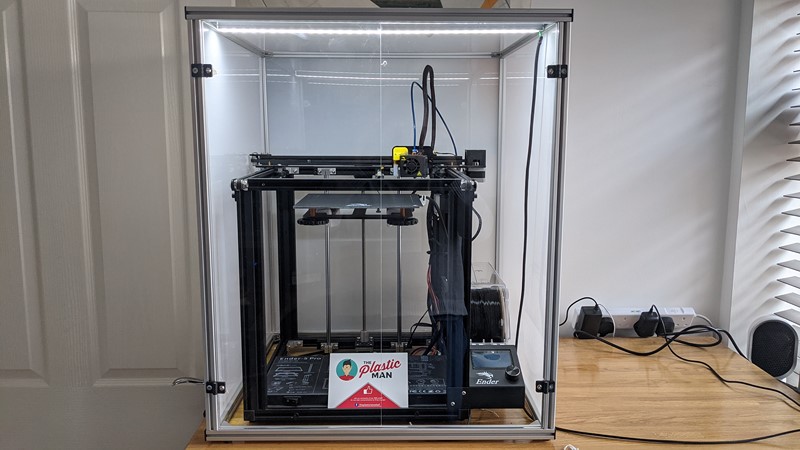
Fewer VOCs are getting out into the room, well, there is less dust, and I have to clean the windows less often. I’m also impressed with the noise reduction. While the Ender5 has quiet steppers, the print head cooling fan is anything but quiet. Overall, this DIY Ender5 enclosure has been a great success and really improved the quality of my prints over the last six months.
Hopefully, this article gives you some good ideas to use for your printer enclosure. Also, let me know in the comments if you have any other helpful, quick tips or additions to add!
M
NEXT – Ender5 Lighting
PREV – Ender5 Pro Review
Back to 3d Printing Articles
Back to Workshop Articles
Amazon Affiliate Links – Things used in this article
BXProject is using Amazon Affiliate Links. It’s a quick way to show you what I have used in this article.
“As an Amazon Associate, I [may] earn from qualifying purchases.”
Since January 2024, Amazon has blocked embedding images, but I think the links are still valuable.