
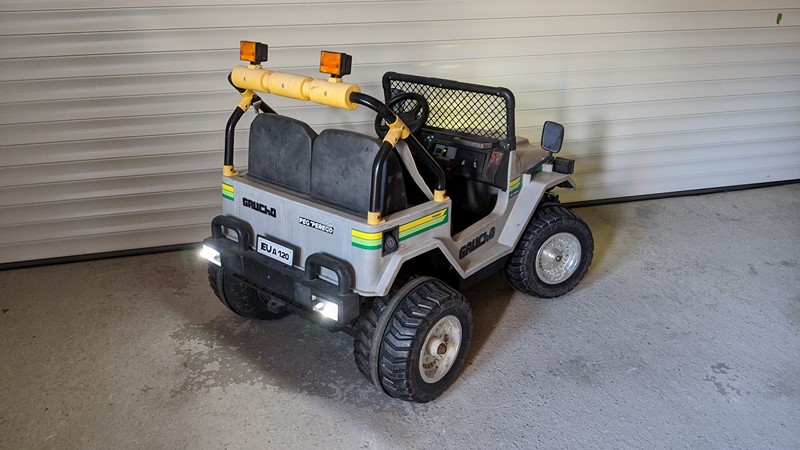
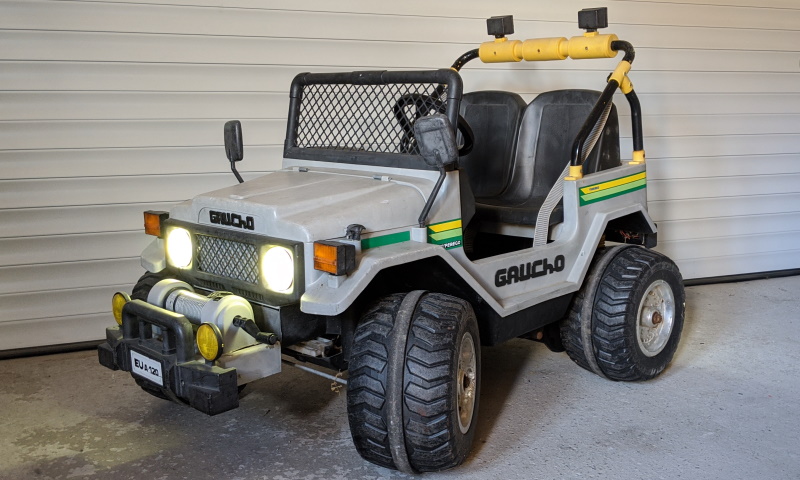
When I converted the 1990’s Peg Perego GAUCHO from 6v to 12v, I also changed the taillights to LEDs. Obviously, the 6v bulbs wouldn’t handle the 12v the car was now running at. Simply replacing the glass and filament bulbs with some cheap LED wedges seemed like a simple enough upgrade, but it didn’t pay off, and now I want to do something about it!
Buy cheap, buy loads?
When I completed the 12v conversion, I realised the old bulbs in the headlights, taillights, and indicators wouldn’t last long. So, looking in the Ring Auto Bulb Reference Chart, I figured I was looking at T10 lamps. And after a bit of hunting around, I settled on SafeGo LEDs from Amazon. Not the cheapest, but in packs of 10, I knew a few other places I could use them.
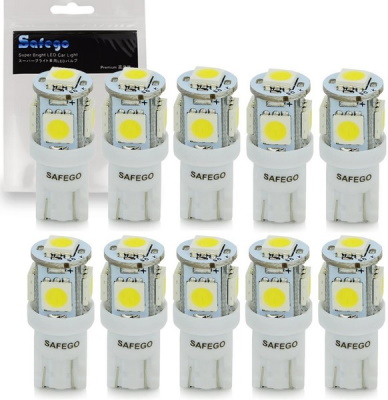
Part of the decision for buying these Safego bulbs was the package they were in. The 5050 LEDs are very common, and it’s hard to go wrong with them. The 5 LEDs, 4 on the sides and one on the end, should give a good spread of light. As I expected to put them under the original Peg Perego lenses, I figured they didn’t need to be waterproof. And to be fair to these bulbs, at 90p each, the light output was fantastic.
Carelessness costs LEDs
These LEDs were just fine for a long time, although I never found the original coloured lenses. Well, they were fine until the workshop started filling up. After that, the car was usually stored in the garage, near the door, where it was easily accessible for the kids. But with more projects (and tools), I had to store the care in ever-smaller spaces. Eventually, I figured it would be better to store the car on its back, and what a mistake that was!
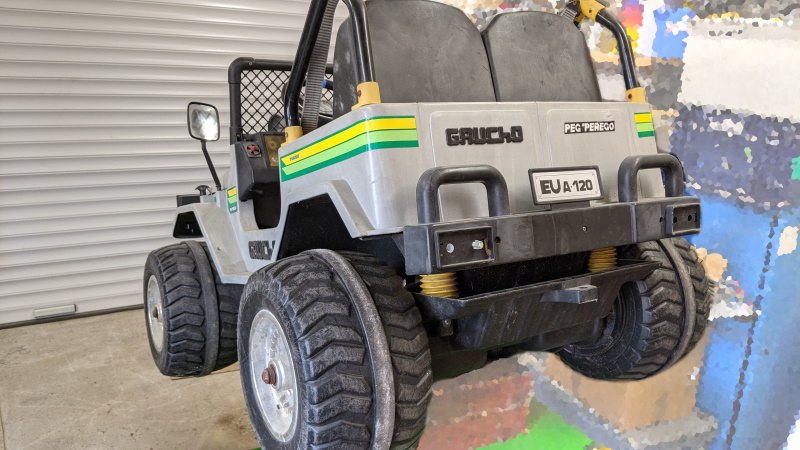
Well, you probably guessed it, the LEDs pretty trashed once I’d put the car back on its wheels. While one of the LEDs pushed back into the bumper, the rest were destroyed. The 5050 LEDs will probably live on, but I figured I need something more robust. And I have only found one of the original coloured lenses. Whatever goes back on needs to be red and amber like the originals.
Rugged Replacement LED Light Clusters
My initial thought was actually to use some holders designed for filament bulbs and install LEDs into them. The obvious solution was to fit what I lovingly call “Trailer Board Hamburgers”. Amongst the most uninspiring designs, excelling in function over form, these are cheap and simple. Unfortunately, they’re also inherently unreliable and brittle. Most critically, they are huge compared to the rear bumper of the Peg Perego Gaucho, but they did give me an idea!
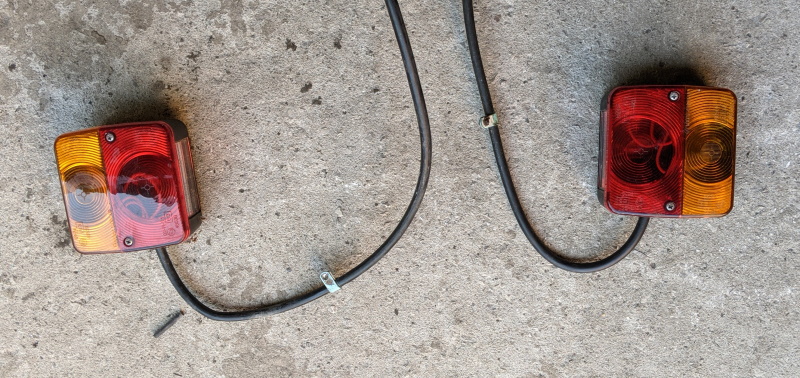
When recently upgrading my trailer to LED lights, I found a huge range of options. All flat and in the amber and red colour arrangement, they would be ideal. If only I could find some small enough. Unfortunately, these LED clusters are aimed largely at trailers that have loads of space to install them. The only small set I could find where £30 for a set, a little bit too pricey for a kids toy. But all was not lost.
The perfect LED replacements
In searching for ‘trailer lights,’ I’d come across what seemed like a perfect solution small, round, LED marker lights. Intended as markers for the sides of lorries, they were a perfect fit for the existing outlines on the GAUCHOs bumper.
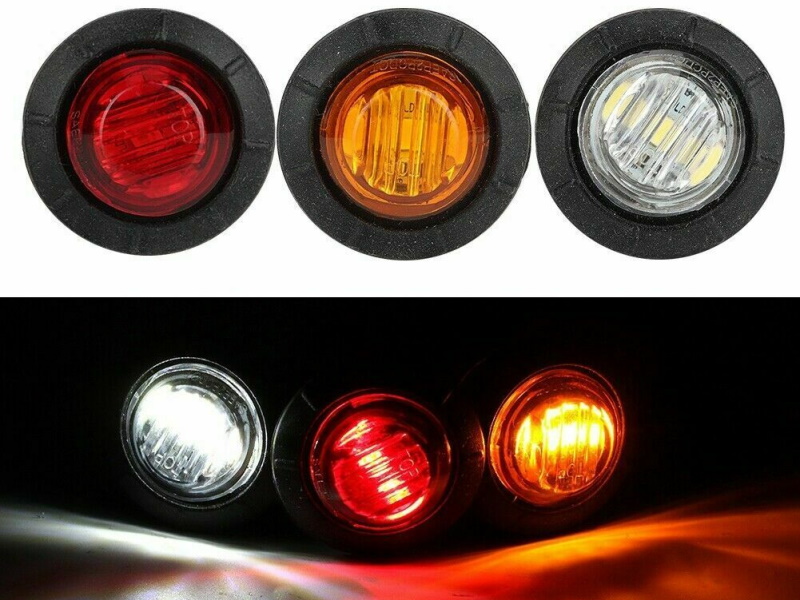
They did, however, have a few limitations which weren’t mentioned in the eBay advert. The biggest nightmare being that the wires are black and white, unlabelled and not described anywhere. This might be obvious in North America, but this is not a common colour arrangement in the UK. I expected the black would be the negative wire, but I found the black wire was positive after wiring the whole car! Very annoying. The seller also didn’t seem to care.
The other problem I have is that they expect to be installed into a 3mm+ panel. Again something missing from the sales literature and something the vendor didn’t care about. In fact, this particular retailer was quite rude and declared me a liar. But, despite that, they are pretty good little lights.
Installing the new LEDs
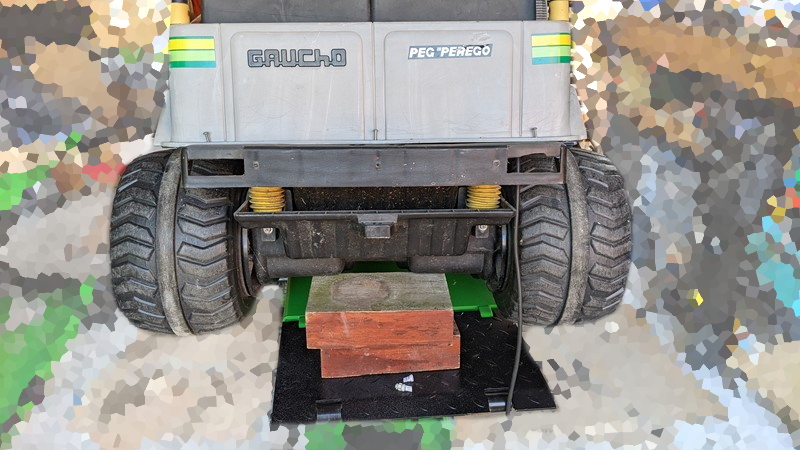
Since the garage was empty, I put the GAUCHO up on the scissor lift. Unfortunately, the car isn’t quite wide enough to sit on the platform, so I put it on a few blocks. Then proceeded to knock it off about eleventy-billion times. It was, however, at a great working height, so the rear bumper was quickly removed, and a cable run from the engine bay to the rear of the car.
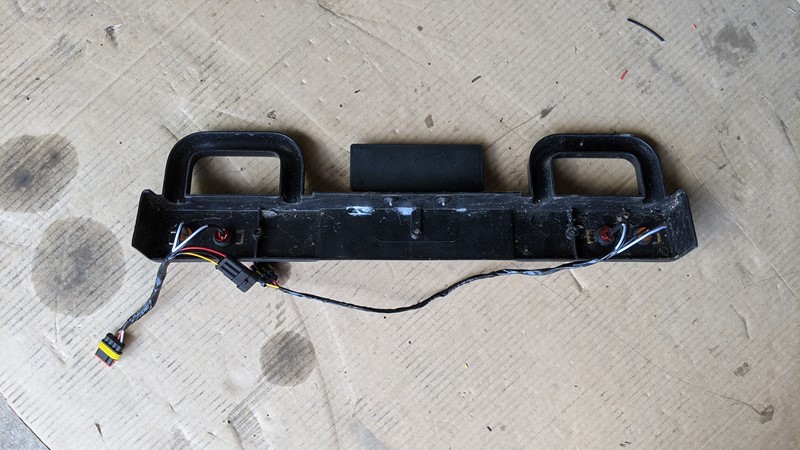
With the bumper off, I could install the lights and wire them up separately. I did have to enlarge the holes, so the original lamp holders will not fit without some fixing. I followed the original Peg Perego wiring strategy. A few connectors allow the cables to pass in the rear chassis member. They also allow the bumper to be easily removed. The finished article looked pretty good until I realised the wiring was the wrong way around!
With the connections made at the front of the car, I could refit the rear bumper and try out the new LEDs. The sidelights worked straight away, but the brake lights took a little fettling. In the end, it turned out the contacts in the brake light switch were a little dirty. Possibly not a surprise as this is an original 90’s switch. And one that was never designed to go outside!
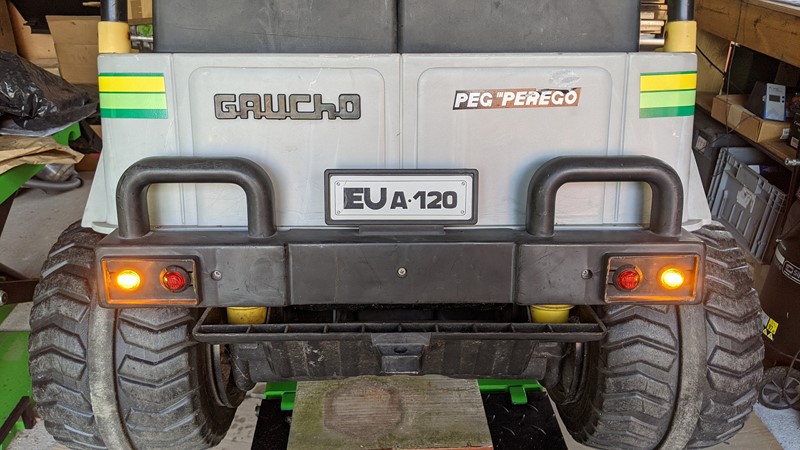
The final result
For such a simple change, the final result is fantastic. These little marker lights are super bright. Brighter than the original 6v filament bulbs and the previous GAUCHO LEDs. I’m pleased with the colours too, it might sound odd, but there are some very washy trailer lights out there. Perhaps best of all, the included rubber boots make the lights look like a factory installation.
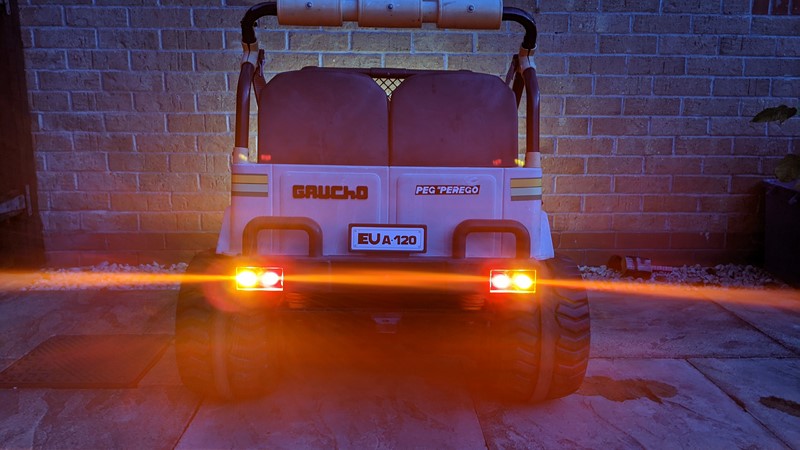
With the car now having working LED’s all around, it should help preserve the power in the 12v batteries. My kids are terrible for leaving the lights on. I also definitely know when they’re stopping. It’s a pretty quick car now, especially when I’m running after it. The bright red lights can be something of a relief to see!
I’m still considering a 48v upgrade and LiPo batteries. Maybe next summer!
M
PREV – 12v Peg Perego GAUCHO upgrade
Back to Electronics Articles
Amazon Affiliate Links – Things used in this article
BXProject is using Amazon Affiliate Links. It’s a quick way to show you what I have used in this article.
“As an Amazon Associate, I [may] earn from qualifying purchases.”
Since January 2024, Amazon has blocked embedding images, but I think the links are still valuable.


Hi, I just pickup up the same car and doing some fixes atm. With rear tail light. The outer light turn on with the headlights, but what are the inside lights for I haven been able to get mine to turn on.
Hi Dweebz,
The outer lights are the rear side lights, which, as you’ve found, come on with the headlights. The inner lights are the brake lights and should come on when the switch under the brake pedal is pressed. I had to do some wiggling of the switch to get the position relative to the pedal correct.
I hope that helps.
M