
With the cylinder head rebuilt and the bottom end put back together with a new cam, there is just one thing left to do. Assembly of the head and bottom end should be straightforward now. But like everything else with this engine, there are some bodges to undo. I also know from experience, winding the head bolts in is anything but easy!
Checking the engine bottom end
I’m still following the Haynes and the Citroen Workshop Manuals at this point. Something that has me a little worried is getting the protrusion of the cylinder liners just right. With most of my engine building experience being on solid XUD blocks, floating liners scare me. Too much protrusion and a cylinder won’t seal to the head. Too little, and a cylinder won’t seal to the block. And the tolerances are super small, a few tenths of an mm.
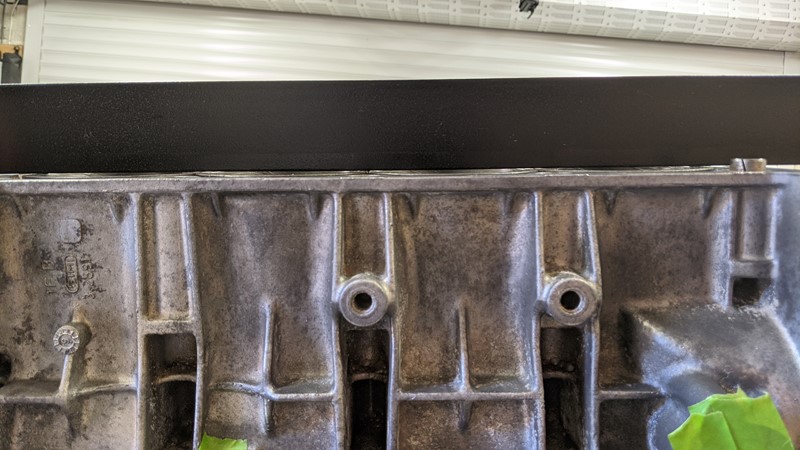
So before I throw the head on, I want to double-check where the cylinders lie. I’m checking against each other, knowing there is some compression available in the seals at the bottom of the liners. The protrusion was good before the seals went on, so this is just a comfort check for my sanity. There’s nothing horrific going on. And the block is still as straight as it was. Okay, I’m a little more comfortable. Let’s throw this bad boy together!
Checking the cylinder head
Damage caused by oil starvation has always been a popular conversation topic for these Mi16 engines. With the oil pump pickup sitting at one side of the sump, it seems very easy not to have any oil to pick up. As a result, no oil going around the engine usually ends with the crankshaft not being lubricated and the bearings spinning. But it definitely happens. I’ve seen it on a track car.
There seems to be no end of ‘solutions’ for the problem, from overfilling the engine with oil to full wet sumping. I’ve looked into some of the other options in the past too. I have an uprated pump spring and regularly look on eBay for a baffled sump or windage tray. But on the road, I’ve never had a problem. I put this down to some simple things. Keeping the oil galleries clean, changing the oil regularly and letting the oil warm up before getting carried away.
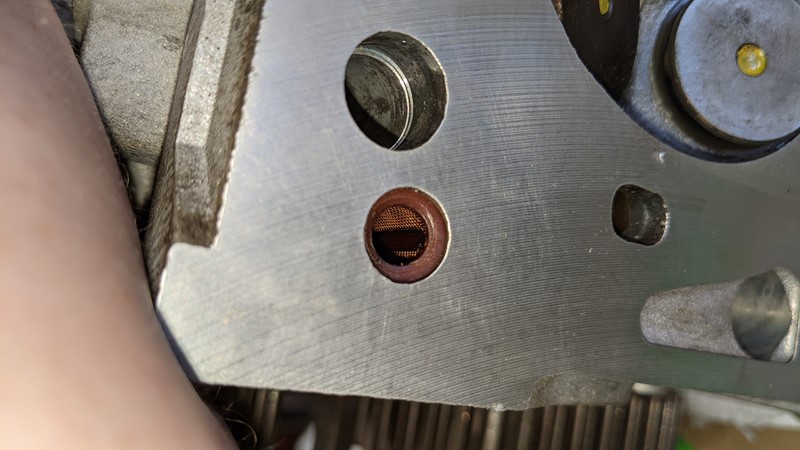
So before I bolt the head down, I want to take one last check of the oil filter in the head. These have long since been unavailable from Citroen or Peugeot. Cleaning the filter in situ is the only option. My past attempts at getting the filter out in a useable condition have never gone well. This tiny, obscure filter protects the oil galleries in the head from becoming blocked. If it restricts flow into the head, it restricts oil return to the sump, with predictable results. Using an increased oil pump pressure spring, baffled sump or windage tray won’t help if this filter is blocked. Fortunately, this filter is squeaky clean, despite the poor picture.
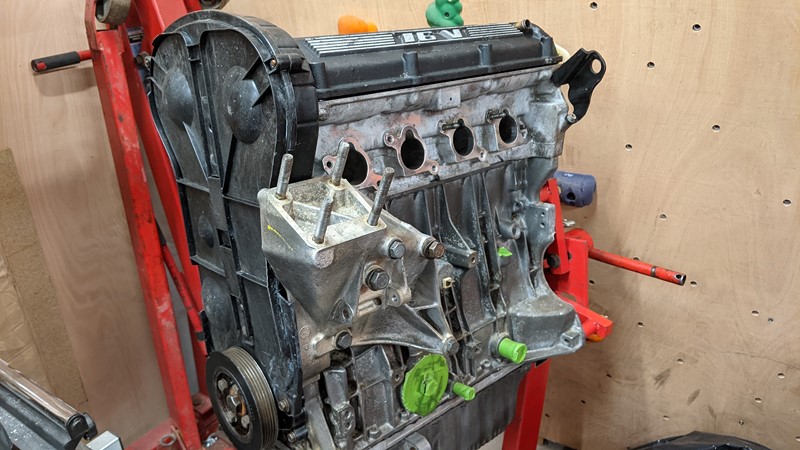
Asembley of the head and block
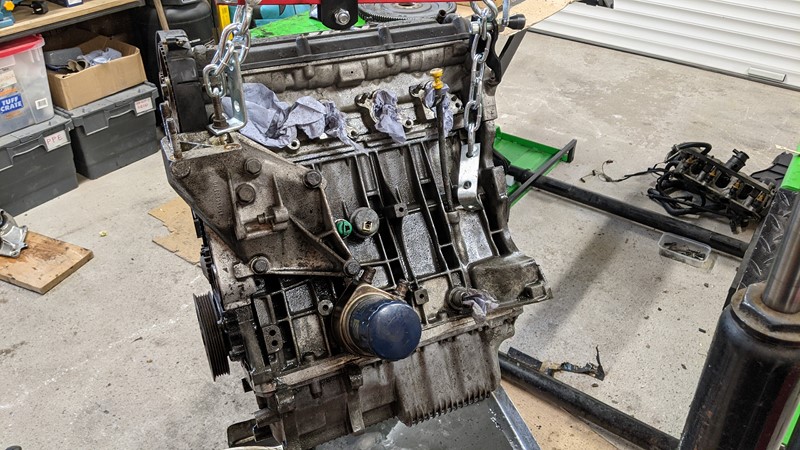
After what feels like an eternity, I can finally rejoin the engines bottom end with its cylinder head. I’ve put both the cylinder head cams and the crankshaft into their timing positions. This way, I know the relative positions of the pistons and valves before they get bolted down. This is pretty important if you don’t want to bend a valve when the belt goes on. I’ve done it before!
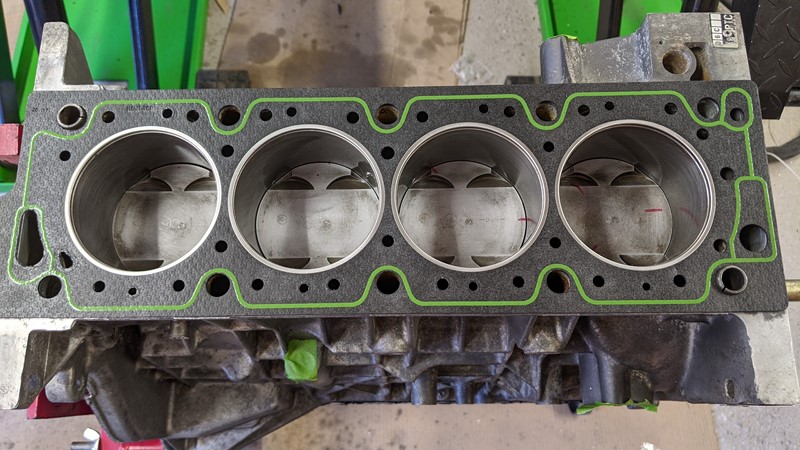
The engine assembly will need a thicker gasket to take up the material removed in skimming. According to the Citroen manual, a refurbished cylinder head will have the letter ‘R’ stamped into it. This way, any future engine builder knows it’s been skimmed. Unfortunately, there is only so much you can skim before the pistons hit the valves, or worse. This cylinder head doesn’t have the ‘R’ struck in but has clearly been skimmed in the past. Measurements with a vernier suggest it’s on the limit for thickness, so I’m taking no chances. This over thickness repair gasket should take up the loss of material and keep things running smoothly.
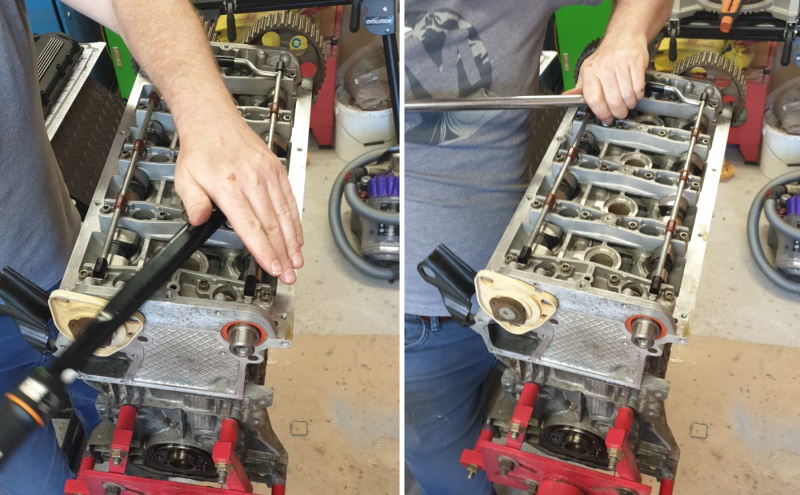
I’d love to tell you I wound the bolts in myself, but I had to bring the big guns in. Initial torque and slacking of the bolts is straightforward enough. But get the 270 degrees of rotation is back-breaking and turned into a two-person job. That said, with cleaned throughs through the block, they all went in without a bother. I even remembered that all holes in the head get a spacer, so I didn’t crack the block. Like so many have before me!
A note on water pumps
Aftermarket water pumps for the XU9J4 engine are readily available from all the major brands, but let me share a warning with you. They are not created equal, and in my experience, the difference shows. I believe this results in a low flow rate at low RPM. Thus, resulting in climbing temperatures at idle. In addition, if the water isn’t being circulated, then no amount of airflow through the radiator will keep the engine cool.
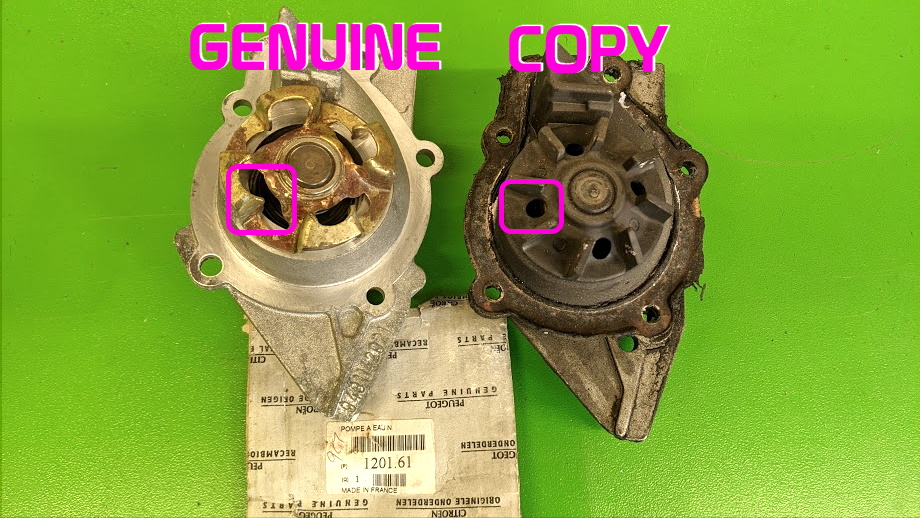
The picture above shows a genuine water pump, 1201.61, next to an aftermarket copy. With eight blades, this Valeo water pump should perform better than some. The issue is the way the blades push the coolant through the impeller. While the genuine pump has practically no restriction, the copy has just 4 holes of about 6mm diameter. So I will only fit the genuine pump into my engines. They are pretty hard to find, but Spoox Motorsport always has them in stock.
Finishing off the engine assembly with a timing belt
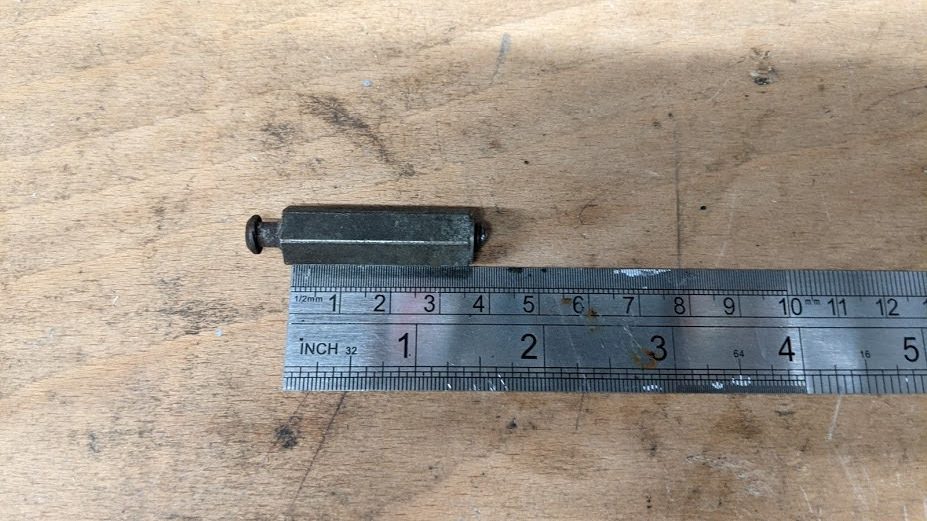
With the top and bottom of the engine attached, there is *only* one thing left to do. Install the new cambelt. After that, it’s a straightforward affair. Just follow the steps precisely. But almost straight away, I find yet another bodge in the engine. The idler pulley bolts look wrong, nothing like the genuine bolts. And on closer inspection, I am far from happy!

The bolts in the left of the picture are what came with the engine. These are clearly bolts that have been chopped down with a hack saw to fit. Beyond the terrible finish, they don’t have a big enough washer to hold the tensioners in place. I suspect over time, the tensioner on the engine was slowly moving, throwing out the timing and losing horsepower. I managed to buy two new bolts from Citroen, at £2 apiece. And then, once they were installed, I found the bag of ten I had. Rats!
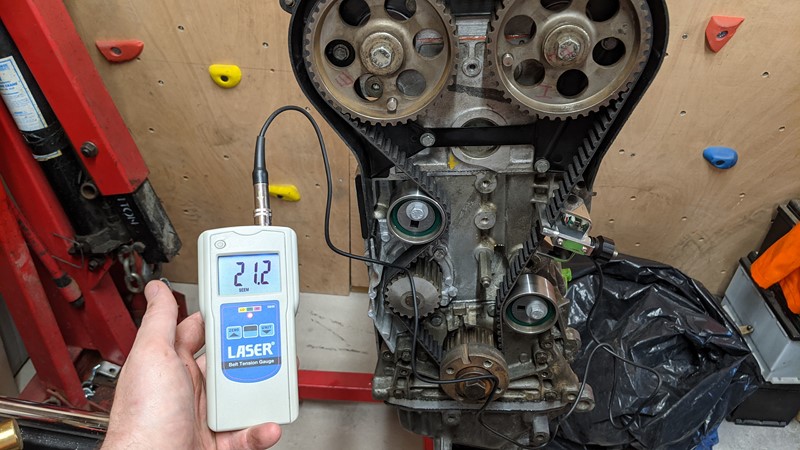
So with the new bolts in hand, the Gates Powergrip cambelt could finally go on. I’ve never done a belt with a SEEM gauge before. Diesel engines are less picky. I wanted to get this one right, and a good friend very kindly let me his. It’s a surprisingly pleasing thing to correctly time up a belt on an MI16 engine. A straightforward step by step process with the right tools. If the tension is correctly set, the timing pins should slide in with no resistance once the engine is turned over twice. And they did! I was so pleased with myself. However, I just could not hit that 21.0 tension. In the end, I got it as close as I could manage and left it at 21.2. It should be fine, right?
Cambelt cover to finish the engine assembly
I wanted to get the cambelt cover on to keep the belt protected and free from flying bodywork. But, no matter what I did, the two pins in the engine that hold the plastic cover would not align with the holes. Putting an engineers square along the standoffs showed the upper one was anything but square. Given that the covers used to fit, I assume the head has been dropped on the standoff since I’ve had it. To investigate further, it seemed sensible to wind the top standoff out of the head and see if the standoff could be straightened.
It didn’t go very well. While it unwound a few turns just fine, the thread then snapped. Balls. Not the end of the world. It was undoing quite nicely, so the thread isn’t jammed. In the end, it needed drilling so I could get an extractor into it. Which meant the cambelt came back off. But the snapped piece of thread did come out without much bother, and better to have done it at this stage. Now I need to find a replacement standoff.
For now, though, I’ve put the cover on without the upper pin located. That should keep it protected!
What’s next in the engine assembly process?
For now, that’s it for engine assembly. There are still a hand full of parts that need to be refurbished before the whole power train unit can be built up. I could install the inlet and exhaust manifolds, but they make the engine really bulky, and at the moment, it is easy to store. Also, I can’t put the engine back into the engine bay until some tasks are completed. The steering rack needs new rubbers. All the suspension needs new rubbers. The near side suspension turret seems to have collapsed. New fuel lines need to go in as well.
All these engine bay jobs are easier without the engine installed. And having the engine on the engine stand makes it easy to manage. So first, I’ll get the oil cooler back on. Then I can fill it with oil and turn it over periodically to keep everything lubricated. But the next focus will be working on the car body, by far the hardest part of the XPO project!
M
NEXT – XPO – Repair Panel Body Cut
PREV – Citroën BX – XPO – Building The Mi16 Bottom End
Back to Citroen articles
Back to Automotive articles


Excellent. Looking forward to seeing how you tackle the bodywork, there’s not enough information easily available for BX panel repair. Keep up the good work. I’ve just started painting my Minor traveller but having nasty paint reaction, managed to get the bonnet looking reasonable but the doors are dreadful : (