
With all the cylinder head parts cleaned and refurbished, and camshafts well polished, it was time for the fun bit of the engine build to begin. Having gathered up all the sealants and lubes needed, I could begin building the cylinder head with an Ajusa cylinder head gasket kit to hand.
Putting the Cylinder Head back together
This is one of the bits of car building I really enjoy the most. Beyond it being one of few areas of car tinkering where all the parts are spotless, it’s also where all the hard work in cleaning and refurbishing pays off. There’s nothing especially challenging about building a cylinder head, but it takes patience, time and a near zen-like approach. It’s otherwise as simple as building a lego kit.
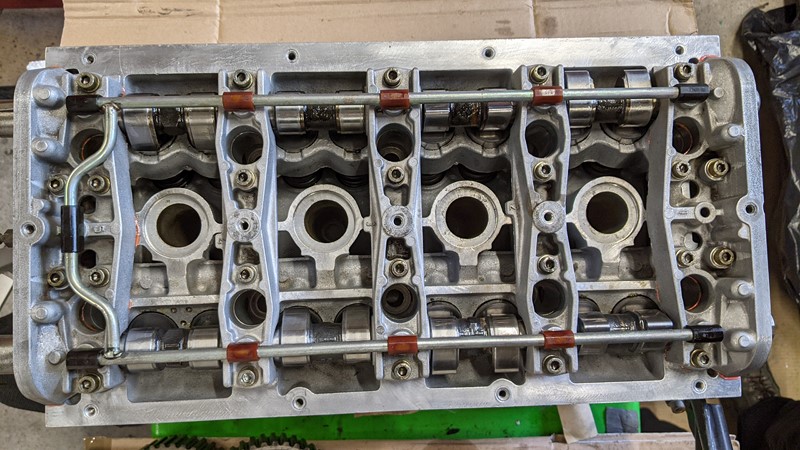
Installing the shafts
While refurbishing the cylinder head parts, I had installed the hydraulic tappets once they had been dressed. This meant I could jump straight into installing the prepared camshafts. Well nearly. I noticed one of the camshaft journals in the head had a burr on one side, which would inevitably gouge the camshaft. So the hydraulic tappet came out, the hole filled with a clean rag, and the burr abraded. Then the whole area needed to be cleaned again! I suspect this might have happened during the original removal of the tappets. But it serves me right for not checking the head journals before I started building the cylinder head.
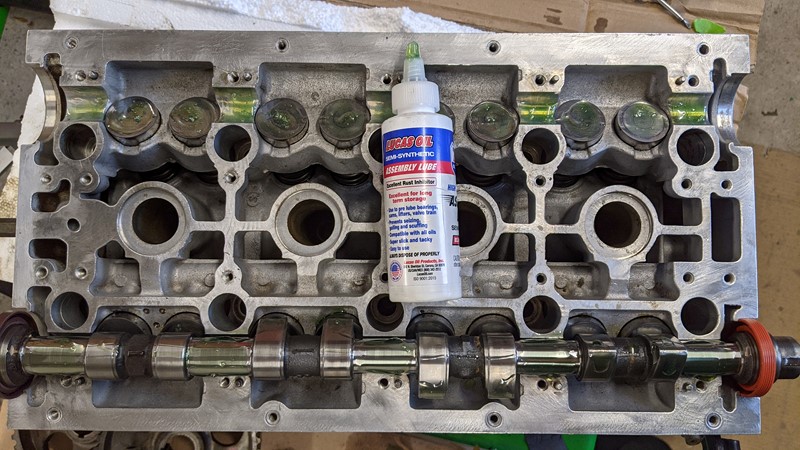
The first step is to smoother the hydraulic tappet tops and camshaft journals with assembly lube. This green snotty lube from Lucas Oils is a special sticky oil intended to cling to surfaces during an engine build. In this way, you don’t have parts rotating before the oil is circulating. This is especially important where the oil pump cant be readily primed.
The crankshafts are then prepared with new oil control seals and placed onto the tappets and journals in the head. Care is taken to ensure the inlet and exhaust shafts are in the right places. I suspect a coming together of valves might happen otherwise! I’ve also offered up the cam pulleys so I can get the shafts in roughly the right timing position. Once bolted down, the cams shouldn’t be rotated, or there is a chance of the valves colliding. And don’t forget a bit more lube.
Gasket Eliminator
Once both camshafts have been offered up to the cylinder head, the camshaft caps can be brought in. The caps make the upper half of the journal for the camshafts, and learning by my mistakes, I’ve checked these for burrs before placing them in position. The features in the head mean you can’t install them in the wrong order, but the castings are also numbered.
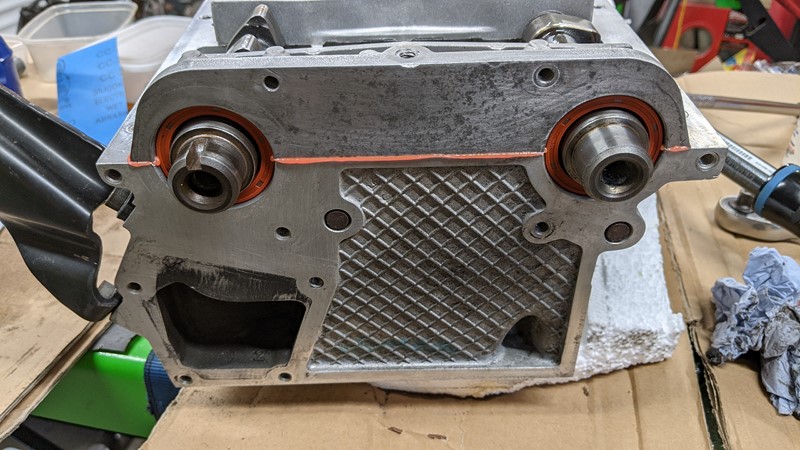
While the three middle cam caps are just bolted down, the two end caps need to make a good seal to the head. This is because the caps are wet with oil when the engine is running. The rocker cover, and gasket, sits on top of the end caps. Putting any gasket between the caps and the cylinder head would mean the journals would not be perfectly round. So instead, these caps are installed with a gasket illuminator sealant.
This takes up any minute gaps between the cap and head and stops any oil from seeping out. In this case, I’m using Loctite 510 Flange Sealant. The application guide has 3 pages for calculating curing times. I reckon 3 weeks should be enough. I was also quite surprised to find the sealer was pink!
Bolting down the cylinder head caps
The next stage in building the cylinder head is to bolt down the caps, which is no simple task. Because some of the camshaft lobes are pressing on the hydraulic tappets and, in turn, the valve springs, they don’t sit flat and want to escape. To bolt down the caps requires a level of wrestling akin to trying to take an ice lolly from a toddler. No one is going to win unless good tactics are used.
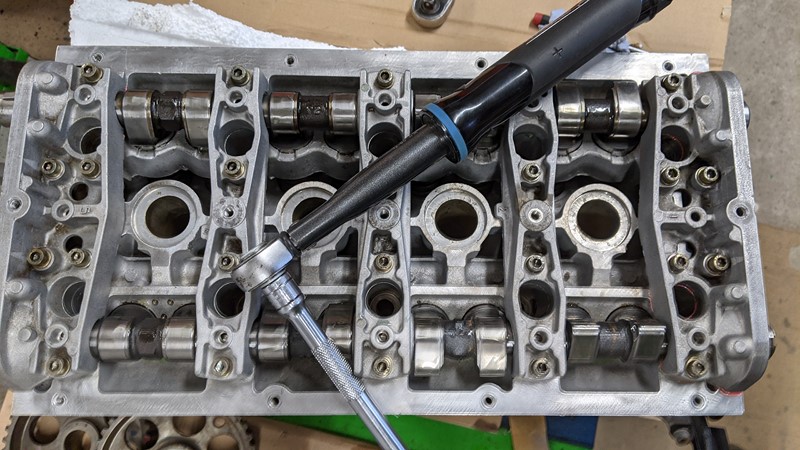
To overcome this challenge, the caps are bolted down one bolt at a time in a spiralling pattern. While a little complicated, if you take a little time over it, there is a method to the madness. Pretty soon, the caps are all bolted down. The final step is to set the bolt tension with a torque ratchet. This is incredibly satisfying, finally seeing something back in one piece!
Cylinder Head Oil Supply Bars
The final part of the cylinder head build is to install the cylinder head oil bars. These supply oil almost directly from the pump into the camshaft journals through the cylinder head caps. This lubricates the camshaft journals and the cam lobes and supplies the oil to the hydraulic tappets. So it’s pretty important for a healthy engine.
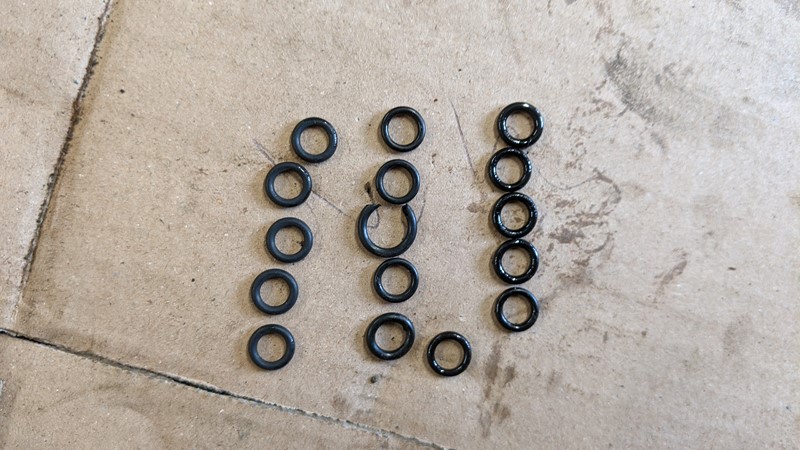
On each plastic adapter sits an O-ring. This keeps the adapters in the holes in the cam caps, making sure the oil is getting to the right place. The picture above shows the old seals on the left and five new ones on the right. It’s clear on inspection that the old seals are past best, with many swollen and oversized, with one completely split.
Once all the seals are replaced, the lubrication bars can be offered in place, and the plastic adapters pushed home. Hopefully, with the care given, this should be a trouble-free cylinder head for years to come. I have new seals for the rocker cover and spark plug holes, but I won’t fit them yet as I don’t want to lose them before the head bolts go in!
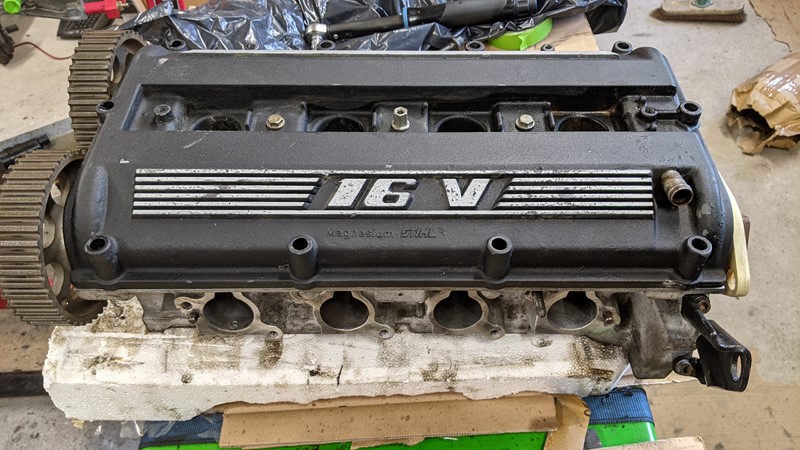
Rocker Cover
The original rocker cover that came on the cylinder head was most certainly past best. The paint was flaking, covered in oil, and it was showing scratches from something being dropped on it. While the appearance was not in keeping with the engine’s age, I couldn’t bring myself to refit it. It seemed daft to put so much time into building the cylinder head then finish it off with a worn, shabby-looking rocker cover.
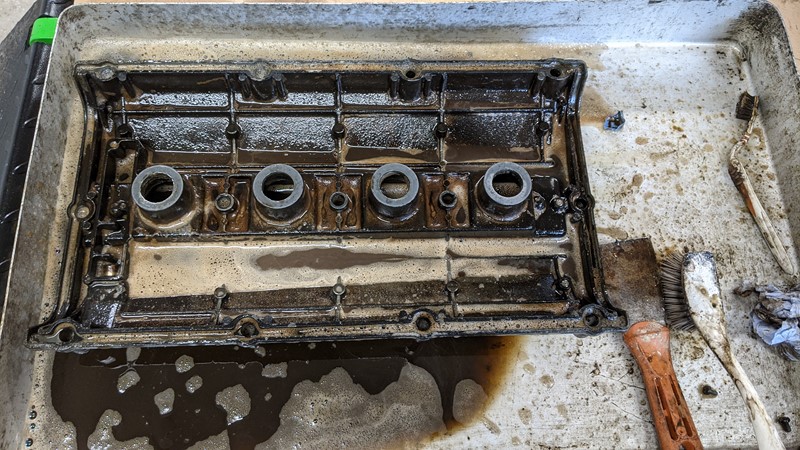
The solution was to take a punt on a very cheap eBay part. The item listing showed a very filthy cover that was way below the price some specialist suppliers sell at. So it was no surprise when it arrived how disgusting it was. Into a bath of degreaser, it went, for a thorough scrubbing, in the hopes of turning a sow’s ear into a silk purse.
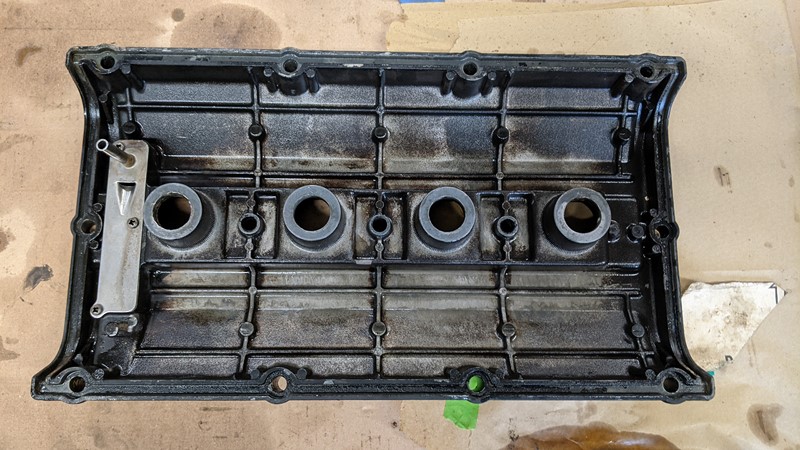
It actually took surprisingly little effort to get it looking immeasurably better. Much of the back on crud inside the cover came off with a minimum of scrubbing. It turns out that while the rocker cover had been sat around in a garage collecting dust and filth, it was in excellent condition underneath.
Little by little, the eBay bargain scrubbed up really well. It actually created quite a dilemma. This is a much better-looking rocker cover than the one on my own car, so should I swap mine out? In fact, this engine should be much better than mine once it’s finished. So should I install this engine in my own car once it’s done? The reality is I have very different plans for the engine in my car. I suspect I’ll be going through all this building again, and I’m fine with that.
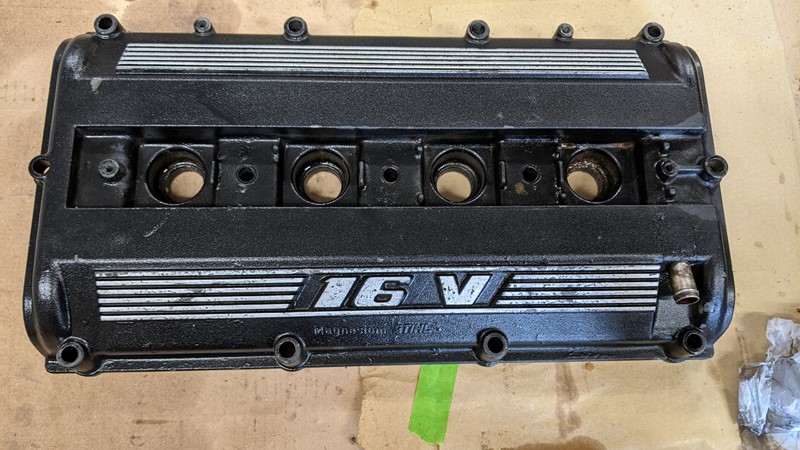
The Finished Cylinder Head
After a few hours of building, the cylinder head is looking immeasurably better than how it started. I’m pretty confident that this will restore a lot of the missing horsepower to the engine. The work put in should have it running much better, too, if I haven’t got anything wrong!
Now that the cylinder head build is complete, I’ll turn my attention to the bottom end. That’s a lot more pieces to clean and prepare for assembly. It might take just a little bit longer!
M
NEXT – Mi16 Engine History
PREV – Cylinder Head Part Refurbishment
Back to Citroen articles
Back to Automotive articles


This has got me all fired up for a valver. Make a change from a Morris Minor : )
Thank you Panky, I have to admit, this is the best feedback I’ve had to date.
Giving people the get-up and go to get on with their own project is the primary reason for the BXProjects existence!
M