When I last wrote about the rebuild of the engine for XPO, the project was at a bit of a low point. A host of things were absorbing my “free time”. Then when I did get a moment, it wasn’t exactly plain sailing. Admittedly snapping the piston rings was a mistake entirely of my own doing. But new rings have arrived, sort of, let the building of the bottom end commence!
Picking up where we left off
In the previous article, the rebuild of the bottom end was going reasonably well. Until it didn’t. The replacement crank was well within tolerance, making it an eBay bargain. All the bottom-end parts were going together pretty well. With the help of both the Haynes and the Citroen workshop manuals, I had all the instructions I needed.
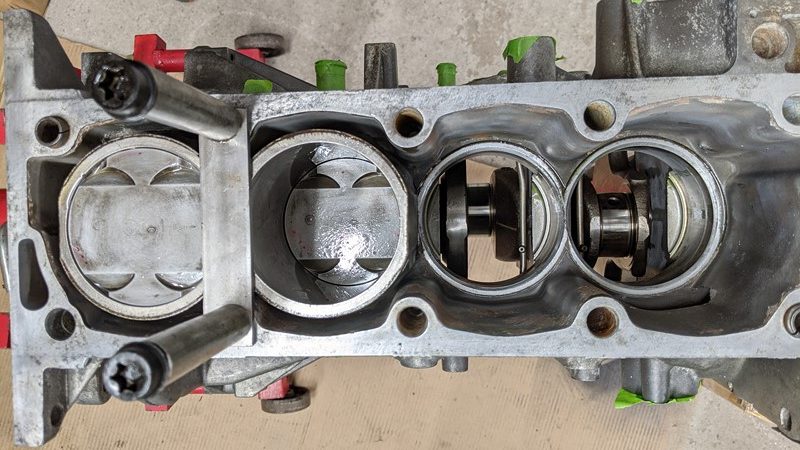
However, while I’ve done bottom-end shells before, I’d never changed piston rings. Coupled with my exuberant sense of success with the rest of the build, and the first ringed piston, I got carried away. Without the piston ring compressor sitting flush to the cylinder liner, the bottom ring escaped. A few taps with a hammer and the inevitable happened. But it’s okay, some replacements have arrived, sort of!
Replacement piston rings from Autodoc
By far the cheapest place to get more piston rings was Autodoc at around £15 a set. For matching Mahle 039 82 V0 rings, anywhere that claimed to have stock in the UK wanted £45. And my recent experience with some of the UK stockists is that they actually have no stock. Worse, they won’t tell you for days, and just refund you without any notice or apology! So I put another order in to Autodoc.
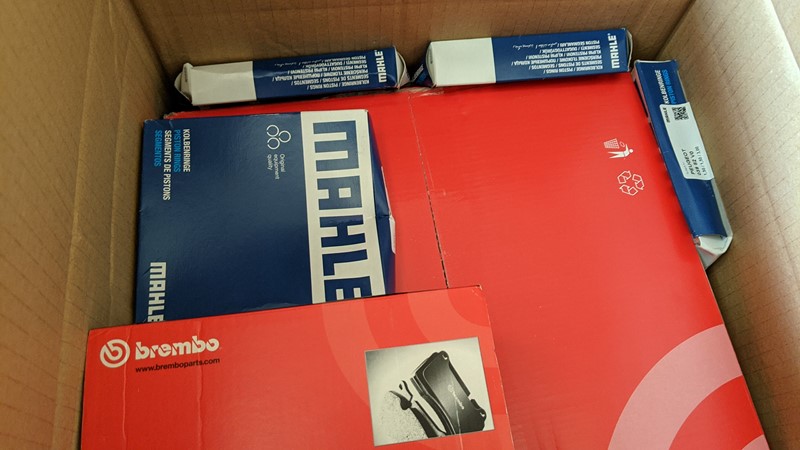
Replacements arrived from German in a record-breaking 11 days. This is much faster than the usual 4 week lead time from Autodoc. To get the shipment over the threshold for free postage, I also ordered brakes and pads for the Freelander. It seemed like an obvious thing to do at the time, but it wasn’t. In fact, it was a bloody stupid thing to do.
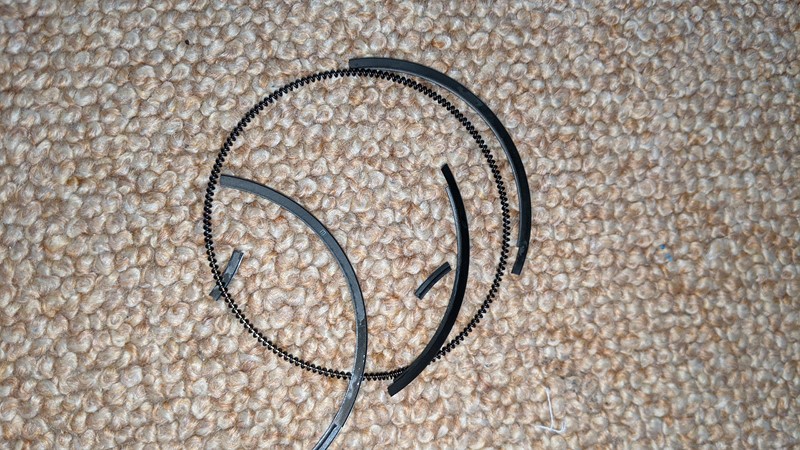
Having traveled from Germany being continually pounded by a brake disc, this is what fell out of one of the ring packets. I didn’t do this much damage failing to fit rings a few weeks back. Argggghhhh. Fortunately, I had low expectations in my ability to fit these rings and ordered 4 sets where I only needed 2. And as luck had it, two sets arrived unscathed.
So far Autodoc has been really good about sorting out the damaged rings. A few obvious hoops to jump through like pictures of the shipping box, but very responsive. On average ‘Emma’ has been responding within a couple of hours. I’ll report back once I have a final outcome.
Gapping of the piston rings
One of my regular readers messaged me to suggest I check the piston ring gapping. It’s not something that I had considered as I knew I had ordered pre-gapped piston rings. I’ve also measured the piston liners at multiple points down each bore and knew they were about in spec. But my bore measurement was a little “mickey mouse”, so checking the ring gaps wasn’t a bad idea.
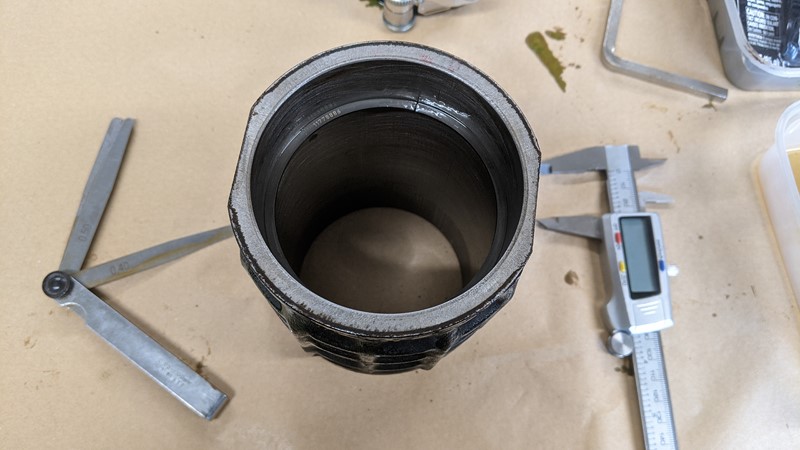
I started by measuring down 25mm from the top of the cylinder liner. There’s no special reason for 25mm other than it just about covered the height from the bottom ring to the top of the piston. In theory, this should be the most swept part of the cylinder wall, the most worn part. Dependent on the ring, the spec range is between 0.1 and 0.4mm. At this point, the gap was measuring between 0.4 and 0.45mm.
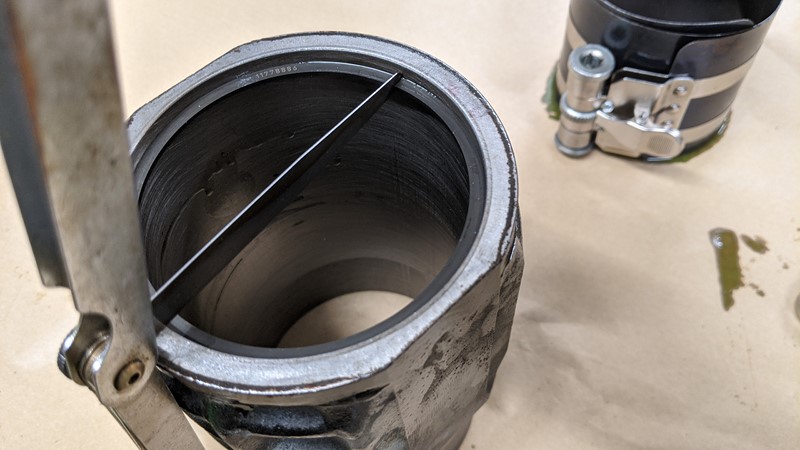
Just to be satisfied with the amount of wear, I measured the ring gap at about 5mm from the top of the liner. This showed a gap of exactly 0.3mm, right on the upper limit for rings 1 and 2.
So what does that mean in reality? Well on a cold engine, before the rings warm and expand, there is going to be a little more blow-by than spec. But with everything else that was wrong with this engine, I suspect this is a massive improvement!
Ringing the rest of the pistons
Having made a complete hash of the second and third attempts at fitting rings, I was dreading this step. But I need not have worried. Taking my time, making sure the rings were aligned and being gentle seemed to pay off. In no time at all, I’d slipped the rings into place, with a healthy lube-ing. It was suggested that feeler gauges could be used here to slide the rings down the piston. I just went with ring pliers and hands.
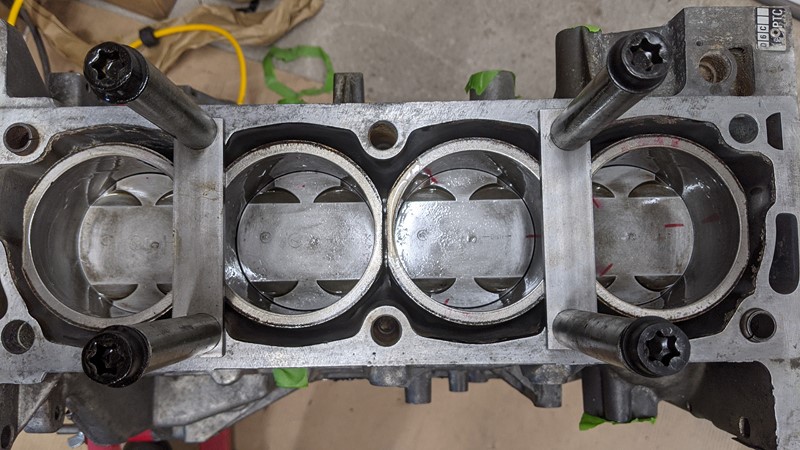
I’ll save the long-winded process for a less than exciting YouTube video. Suffice to say that the rest of the rings went on without any drama. In fact, they all then slid quite nicely into the liners. It never continues to surprise me how pleasant a job can be if you take a little time, rather than rushing. Liner seals were all put in place and the piston/liner assembly dropped in with pre-lubed shells. Bottom end bearings were bolted together, liner retainers installed and the crank rotated to TDC.
Preparing the oil pump
The oil pump was somewhat caked in old oil and sludgy carbon deposits. As it sits upside down, under the pistons, it gets a lot of sprayed oil dropped onto it. And the shape of the top side of the pump lends itself to trap the carbon and other junk that accumulates in the oil. Clearly, it couldn’t go back into a clean engine like this.
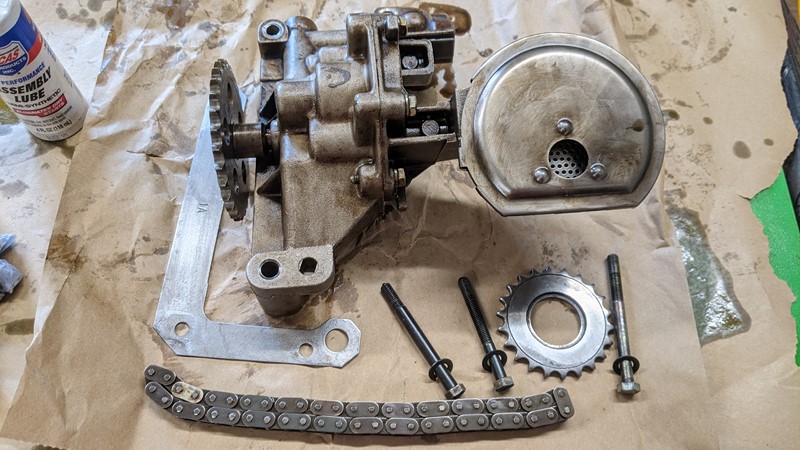
It would have been so easy to throw it into the parts washer and leave it for a few days. However, I was fearful of never getting all the degreaser back out, and didn’t want to strip it down. Instead, the exterior got a thorough cleaning with a rag with some petrol on it, which worked really well. What about the inside though? Given some of the sludge in the system, what on earth was inside the pump.
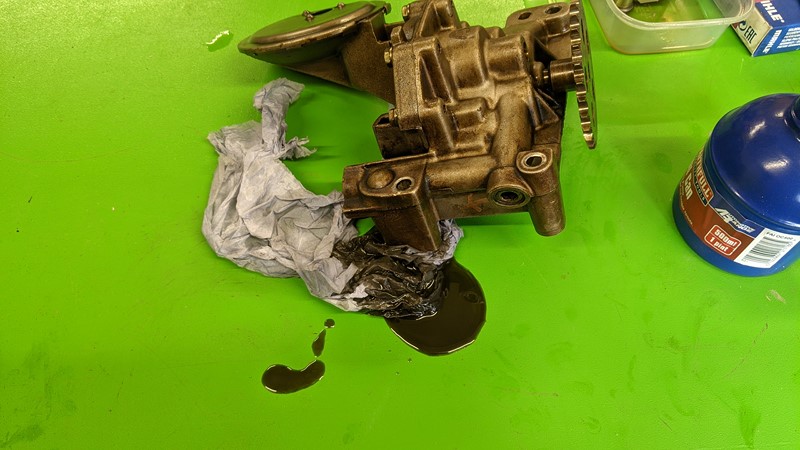
This turned out to be an easier issue to deal with than I imagined. First I primed the pump by pouring oil into the pump. Then I rotated the pump until oil came out. And I think you’ll agree by the colour in the picture above, this was well worth doing. A few more manual flushes and clear oil were flowing from the pump. Before I could put the pump back in the engine, I had another issue to tackle.
Workshop manual deviations
I didn’t make good enough notes when I took the three pump bolts out. I had assumed that the Workshop manual or Citroen parts catalogue would cover the different lengths. Well, it does, sort of, but the bolt lengths I had were completely different from the listings.
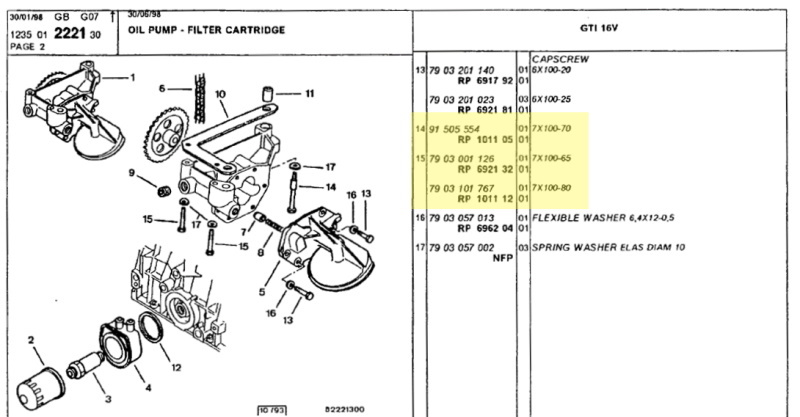
The Citroen parts listing, from the 1992 catalogue show bolts at 70mm, 80mm, and 80mm. Only what I had taken out were 65, 70, and 75, each with very different threaded lengths. I also didn’t have the spacer marked number 11, and only three-quarters of one of the spring washers, number 17.
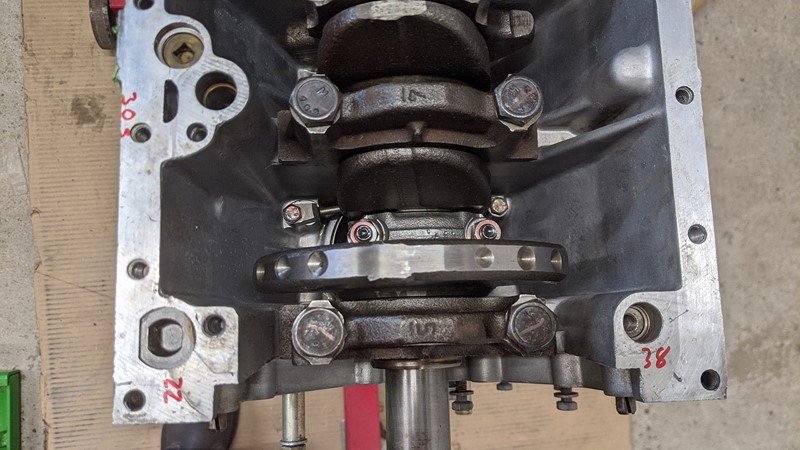
The most likely thing to happen was that I would screw the bolts down and bottom out. No doubt I would then crack the block and wreck the engine. The solution, measure the depths of the holes! The bosses in the pump were all 50mm tall, so the depth of the holes would give an idea of which bolt goes where. And the method paid off, sort of. Then I had a genius streak!
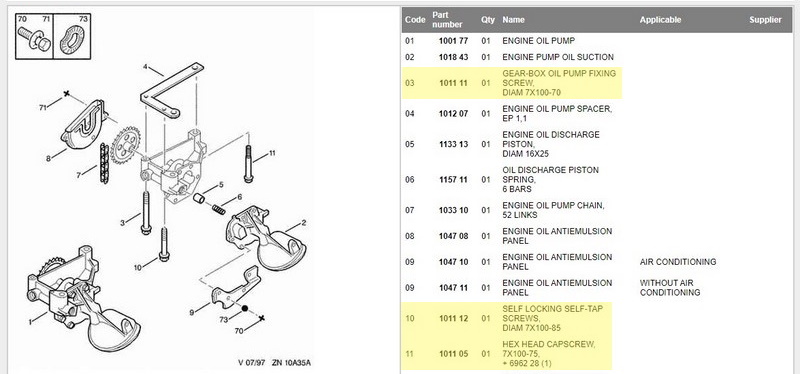
Genius might be a stretch, but the engine also went into the Peugeot 405. Sure enough, the three lengths here better matched the bolts I’d taken out. Only the shortest measured hole looked to have the longest bolt. Damn and blast. Eventually, I managed to find a picture of the pump in the block before it was removed. The heads of each bolt were differently stamped, so I could, with certainty, put them back from whence they came.
Yet another Haynes obscurity
Perhaps unsurprisingly, the Haynes manuals of old often have steps missing. Although not as many missing steps as a modern Haynes manual, which seems to always suggest returning to the dealer. In this case, there was no mention of refitting the pump/crank cover housing.
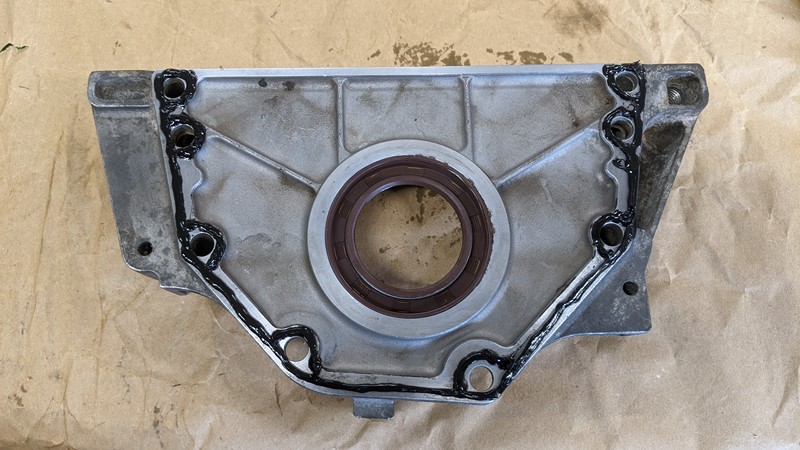
It’s a pretty critical part as otherwise there is a rather large hole at one end of the engine. It also carries the crankshaft oil seal. Much fighting later and I was able to declare victory over the old seal. In the end, I cut through the inner and outer steel rings. A little corrosion on the leading face of the housing had some-what bonded the seal in place.
A quick run around with some universal gasket / RTV and I was ready to install the cover plate. Only the Haynes also didn’t cover the torque for these bolts, well not that I could see. I’m used to the Haynes covering absolutely everything as it does in the XUD manual. In the end, I looked through the Haynes and factory manual list and chose a torque that best matched the situation, 19Nm.
Finishing off the bottom end
So now all the pistons, rings, and liners were installed. The oil pump had been bolted down, which the sprocket slid onto the crankshaft. The crank cover plate and new oil seal were in place. And finally, the oil sump could be installed. Well, once the sump spacer was in place. This involved some high-accuracy instant gasket placement and a couple of cap head screws.
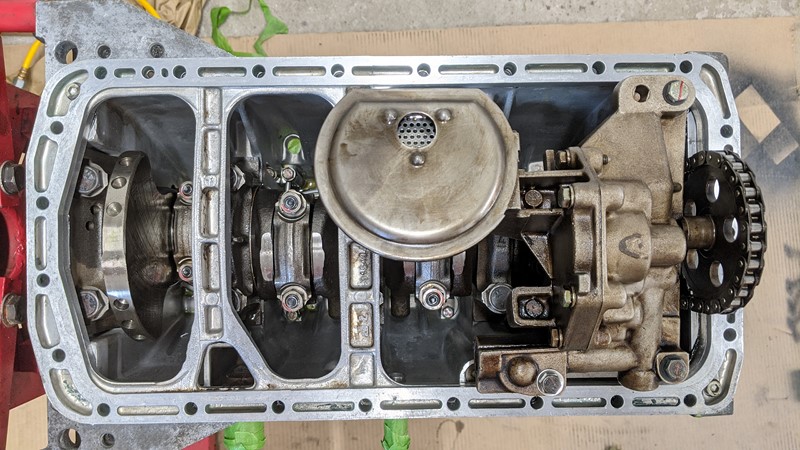
With the two cap heads in place, there is just enough sealant oozing from the outer edge that I know I’ve got enough RTV all the way around. I’m optimistic there will be no future leaks. It’s a tricky balance getting enough instant gasket to make the seal, but not so much it ends up in the oil pump. I’m pretty sure I’ve got the balance right.
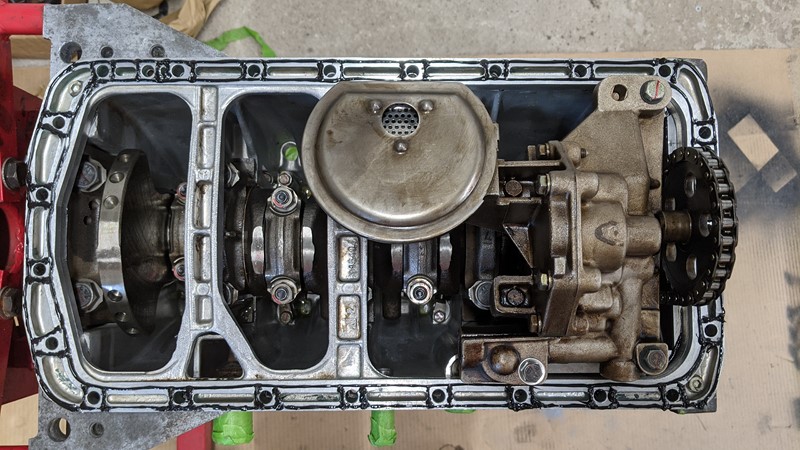
Next up the sump pan can go on. Now as this engine has the allow sump, it should not have a foam/material gasket, but a liquid seal. This seems to be missing in both the Haynes and the Citroen manual. Looking at both documents you’ll see the guide is using a tin sump, which does need the seal. Anyway, more squidging later and the sealant was in place to find the sump.
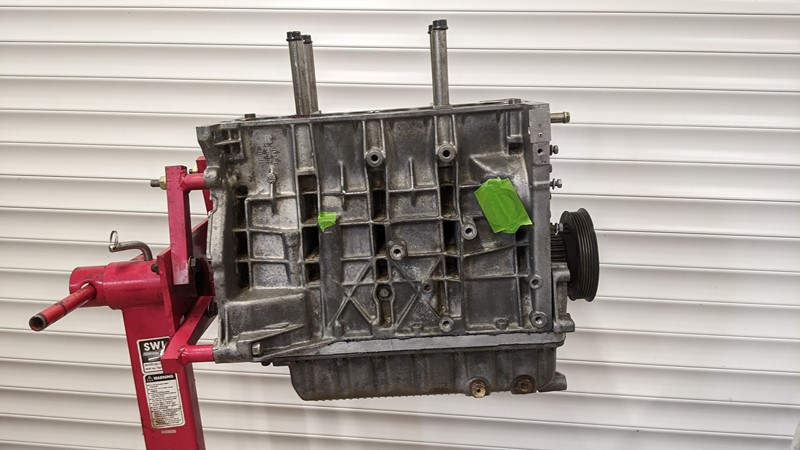
And for now, that’s the bottom end build completed. Everything correctly torqued up, seals in place, and no spare parts. Well, I don’t think there are any spare parts. Certainly no spare piston rings.
Next up will be putting the head and head gasket back on, water pump, pulleys, and timing belt. This is a little more familiar territory for me, so hopefully, I can get through this stage pretty quickly and start on the bodywork. Wish me luck!
M
NEXT
PREV – Citroën BX – XPO – Building The Mi16 Bottom End
Back to Citroen articles
Back to Automotive articles

Are you not modifying the oil sump?http://www.taylor-eng.com/sump/wetsump.htm
Hi Bjorn. No changes to the oil sump on this one. They’re generally not needed, unless the engine is used on track. At that point the engine would need a lot more work.
An XUJ94 can cope quite happily with spirited driving if the engine is well maintained, and the galleries kept clear. Ultimately this is project is to put the car back on the road, and not a race/track project.
That said, I did look for a baffled sump and windage tray but couldn’t find either within the restoration budget. Might have made a nice selling point.
M
I’m currently rebuilding a BX 16v engine (D6C) for normal road use.
It’s a known issue with these engines that they can suffer from oil starvation on long bends, often resulting in con rod failure.
I’m updating the oil pump with a 6 bar (XU10) spring and a bigger 26T crank sprocket, the sump will be baffled just to make the engine future proof.
All the parts together cost less than £100.