
I’m throwing up a wall section every day by this stage in the Mega Shed build. Progress has become considerably more spritely than the early stages of groundworks and base building. Getting the longwall up has undoubtedly spurred my enthusiasm. Now the build hits a new level of complexity with the fence wall.
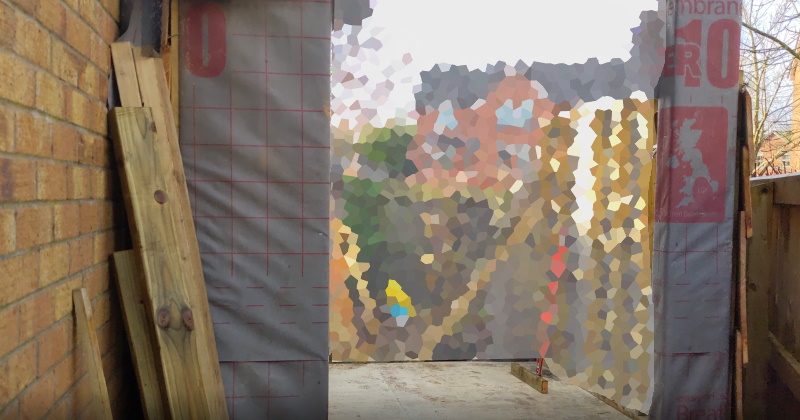
Many angles of the fence wall
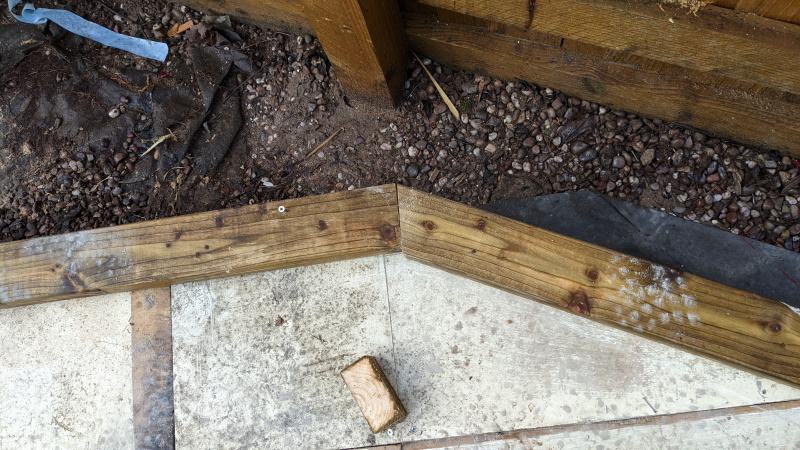
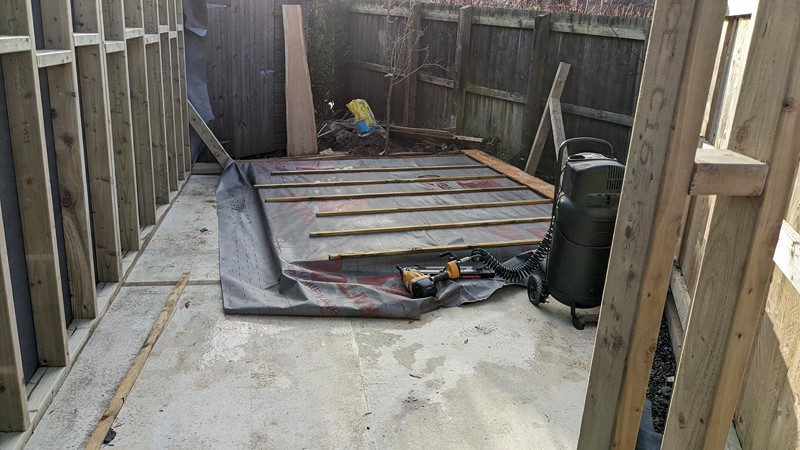
While most of the walls are simple rectangular sections, some with a triangle on top, the fence wall is more complicated. I say it’s more complex, it is a rectangle, but to follow the fence, it has some complex notching at each end.
At the door end of the wall, it takes a bit of thinking to work out the cut-out, which is similar to a bird’s mouth cut in roofing. Amazingly, I managed to get this one right on the first try with a bit of careful measurement. There is practically no gap to the existing panel around the door either. Quite pleased with that one.
The fence wall will be made of two separate parts, unlike the long wall. This is to allow me to lift and assemble it on my own. The bend where the two sections will meet will need capping as the cladding won’t easily join here, no matter how clever I am.
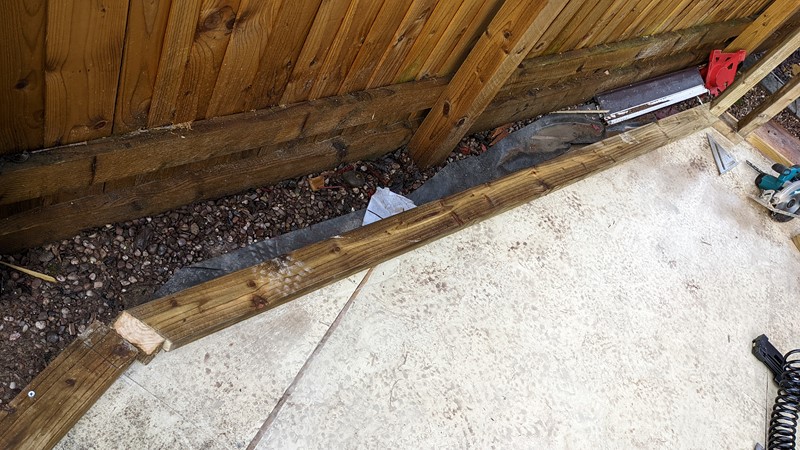
The main vertical timber of each fence wall section, which will hold the roof ridge, will get bolted together. When attached, there will be a small step between the vertical and the rest of the wall. I could take the time to profile the edge now, but the interior cladding should be able to bend over this step without too much of an issue. This footplate is replicated to make the top plate, and the verticals are quickly cut.
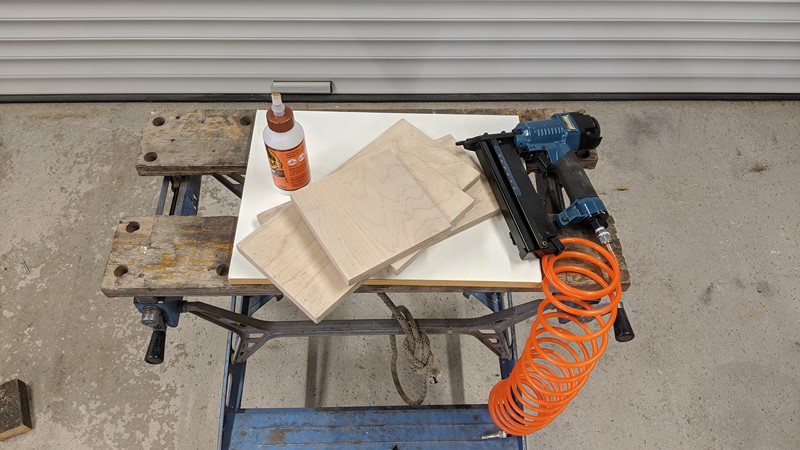
Building up the first fence wall
I’ll save you the chore of pages full of framing going together to avoid the boredom of continuous repetition. But, I also have to confess that I got so carried away with the assembly I forgot to take any pictures. So, the frame gets nailed together, wrapped in breather membrane and battens added.
Because this wall section is so close to the fence, it won’t be possible to clad the wall once it’s been erected. Although I should be able to get my less than slim figure between the wall and fence, the nail gun is too big to squeeze in!

I’ve also learned my lesson about trying to lift too much in one go, so the cladding is only installed as high as the top of the fence. The rest of the cladding can be done later. I’m not smart enough to calculate this end rafter angle in my head. I’ll need something to work against. So, for now, this is only half a wall section. Looks pretty good, though!
Raising the first fence wall section
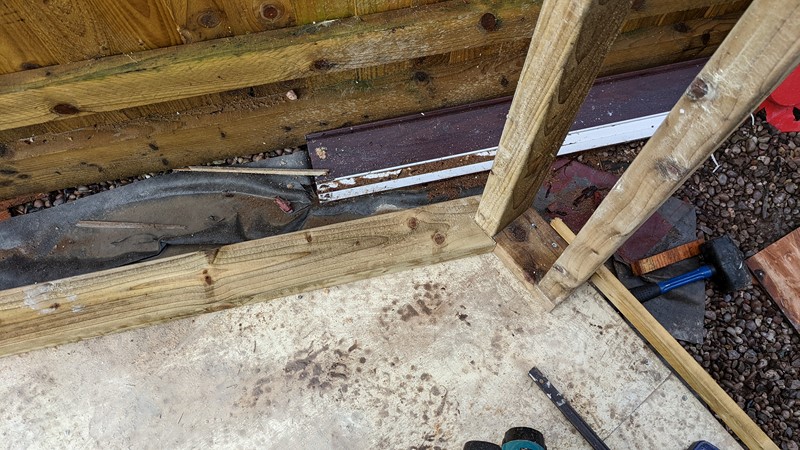
While this panel is slightly lighter than the long wall, it still takes two people to lift it into place. This difficulty is because the battens that support the cladding run 100mm past the footplate, so the walls cladding and membrane overlap the base. In turn, the overlap makes it quite a fiddle to lift vertically.
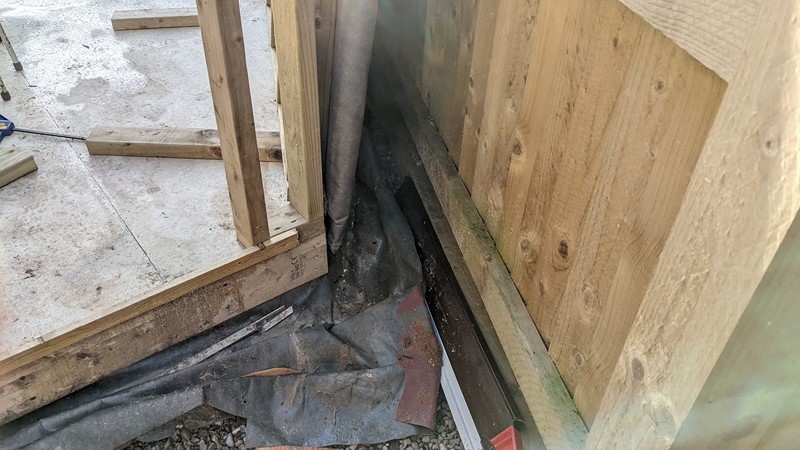
But pretty soon, and much grunting later, the wall section is lifted into place. The picture above gives an idea of just how tight the fence is to the wall! Unfortunately, it also shows a massive mistake I made in forgetting the lap of the base membrane onto the wall section. Oh, how I swore when I realised what I’d done.
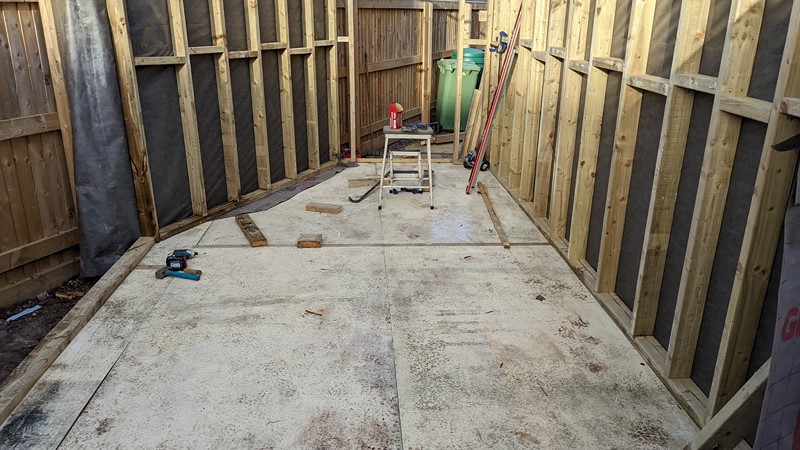
Much grunting and swearing later, and the base membrane was dragged under the wall edge. Far from a perfect solution, but it should be fine in the long run. At this point in the build, having three sides on at least one end of the shed is very satisfying.
Wrapping the membrane at the door end
It’s getting quite late in the day now, so I turn to finish off some of the membrane wrapping with not enough daylight left to build the other section of the fence wall. As each piece of the mega shed has been built, I have deliberately left enough extra membrane to overlap the next piece. This allows a near-continuous cover of the breathable fabric.

First, the extra membrane from under the base is wrapped up and onto the door wall frame. Next, a couple of cuts are made to fold the base membrane over the doorstep. Then, a few staples ad added to hold the flap in place for the time being.
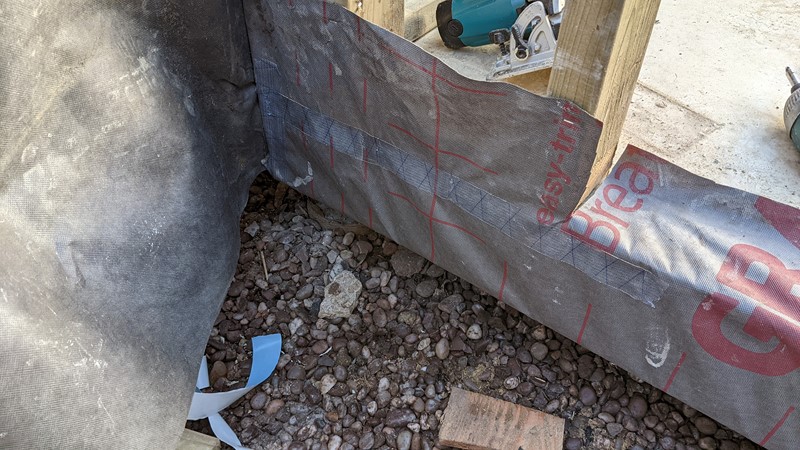
The Easy Trim jointing tape then gets added where the base and longwall membranes will overlap. The longwall excess it pulled taught over the door frame and tacked in to place. A few simple cuts allow the material to fold around the door opening. Where the tape is now between the base and longwall fabric, it is rubbed flat to encourage a good bond.
The same steps are taken to the fence side of the door opening, and pretty quickly, the frame is starting to look more like a wall. That’s practically three sides of the shed now. There seems to be some debate about whether the overlaps need to be fully jointed. It’s probably unnecessary on a roof where battens will hold down the edges, but I want a gap-free layer around the shed to hold in the heat.
Once the day breaks on the following day, I should be able to get the rest of the framing and wrapping done. Then I’ll finally know how big this mega shed really is!
M
NEXT – Part 10: The Final Wall Section
PREV – Part 8: The Door Wall
Back to Mega Shed Articles
Back to Workshop Articles
Amazon Affiliate Links – Things used in this article
BXProject is using Amazon Affiliate Links. It’s a quick way to show you what I have used in this article.
“As an Amazon Associate, I [may] earn from qualifying purchases.”
Since January 2024, Amazon has blocked embedding images, but I think the links are still valuable.

[…] Link to the original article […]