Progress is really flowing on the DIY mega shed build. After the Christmas break, I’ve taken a week off to push forward with the building of the Mega Shed. The fence wall going in has pulled together the frame of the door and the long wall, making everything that little bit stiffer. Now I need to press on with the final wall sections, so I have something to put the roof on!
The other part of the fence wall
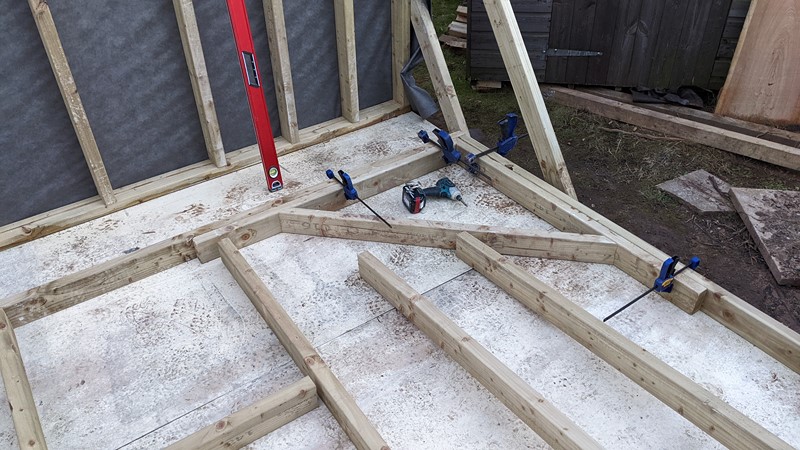
I’m certainly starting to feel confident with the framing. This wall section is another copy and repeat, but arguably the most straightforward section so far. Once assembled, this wall section will finish the run against the fence, but I will still be able to access it from the backside.
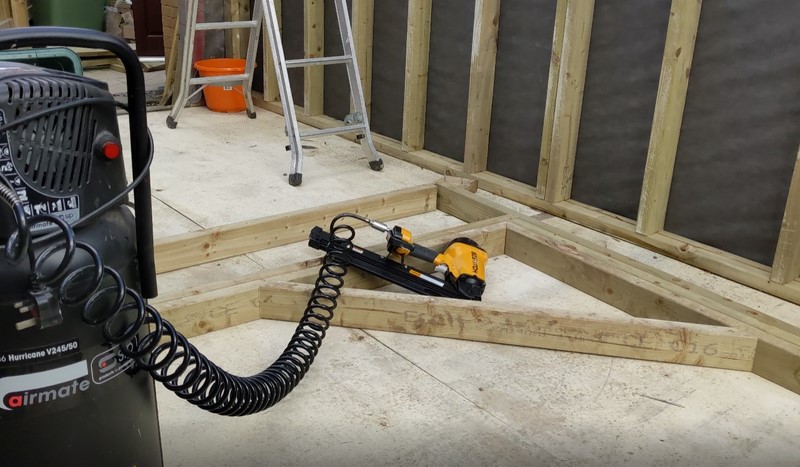
The giant framing square comes into its own on this wall section. It’s always handy to have a jig for repetitive steps like this. I also know all the vertical timbers that make the walls need to be 209cm so that I can cut them all ahead of time. Then all that is required is a quick run along with the nail gun.
I’ve been given an extra ‘nearly new’ double glazed window that would fit quite nicely in this wall. I’m allowing a gap in the frame for the window, but I have concerns over privacy and security. Also, a window here would overlook a public footpath. I need to think and decide if a window here is a good idea or not.
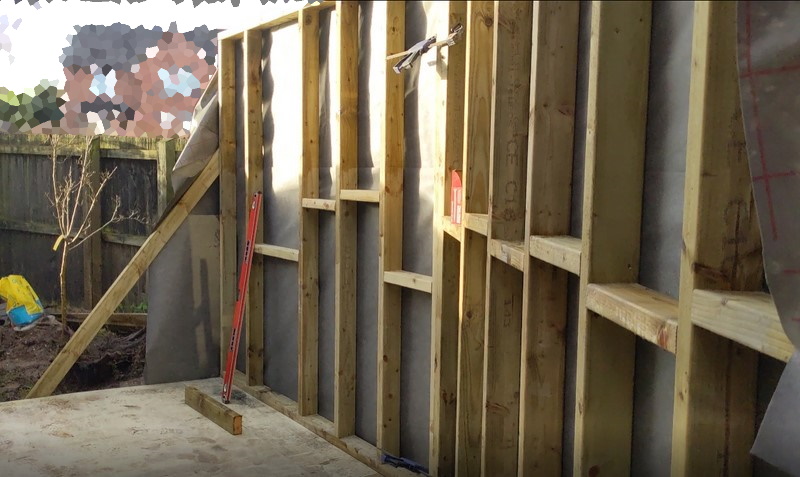
And in no time at all, the wall is up and fixed into place. I’m still enjoying a very mild winter, the temperature hasn’t dropped below 5c, and most days are lovely and sunny. This weather certainly makes the building work quicker and more enjoyable. Quite why I have one noggin so low, I don’t know, but I bet it will cause trouble later.
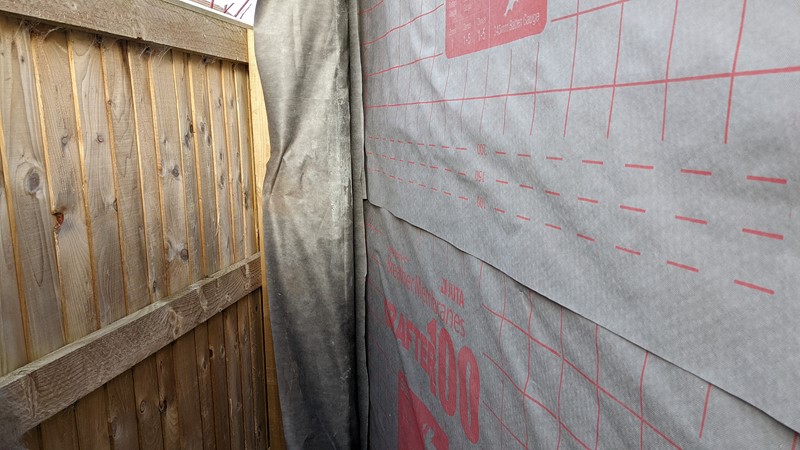
From the backside of the wall, there is plenty of work. The first step will be to get the breather membrane overlapped and taped down. Then batons go up to stop the breather betting blown off or torn. We have a few storms forecast. I won’t start cladding until I’ve decided on the window, but there is enough space to work here.
The Main Window Wall
Ooooh, this is getting exciting now. The final wall! Hopefully, once this is in, I’ll have a good idea of just how huge this DIY shed will be. I hope it isn’t so big as to catch the eye of an eager planning officer. Of course, it’s all within the rules for not needing planning permission, but there is 5cm in it!
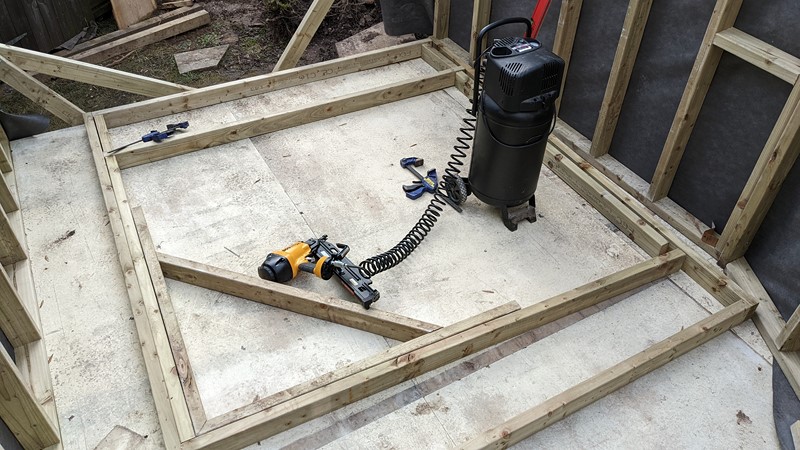
As a window will mostly take up this wall, it won’t be heavy once finished. Again the framing square comes out to speed up the assembly of the pre-cut timber lengths. I’ve gotten a bit carried away here and cut down too many of the 3.6m lengths. This oversight becomes apparent when I come to do the roof!
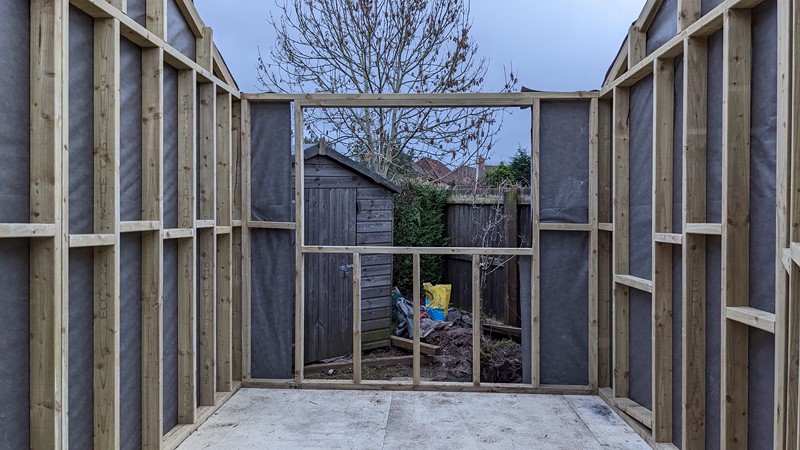
And that’s it, the final wall is in place, and now the enormity of the shed is clear. It is massive. I can happily put the old shed entirely inside and have enough room to walk around it. There is a dawning realisation here that I have maybe got carried away. However, I think I’ll stick with the principle that you should always build as big as possible, as you’ll quickly fill up the space. I wonder, can I have a shed-stention?
Building Materials and Sustainability
I can’t decide if my distant memories of building supplies are rose-tinted or the building supplies industry has changed for the worse. One of the drivers for making the Mega Shed is to create something that will last, with a minimum of materials that can’t be readily recycled. Sustainability was part of the driver for using piles over a concrete slab to set the shed’s base on.
Something I have noticed is the complete overuse of plastic to wrap EVERYTHING. When I was a little younger, steel band straps and super sharp metal corners held pallets of bricks together. Bricks, used for the construction of outdoor buildings, certainly weren’t wrapped in plastic. The worst building material that has arrived wrapped in a plastic bag was a roll of plastic damp proof membrane. Give me strength. Even the original pallet of timber was wrapped in plastic, so the order didn’t get misplaced or split up.
I’m not sure how to address this mass plastic overuse. Indeed, ordering online is a bit of a failure as there are no building stockists who list their packaging methods. Nor have I found a builder’s merchant with any genuine sustainability credentials. I’ve discovered the only halfway house is travelling to suppliers and buying off the shelf. This way, I at least have a chance to see how a product is wrapped before I take it. I’ve found smaller local suppliers typically have no wrapping.
In the next mega shed article
I’ll try to get the roof on and the structure fully wrapped in the following article. However, I’ll need a few more shopping trips before continuing building. I’ve run out of 2×4″ timbers and haven’t bought the roof sheets yet. It won’t be entirely waterproof to start, but I should then be able to work on the interior if the weather changes.
M
NEXT – Part 11 – The Shed Roof
PREV – Part 9 – The Fence Wall
Back to Mega Shed Articles
Back to Workshop Articles
Amazon Affiliate Links – Things used in this article
BXProject is using Amazon Affiliate Links. It’s a quick way to show you what I have used in this article.
“As an Amazon Associate, I [may] earn from qualifying purchases.”
Since January 2024, Amazon has blocked embedding images, but I think the links are still valuable.