In a departure from previous articles, where I’ve tried to capture a day’s work at a time, this write-up covers a few days of Mega Shed build. While building the roof structure will be tricky, it’s comparatively simple compared to making some of the walls. Although being up a ladder, I didn’t find it as easy as building the base. However, it does prove to be the most rewarding part of the build so far.
Great day for roofing
The roof structure starts to come together in early January, and amazingly the weather is still on my side. Unfortunately, it feels like there hasn’t been enough rain for the last month, so I’m keen to throw the lid on the Mega Shed before the rain catches up on me. Today though, the weather is balmy.
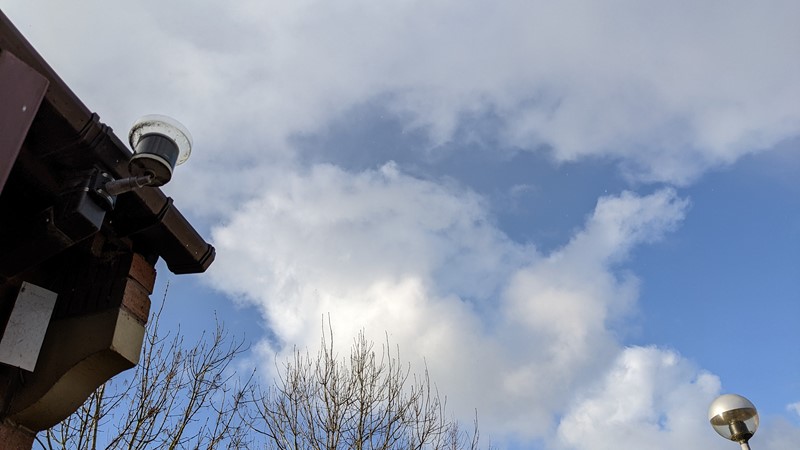
This good weather is a good thing for many reasons. Chasing roofing sheets around in the wind is simply no fun. Neither is trying to mount roofing timbers while a gale blows in your face. But while the weather is dry and almost sunny, the air is cold, finger aching cold. So why am I building Mega Shed over Christmas?
Preparing the ridge beam
The first step to building the roof structure is to install the roof beam. These timbers do much of the work of holding the roof up. The structure also helps stop the whole thing from blowing off too. The ridge sits on top of the columns in the middle of the longwall and fence wall. So it was only once all the walls were in place that I could install the ridge beam.
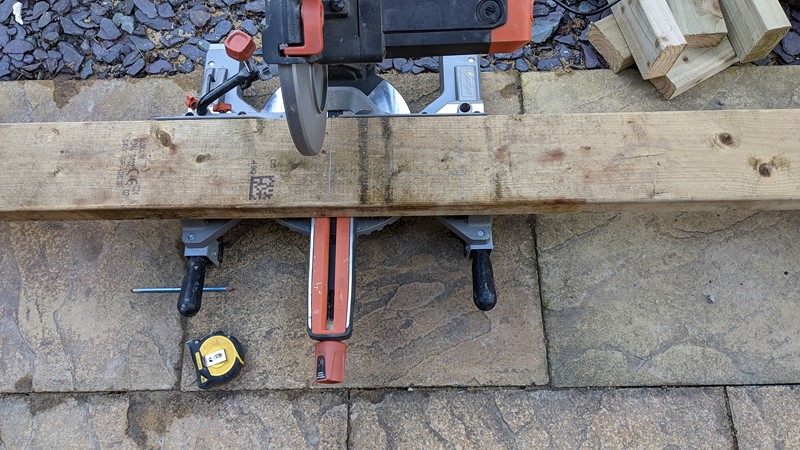
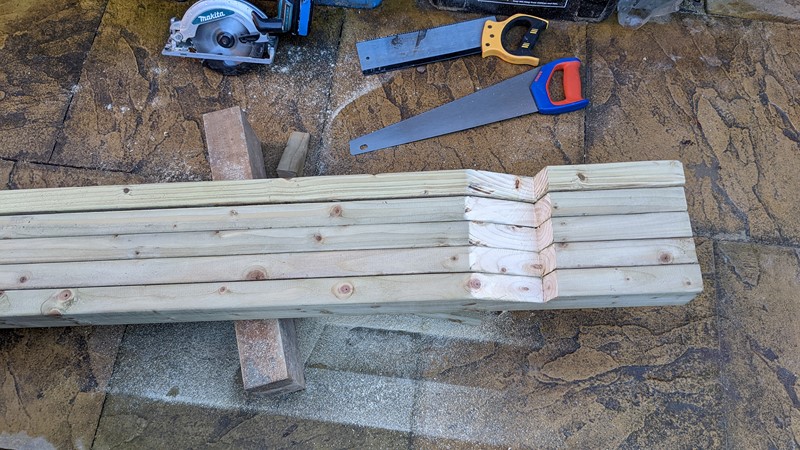
I could probably do with a short, thin ridge beam. The ridge timbers’ primary purpose is to align the two rafters from the opposing sides of the roof, so it doesn’t hold any load. But since I had a complete length of 6×2″ timber leftover from the base, this is what I’m using. It does need cutting down to size, though!
The two vertical columns that hold the ridge beam have already been notched. These allow the timber to slot securely together. The slots aren’t needed for strength but make the assembly relatively easy. A counter notch in the ridge itself helps lock the whole structure together.
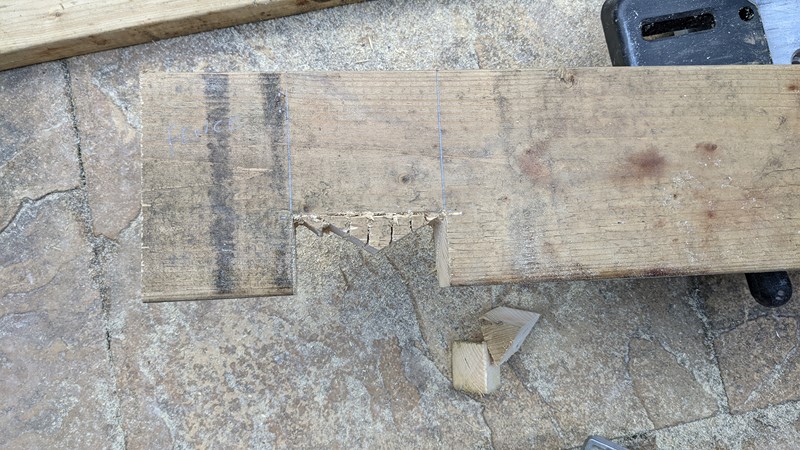
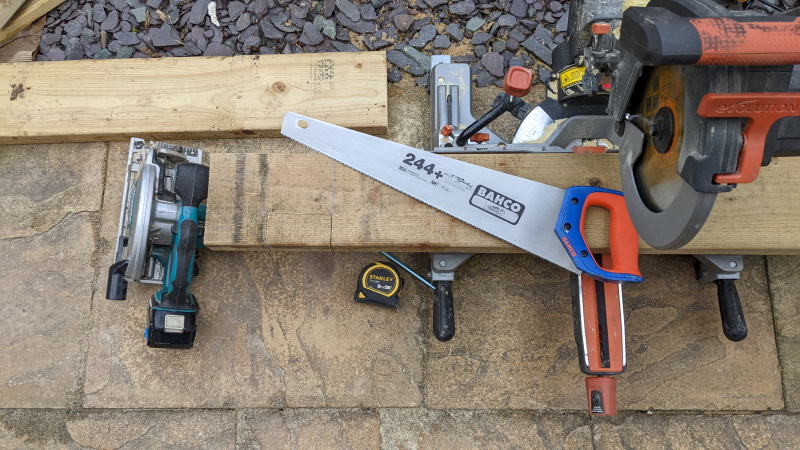
Initial cuts with the circular saw are finished with the panel saw. Then, regular finger cuts, followed by a few cross cuts, allow most of the notch material to be removed swiftly and with minimal effort.

A wide-faced Irwin wood chisel and a decent claw hammer clear out the remainder of the notch. The result is a pretty neat finish. Hopefully, this notch will never see the light of day again. However, getting the width right and the cuts parallel will ensure that the ridge beam locks in place snuggly. A close tight fit can only be good for the roof structure.
Installing the ridge beam
Because the ridge beam should lock tightly into place on the top of the notched pillars, it shouldn’t need any additional support to hold it up. But, more importantly, it should mean that I can install it on my own.
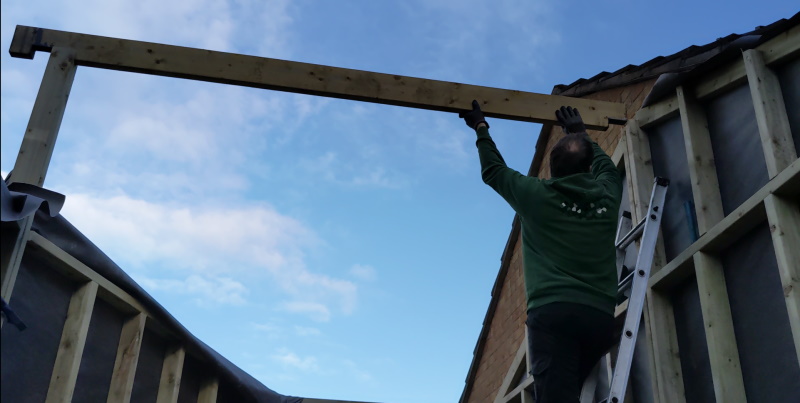
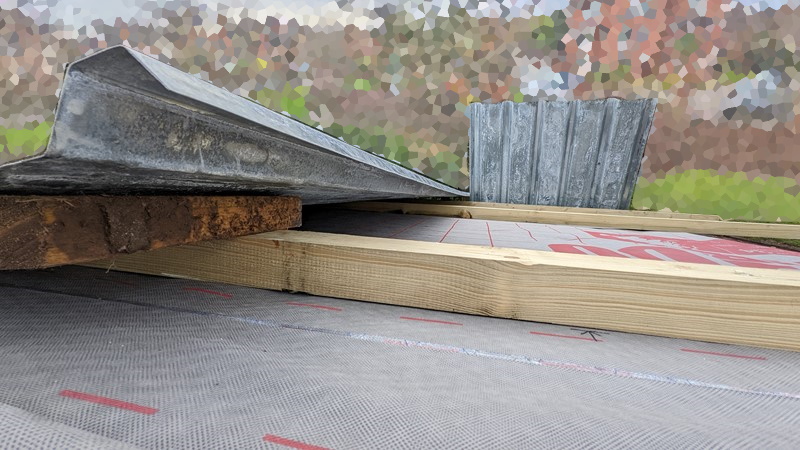
Surprisingly the plan works, and despite the weight of the three-metre beam, I manage to raise it and drop it in place on my own. The picture above shows the notches at each end of the ridge, and how the fence side will lock into place.
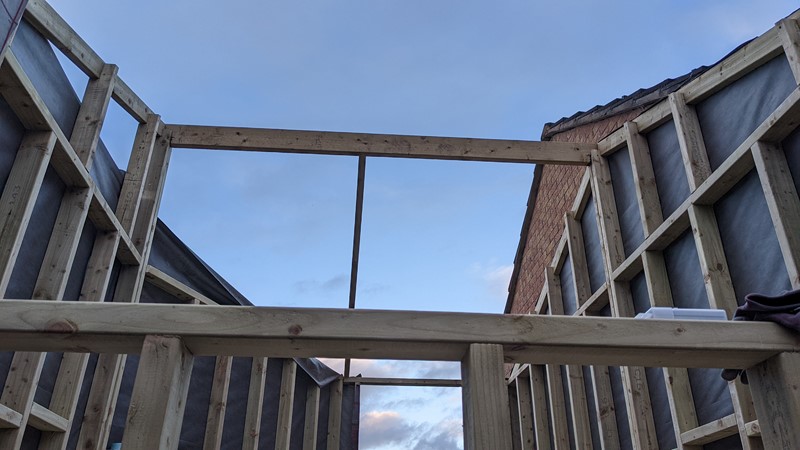
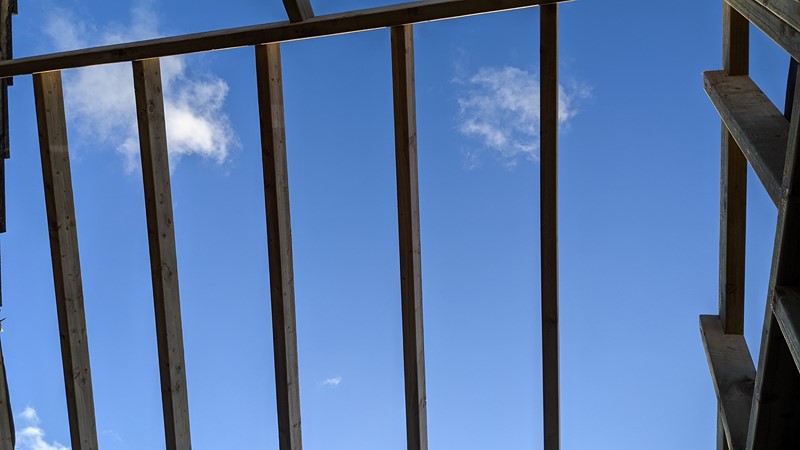
The left-most rafter (in the picture) is copied from that of the long wall, installed, and vertical supports added. These vertical timbers are used to support the cladding, which will be installed in a future article.
Installing the rafters
The first mid rafter is copied from the rafter that makes up the wall sections, the measurements carried across, and the birdsmouth cut out. As expected, the rafter drops into place perfectly, as seen in the picture above.
Cutting birds mouths
With a template made, I can make plenty of duplicates. Cutting these timbers is a surprisingly satisfying task. One decision I do regret here is to cut the rafters short. I haven’t yet bought the roof sheets, so I decided to cut the rafters to under 3m long, assuming I’ll be using 10ft roofing sheets. Big mistake, as I’ll find out much later!
Fitting the rafters
With the rafters precut, they can be installed relatively quickly. As I intend to use loft insulation in the roof space, the rafters are set to 400mm spacing. Man, I love mixing my units up, but that’s how my brain works! Each rafter gets two screws to stop it from falling out or rotating. Ultimately the roof load should hold the rafters in place once everything is together. Three-inch screws will stop the timbers from dropping on my head for now.
Complicated roof shapes
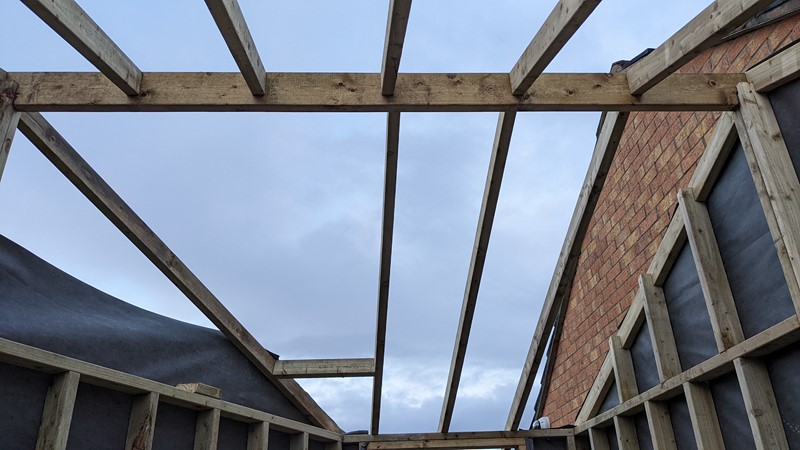
On the door side of the roof, I have to deal with the odd-shaped wall alignment. The rafter that sits over the fence wall causes an awful lot of head-scratching. Having the first four rafters installed really helps here, and I can take a level from them. I use this line to understand where the fence wall rafter should be. Then it’s a simple matter of cutting a three-way mitre with a notch at the edge end. Then I lose my sanity trying to figure out the cuts at the wall plate end.
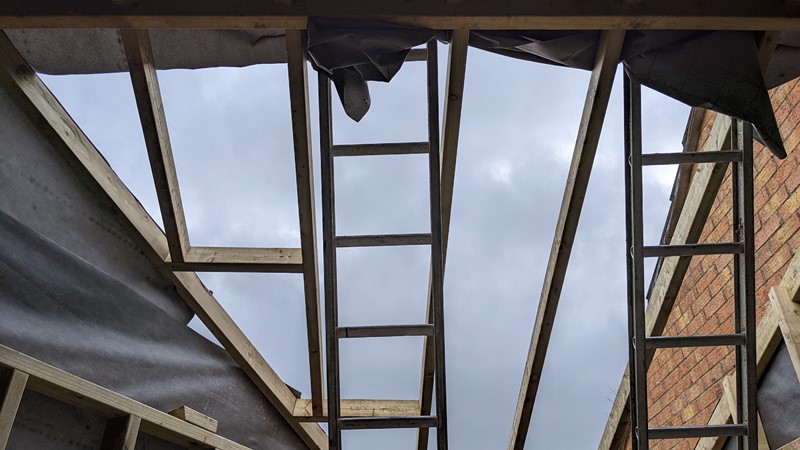
But after many pencil marks and a few hours of going up and down ladders to take measurements, the rafter is finally in place, and the rest of the roof structure can be completed. The final result is very, very satisfying!
Finding the roof materials
A new day dawns, and I’m optimistic that the roof will be done today. Fortunately, the weather is on my side, kind of. It’s bright and clear if a little bit cold. But I’m still surprised at how well the weather has held out so far!
The first thing I’ll need is some supplies. One of the Mega Shed build pieces I still don’t have is the roof finishing. I’m going with metal sheets as they are lightweight and infinitely recyclable. However, they do come with some downsides, mainly condensation. So I’ve deliberately designed the shed with a cold roof structure to keep the moisture at bay.
Ultimately I’ve decided on galvanised roof sheets. The lack of plastic coating will reduce the life expectancy of the sheets. However, the galvanised finish will weather down as the coating oxidises. The colour change will give a more natural feel and reduce the sun’s reflections. Better still, I’ve found local stock. By the time I’m back from the local family-run builders’ merchants, the day has brightened up.
Preparing for the roof sheets
A little bit of prep is required before the roof sheets can go on. First, like the rest of the building, the roof structure gets wrapped in the Grafter breather membrane. Then the overlaps are secured with tape and joined to the fabric on the wall sections.
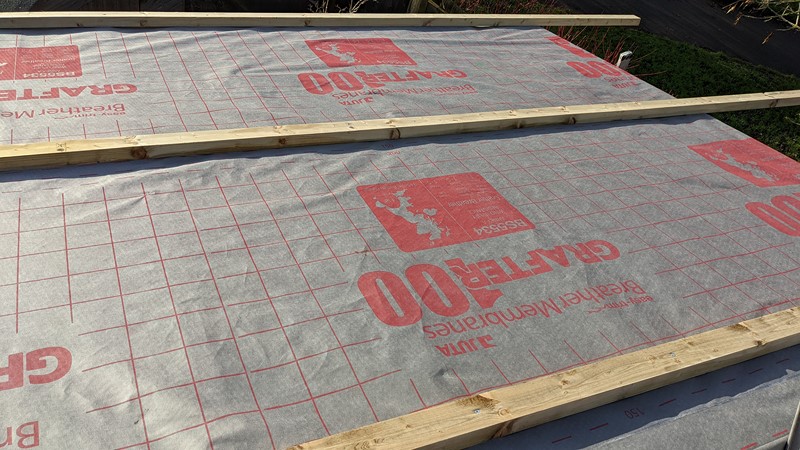
On top of the breather membrane, I’m installing purlins. TEK screws will fix the roof sheets onto these purlins. The purlins keep the roof sheets off the membrane, allowing any condensation to run off or evaporate.
Unfortunately, this roofing style also creates a great space for birds and other animals to live. The birds are pretty vexatious around here and get in everywhere. Mostly starlings and the sort, and they get in everywhere. So I’ll have to slow them down as best I can.
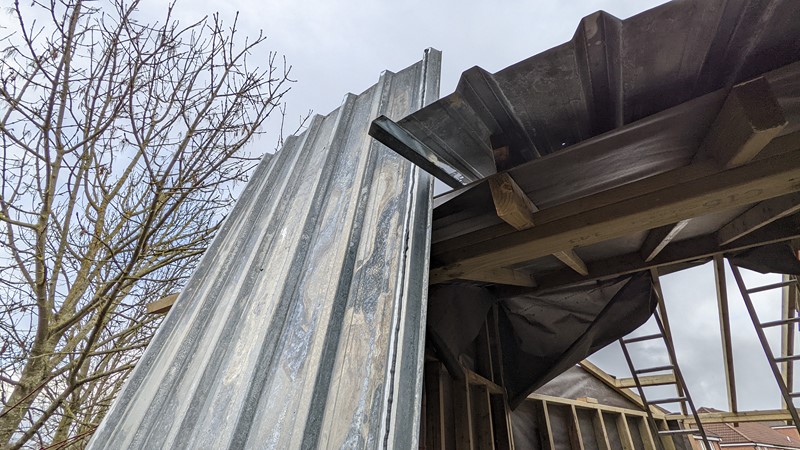
The purlins are installed about every meter apart. It seems like a huge gap that the sheets have to span when you’re standing on the roof. Fortunately, the profile of the sheets makes them very strong once fully installed. At the moment, the sheets are still bright, but they’ll soon weather in.
Installing the roofing sheets
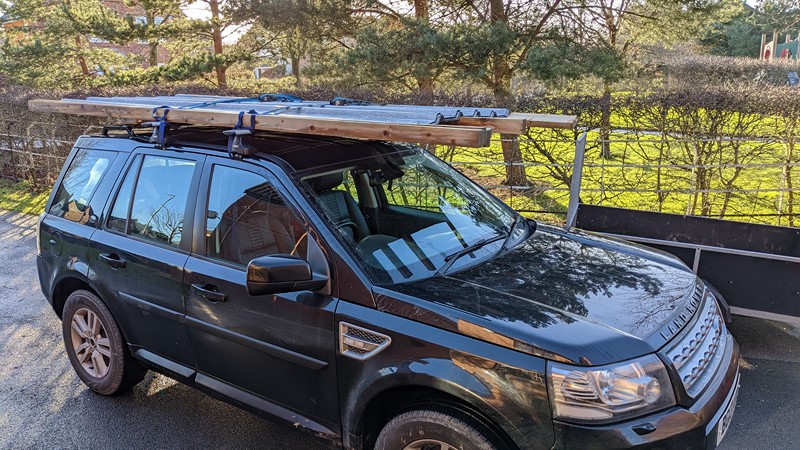
Despite the sheets being so bulky, one metre by three meters, they are surprisingly easy to move around. For the largest part, I can lift them onto the roof, align them and screw them together on my own. It’s a surprisingly satisfying job, repeatedly driving the screws in. But it’s a task that isn’t without challenges.
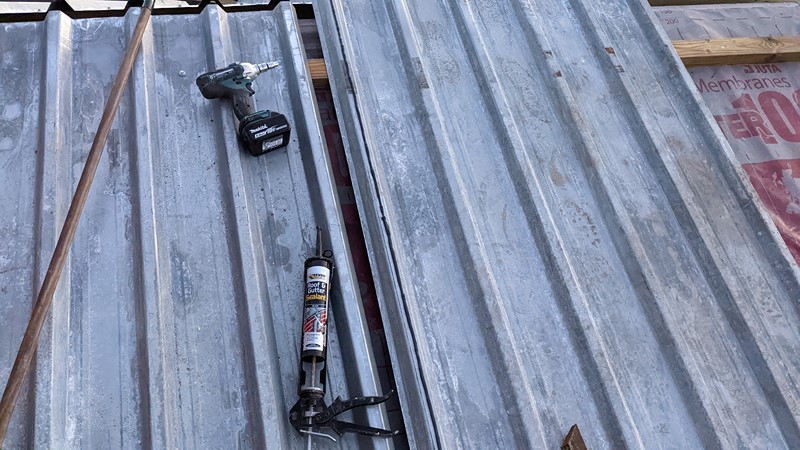
I’ve done metal sheet roofing a few times before, so I’m getting pretty swift at it and have a ‘method’. The first sheet is roughly aligned and fixed in two places to stop them from sliding off the roof structure. The overlap between the sheets then gets a line of sealant and the two sheets fixed together.
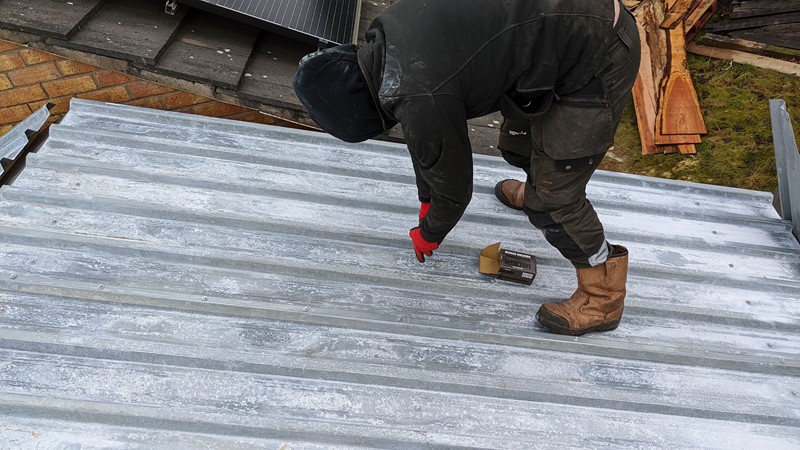
Once all the sheets are in a line and fixed together, I can make any final alignment changes. Then it’s a simple matter of a few hundred screws to hold the whole thing to the purlins. But, again, it’s important to only stand near the screws or the wide sections of the profile. Standing on the raised bits causes the panels to spread and throws the alignment out.
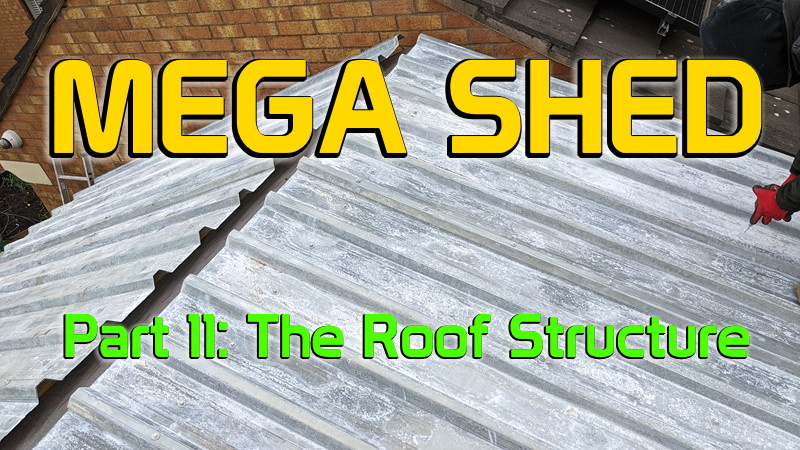
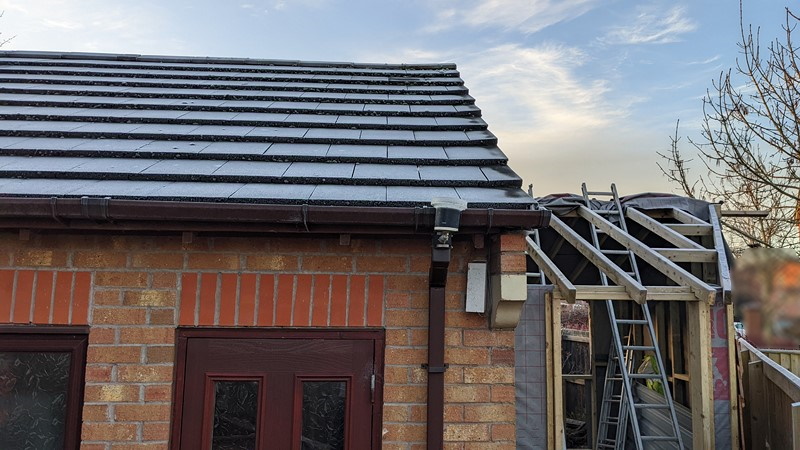
The completion of the roof and structure.
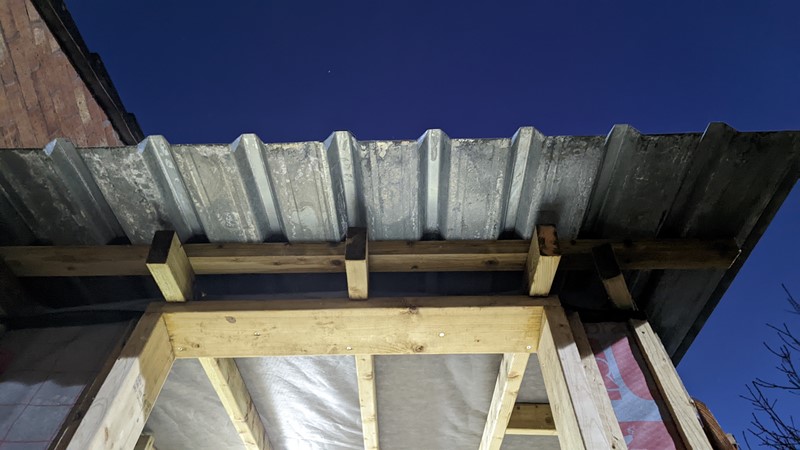
Sure enough, in about a day, the whole roof is installed. Although the panels aren’t fully weathered and are still a little shiny, they look fantastic. They are almost perfectly aligned too. Against the natural finish of the wooden cladding, they should look quite rustic, almost farm-like.
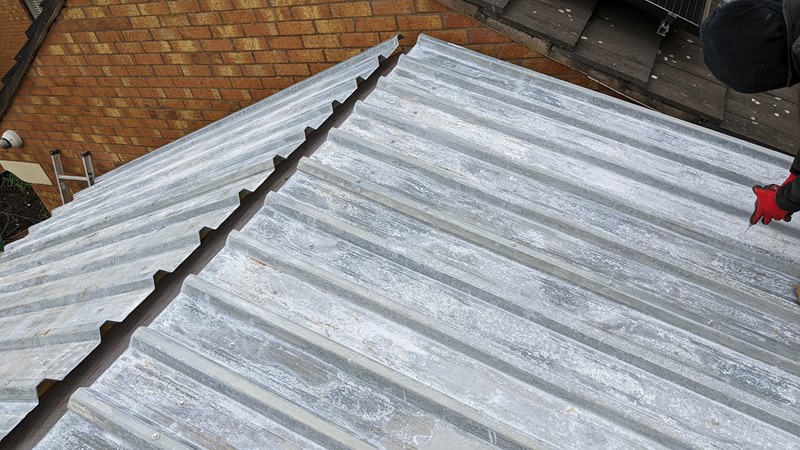
While I could collect the roofing sheets, the supplier didn’t have any capping. Unfortunately, when they do get some capping in, they sell out in hours. So I’ll just have to wait until they get some in, although it does leave a hole in the roof!
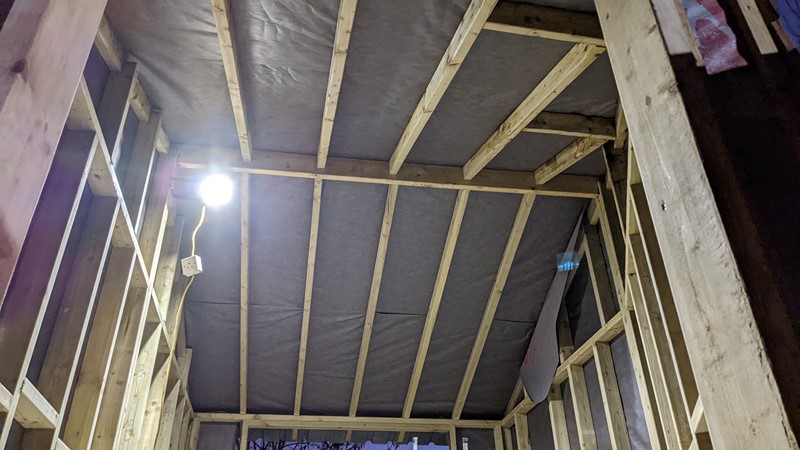
From inside the Mega Shed, the roof looks fantastic. To have got to this point makes me so happy. I finally have a building. And having the roof on means I can start to work on the interior even if it’s not entirely watertight yet.
All in all, it’s a satisfying end to the day and the end of a week off. It’s a huge amount of progress. And to get the roof on, and the building almost watertight, is more than I could have expected. But I can see the end in sight, and pretty soon, it will be a complete and useable space!
I guess now I can start on the interior!
M
NEXT – Part 12 – The Interior Installation
PREV – Part 10 – The Final Wall Sections
Back to Mega Shed Articles
Back to Workshop Articles
Amazon Affiliate Links – Things used in this article
BXProject is using Amazon Affiliate Links. It’s a quick way to show you what I have used in this article.
“As an Amazon Associate, I [may] earn from qualifying purchases.”
Since January 2024, Amazon has blocked embedding images, but I think the links are still valuable.