
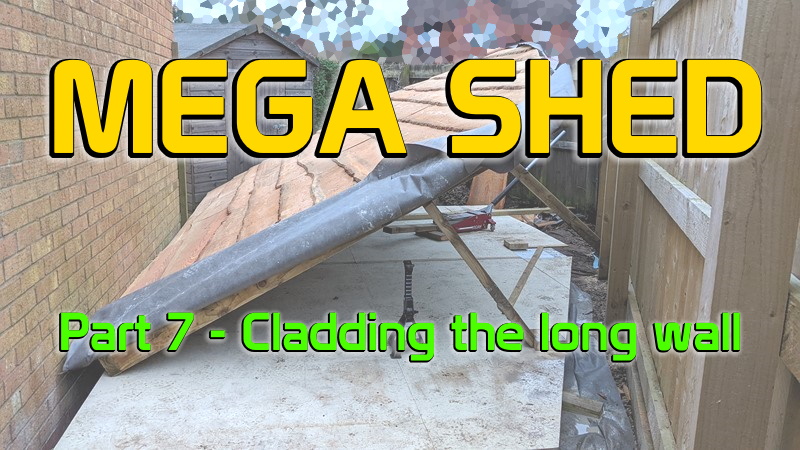
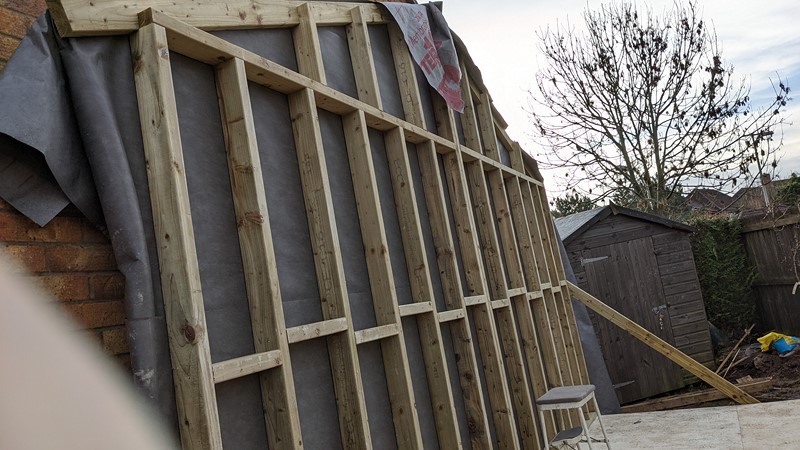
The progress has been flying along since getting the shed out of the ground and building the base. I mentioned in the previous article how much I enjoyed assembling the framework. And despite the cold mid-December weather, I’m still enjoying this build. Now is the time to capitalise on my enthusiasm, get the cladding on the long wall, and erect it.
Preparing to fit the cladding.
Before I can start the mind-bending task of fitting wavey edged panels to a square wall, there are a few things I need to take care of. Although this is typical of building something of this size, taking time to get things right now will hopefully help the Mega Shed last a lot longer.
Breather Membrane
Previously, I installed the breather membrane with a 150mm overlap that will eventually drop past the frame of the base. This overlap will join the breather membrane that runs under the base to create a continuous sheet. Hopefully, this will keep the moisture out and reduce air losses, keeping it warmer.
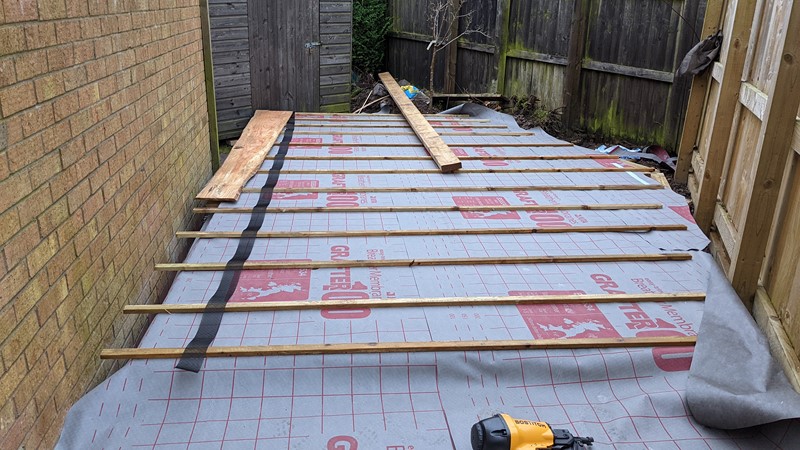
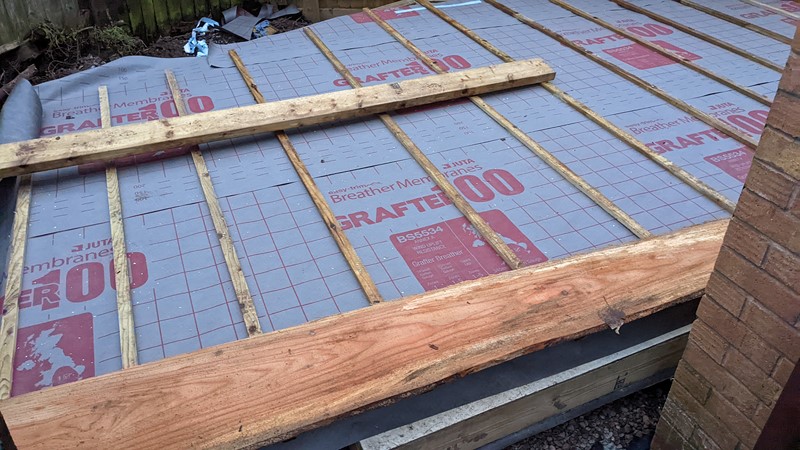
Roofing Batons
Over the breather membrane, 19mm tall roofing batons are nailed to the frame every 400mm. These will provide the level to which the cladding will be fixed. The raised batons create an air gap between the membrane and the cladding. Hopefully, this will let air pass behind the back of the cladding to help keep it dry. But it does have a downside.
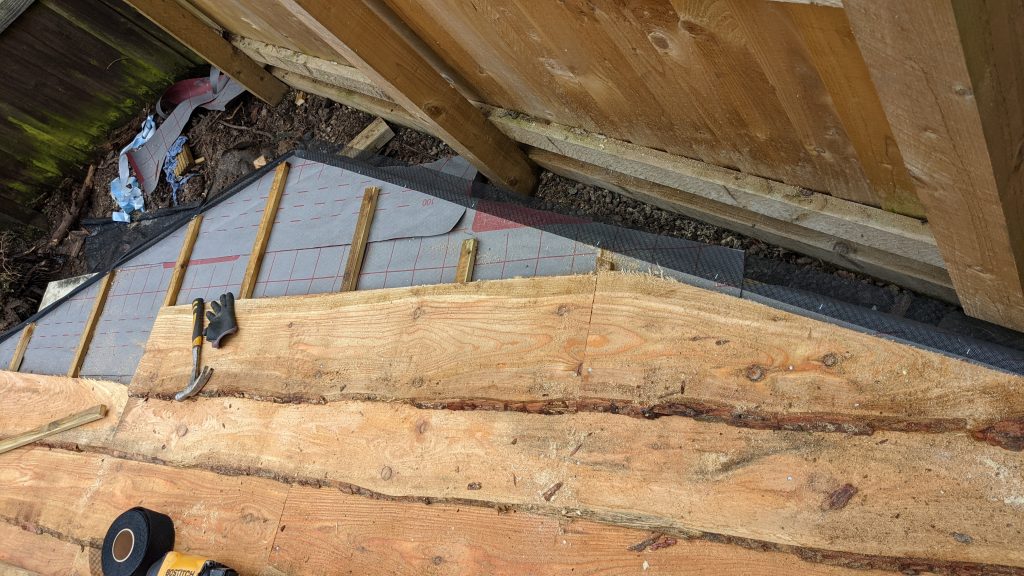
Insect netting
The gap behind the cladding will provide the perfect area for insects to live. Out of the weather and lovely and dry, it will be the ideal place for spiders, wasps, and who knows what else to live. I’m not especially against living with insects. The spiders in the house do a great job of managing the flies.
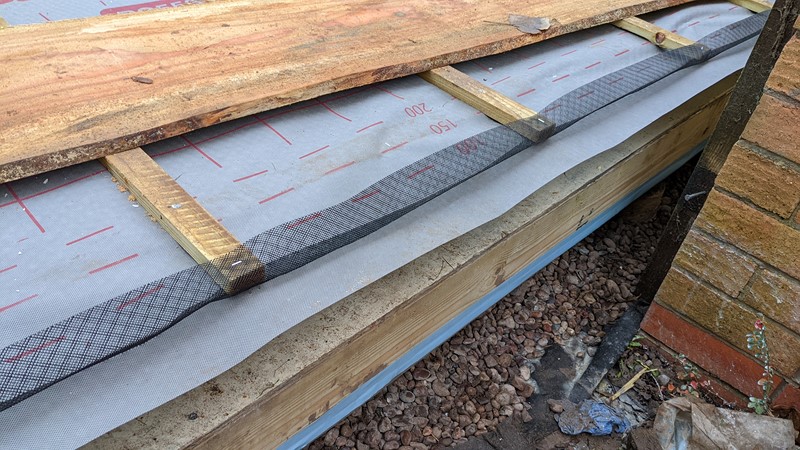
But some insects are likely to damage the cladding and potentially block the air gap. So, I’m installing a continuous ‘anti-insect mesh’ along the top and bottom edge. I know this won’t solve the problem, but at least I’ve tried.
Installing the cladding
I designed the shed with a plan to finish it with wooden cladding. I thought about other options like recycled plastic sheeting or metal cladding. However, I do like the sight of timber, and better still, I enjoy watching it age. That all said, timber cladding is currently at an extremely high price.
Sourcing the cladding
While hunting for somewhere in the UK that could provide cladding at a not exorbitantly high cost, a friend sent a local lead. And it paid off. Late one Saturday night, a wagon appeared with enough larch cladding to cover the mega shed. Well within budget too. Although advertised as Japanese Larch, I doubt it travelled that far. Looks good, though.

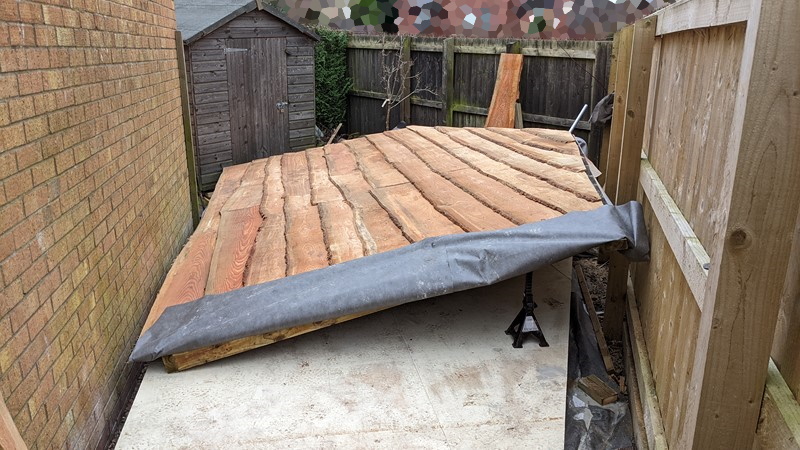
With the cladding being cheap, there is some severe deviation of the panel width. It makes for a real challenge on the long wall getting the bottom edge of the panels to line up. I’ve never clad anything quite so big, and the scale of the task is initially quite daunting. Pretty quickly, it starts to come together, though.
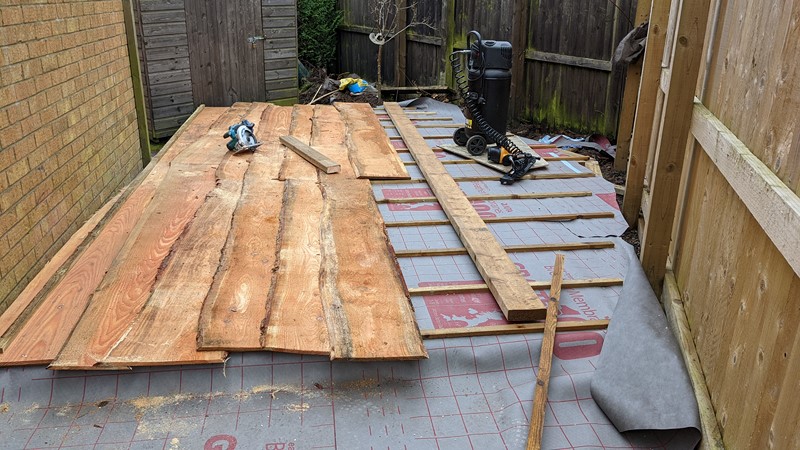
The random width of the panels does, however, make for a very satisfying finish as the boards start to go down. It’s just a shame this side of the shed will never be seen. I’m using one of the spare 4.8m timbers to try and get the lines roughly straight when the wall is standing.
The nail gun comes into its own at this point. I can’t imagine putting this many nails in by hand. Even screws would be a challenge. Each fixing goes in at an angle pointing slightly ‘uphill’ to allow for any shrinking of the timber as it dries. About a 5cm overlap of each panel also allows for any change in the size of the larch cladding.
Finishing the apex
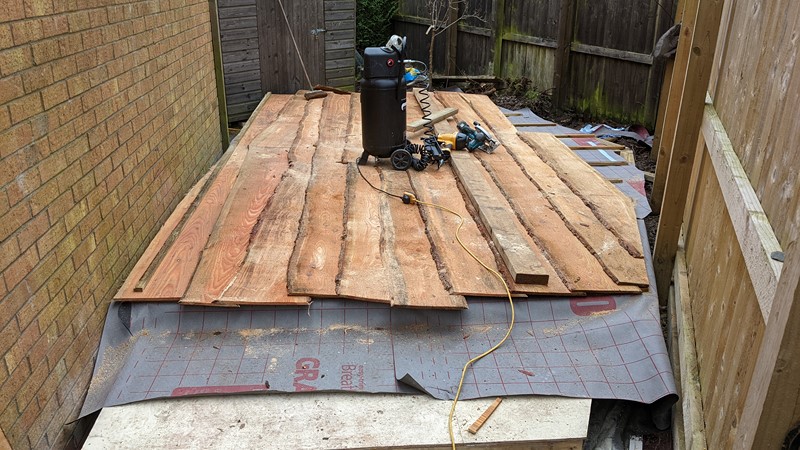
Perhaps the most tricky bit of cladding the long wall is the apex. Again, another insect mesh strip is installed along the top of the wall and secured in place with the staple gun. Then the cladding is trimmed to a 20-degree angle to match the roof’s pitch.
Raising the wall
The whole 5m by 3m wall is clad a long day later. Personally, I think it looks absolutely fantastic. The join in the panels is staggered as they go up the wall. Fortunately, any warping between the panels won’t be seen because the garage wall will hide them.
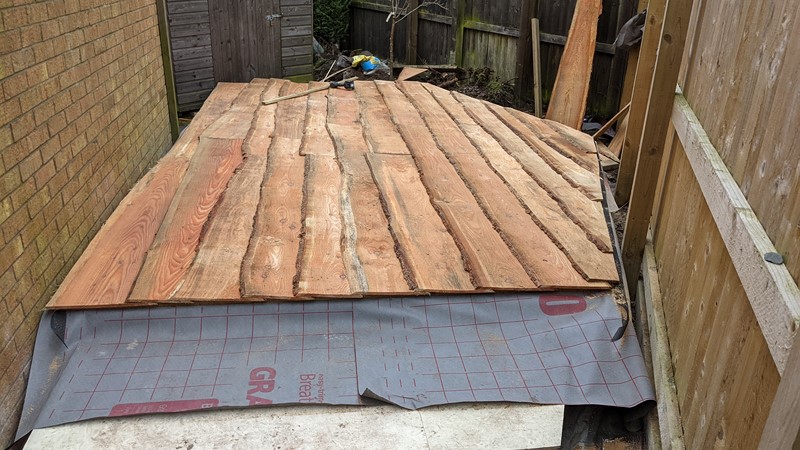
The next tricky part is lifting the damn thing. Amazingly I can just about lift it off the deck but not by much. I knew this would be one of the most challenging parts of the build, but there isn’t an easy way to get it up. I’ve deliberately built it on the edge of the base to minimise how far it has to travel, but it still seems like a mammoth task.
With the use of a trolley jack, I slowly start lifting the wall’s apex up off the base. Unfortunately, despite all the fixings and the cladding nailed on top, the giant wall panel is a bit floppy, so it’s slow going lifting each end of the wall, supporting it and moving along.
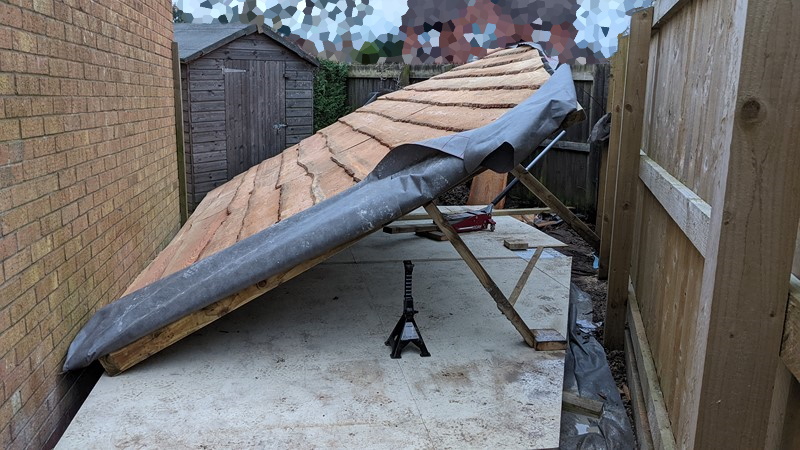
With the apex about 5ft off the base, I finally lose my bottle. Jacking up now means standing underneath the wall section, and I don’t fancy getting all the weight of the frame and cladding dropped on my head! But it’s nearly Christmas, and just soon, there should be an army of willing helpers arriving.
Finally getting it up
Christmas eve and all through the house is absolute chaos. And it’s bliss.
Along with the chaos comes a few extra hands and it turns out that with one person at either end, it is surprisingly easy to lift the fully clad panel into place.
A few 2×4″ stays at either end and the wall is temporarily secured. And it looks glorious. The weather forecast looks good for the week ahead, so hopefully, the wall won’t get blown down. The overlapping membranes get stapled down to save the neighbours from going mad with the flapping.
Christmas break
Well, it’s pretty much Christmas, and for the first time in a while, the house will be full of people again. That means I’ll be taking a short break from the building, but it will be well worth it. Then it will be on to framing the door section and the wall that runs along the fence. This wall section is another panel that will need cladding before lifting, but it should be a little bit easier to lift.
M
NEXT – Part 8: Building the Door End
PREV – Part 6: Framing the Long Wall
Back to Mega Shed Articles
Back to Workshop Articles
Amazon Affiliate Links – Things used in this article
BXProject is using Amazon Affiliate Links. It’s a quick way to show you what I have used in this article.
“As an Amazon Associate, I [may] earn from qualifying purchases.”
Since January 2024, Amazon has blocked embedding images, but I think the links are still valuable.

[…] Link to the original article […]