At the start of the Ultrasonic Cleaner “5 Minute Review” on YouTube, there is a rotating shot of the tool. I threw together the basic rotary table with stuff I had lying around in a bit of a hurry. It was time to make it stable and maybe a bit better looking.
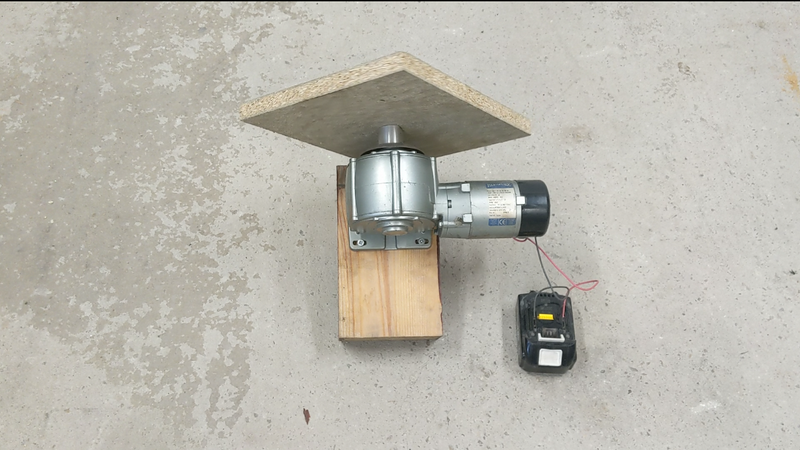
The original version

As you can see in the picture above, there isn’t much to the original lash up. A chunk of 3″x 6″ timber makes the ‘base and allows the assembly to be clamped in a Workmate. A Parvalux 26v motor and gearbox rotate when the wires are unceremoniously shoved into an 18v battery. The table is made from scrap chipboard with an undersized hole in it, hammered on to fit the motor shaft. Absolutely no expense made!
Building the structure

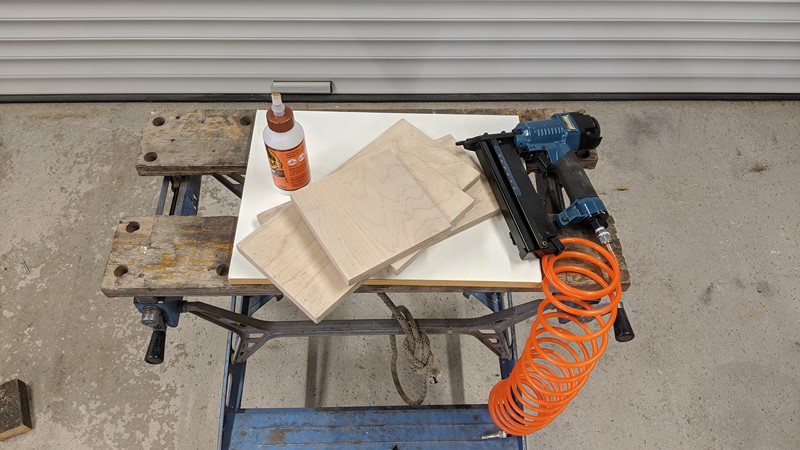
The biggest problem with the original assembly was getting the load level and keeping it there. It works out to be a lot of elevated weight over an insufficiently broad base. So the plan is to make a basic box that will hold the rotary table with a more extensive base area. For assembly, I’m using a method proven around the garage. Some old 18mm ply held together with Gorilla wood glue and 30mm air nails.
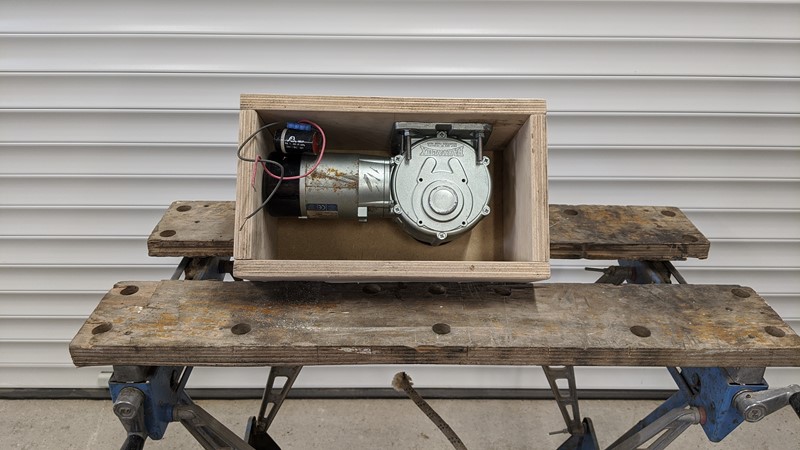
Mounting the motor

The final box doesn’t look too bad. I’m happy with that. The motor is bolted through the ply with penny washers on the outside. This arrangement is considerably more stable than the old ‘post’ method. I suspect I could house a power supply in the remaining space. At the very least, an on/off switch, maybe some speed control?
Finishing off the rotary table

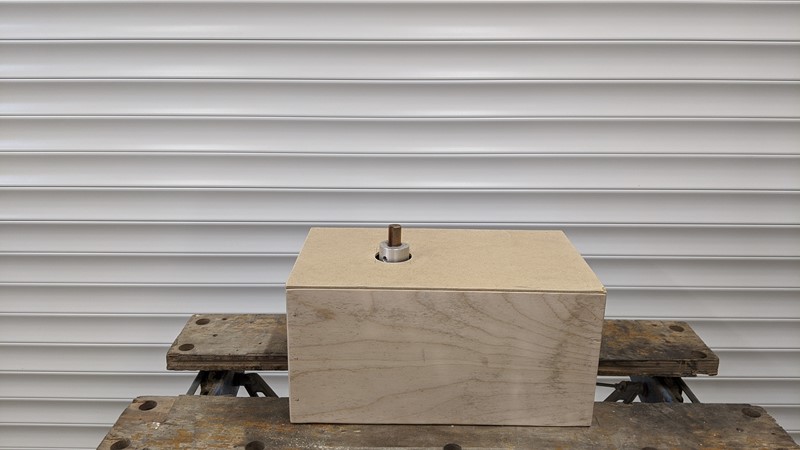
The top is a thin piece of board nailed on in the corners. This panel is purely cosmetic and isn’t intended to be structural. The boss on the motor shaft is 10mm clear of the base, allowing free rotation if the rotating plate is out of alignment. Once the wood glue dried, the box was rubbed back and given a liberal coating of linseed oil.
I’ll save the action shot for the next “5 Minute Review” video. It’s a significant improvement over the previous bodge of parts. This version has a better visual finish and is more stable sat on the workmate, which stops the load from falling off. I am still using the same top plate for the time being,
I’m struggling to decide on a top plate/table section. Metal perhaps, or simply a nicer piece of ply with a decent metal boss underneath. A motor controller and a metal top could make for a useable welding table (with suitable insulation). But, of course, time will tell. It will probably get stuck with the chipboard for years to come!
M
NEXT – Ceiling Installation
Back to Fabrication articles
Back to Workshop articles
