
Despite the distraction of Episode 27 of the XPO rebuild marathon, there is no hiding from the need to repaint the A-pillar. In Episode 26, we ended up very much at a low point, having painted, stripped and started painting again. That was November 2022, and it would be over a month before I would get back on it. So long as you’re happy to go around the same painting loop again, I’ll tell the story of the A-pillar painting. Again!
All the layers, so many layers
This article will be far more about pictures than words from the start. This article covers nothing new from previous painting articles, so I feel a whistle-stop tour is needed. However, let’s try counting the layers as we go!
Layer 1 and 2 – etch coat. After stripping back primarily to bare metal, I need something to create a bonding layer between steel and paint. I considered a few options here but stuck with the U-Pol system, with which I’ve had good past results.
The same two etching primer layers go on the pillar’s cabin side. There’s a fair bit of each paint layer going to the various voids in the post to try and catch the back of the welds and joins.
Layers 3 and 4 are the U-Pol high-build primer. This helps to fill any minor imperfections. There is now much sanding, cleaning, priming, sanding and cleaning again to make the primer as smooth as possible.
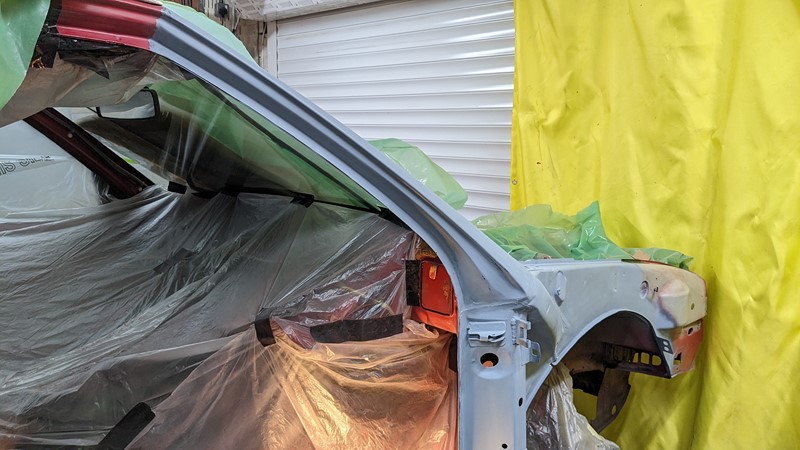
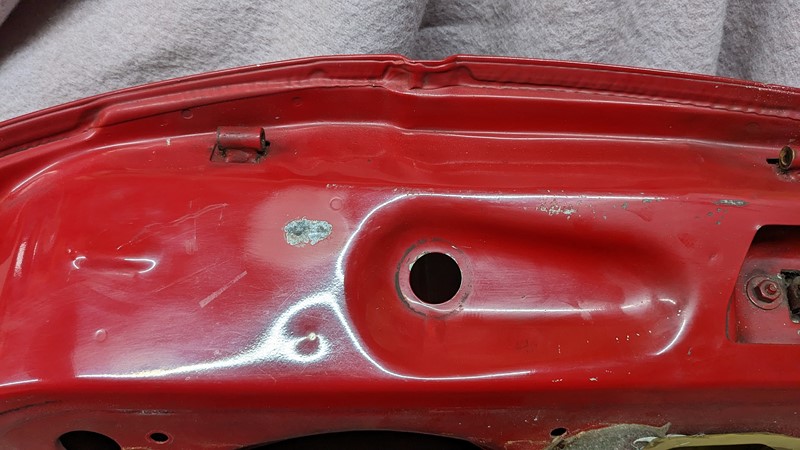
The image above shows one of the intermediary stages of the primer/sanding game. At this point, the Tiger panel seal has been re-applied, allowed to dry, and another few layers of high-build primer deployed. Look at the bottom of the A-pillar, and you may notice some black marks. This isn’t shadows, but the original etch primer peaking through after sanding back. This will receive layers 7 and 8 in the high build before one last rub down.
GET ON WITH IT
Sorry, I said I would focus on pictures and not words. Hopefully, this slider image below will work for you!

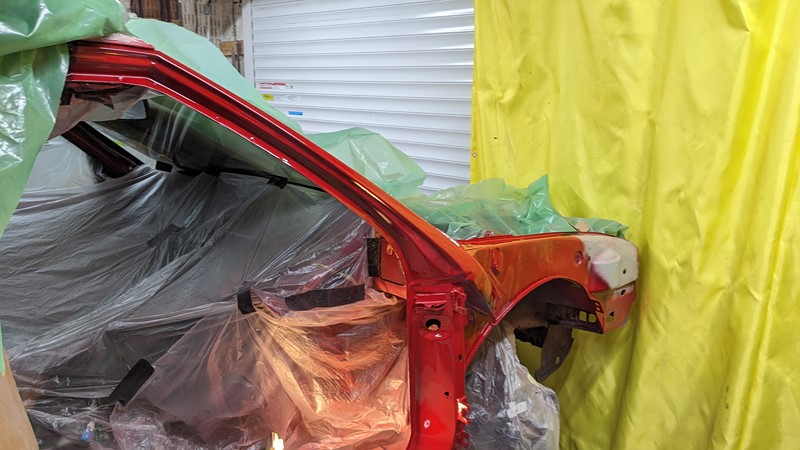
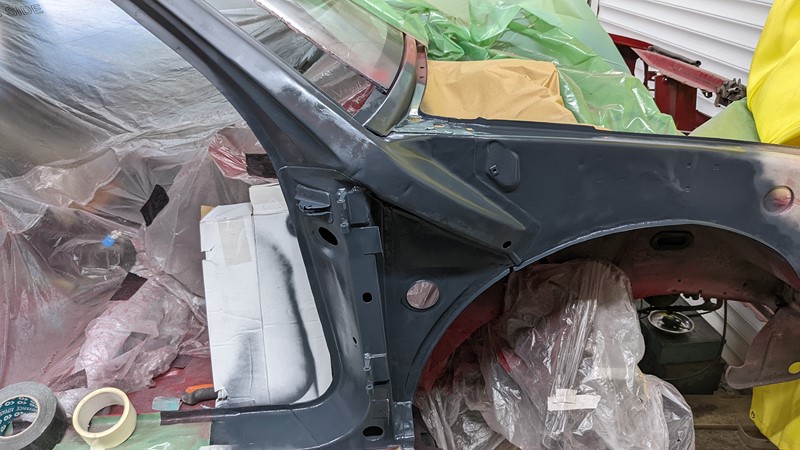
Eventually, I have to commit and throw some red at it. Despite better judgement, I’m using the 2k epoxy again, but now I know how to deploy the hardener correctly. These final layers are something of a one-shot, as the 2k epoxy has a short shelf life once mixed. I get another three layers of the two-part top coat on and call it a job done.
The A-Pillar Close Ups
The final layup is far from perfect, and I doubt I’ll get a job at a body shop soon. At the risk of all the negative comments, let’s look at some of the issues.
The garage lights are bright white LED strips with high CRI and a high refresh rate. That is to say, they are pretty good lights for observing paint defects under. However, they are fixed, so I’m using a relatively powerful LED torch with an adjustable focal length to scan the panels.

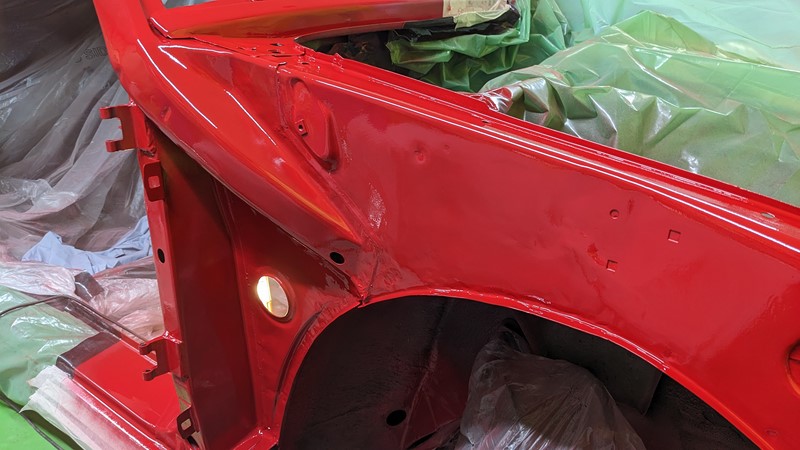
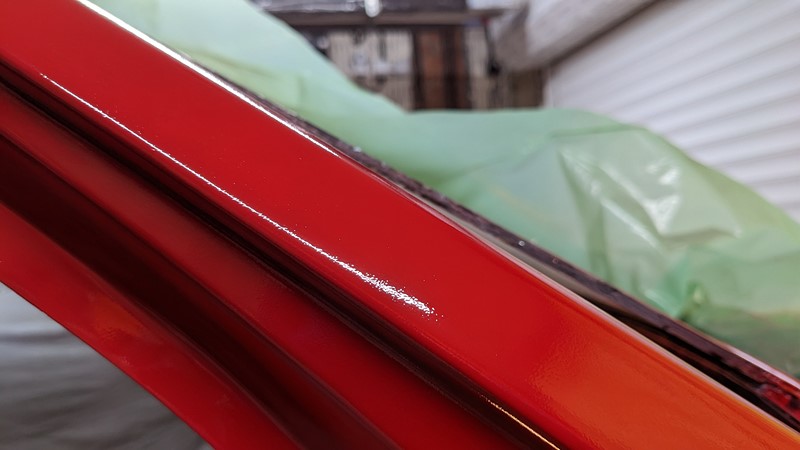
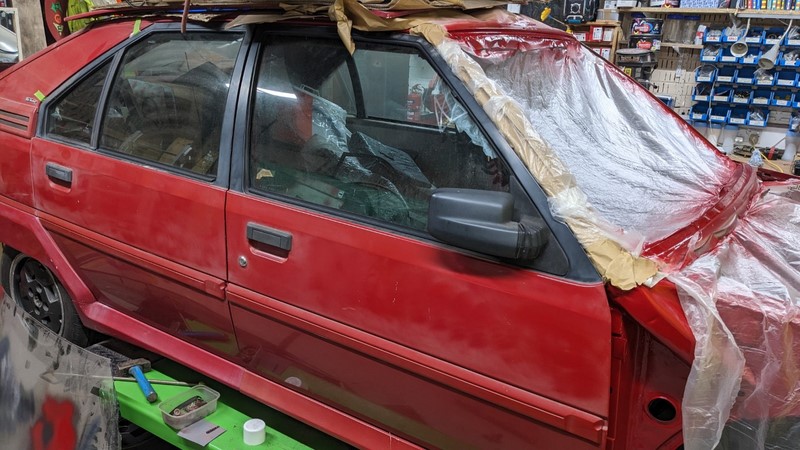
For a rattle can job, I think the finish is generally passable. Overall the paint is deep and crisp, and even. Only one minor run might be visible once the car is back together, and I’m happy to take that hit.
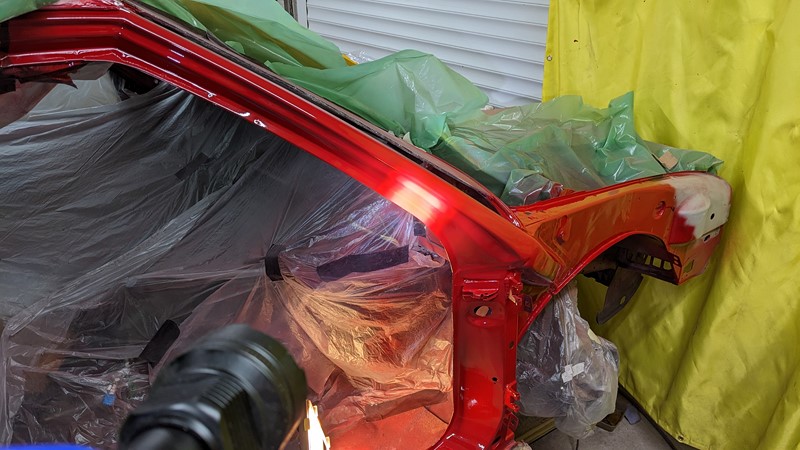
I am a little annoyed that there has been some airborne deposition on the A-pillar, which has created some spotting. I think this is quite clear in the picture above. Despite all the prep and filtration, something lifted into the air and dropped while the paint was drying. I’m probably being overly critical, the car is hardly in a paint booth, and I think the impact is minimal enough that I can polish it out when cured.
The other bits
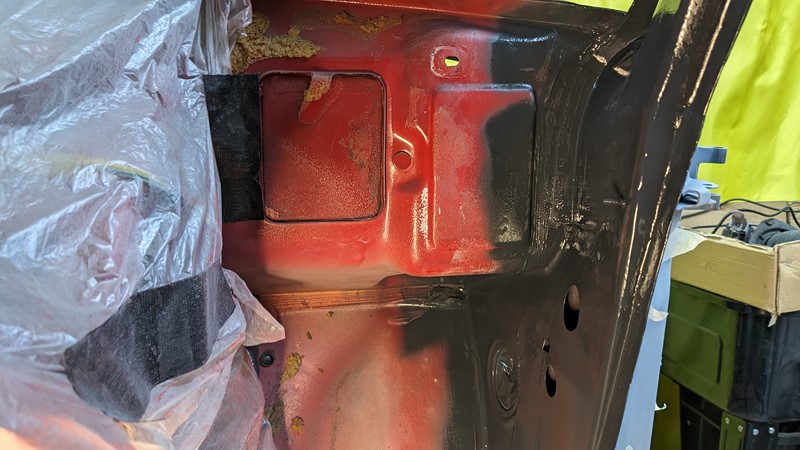
Since I’ve cracked open a can of 2k paint, there is more than just a-pillar painting to be done. First up, the cabin side of the a-pillar.
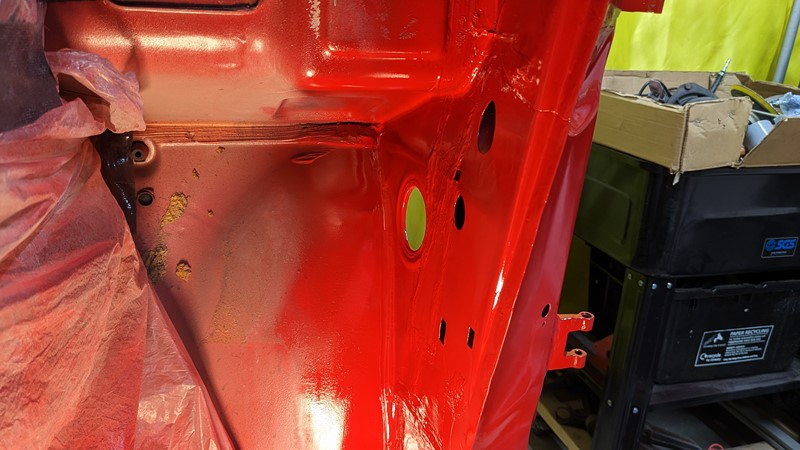
I think this has come out better than the outside, which is a little annoying as it will never be seen again! The seam sealer covers the welded joins before painting, so they look suitably smooth. Hopefully, they won’t just burst open with rust the first time the car goes outside.
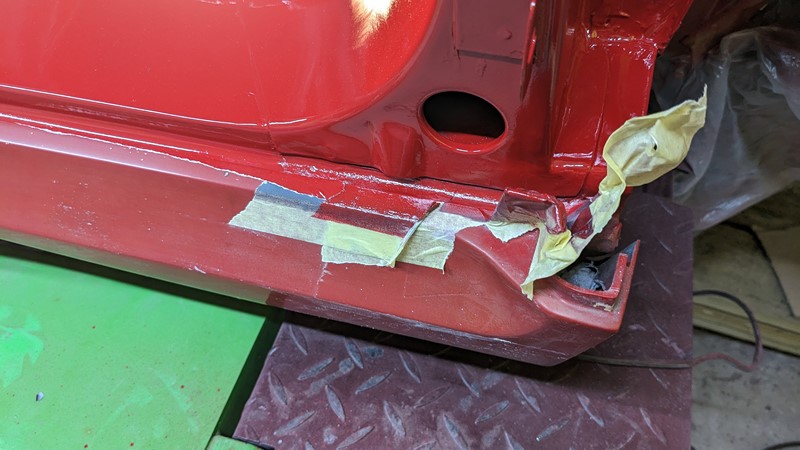
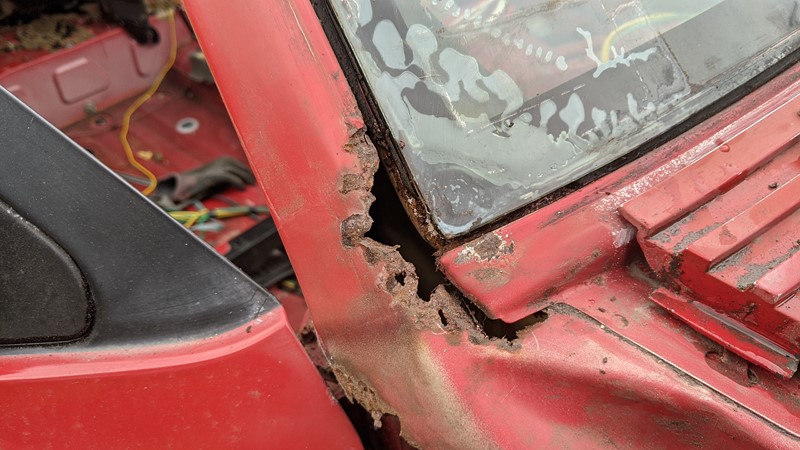
The bottom of the door pillar is a surprisingly complicated panel. The complexity comes from the thicker metal of the door pillar, tied into the upper sill and A-pillar panels, along with the drain hole and part of the sill covering. I was concerned about how well the paint would flow over this area, but I’m happy with the result.
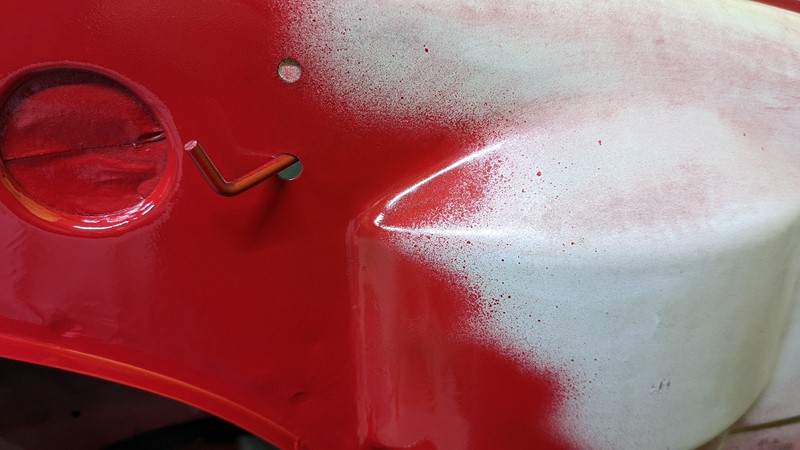
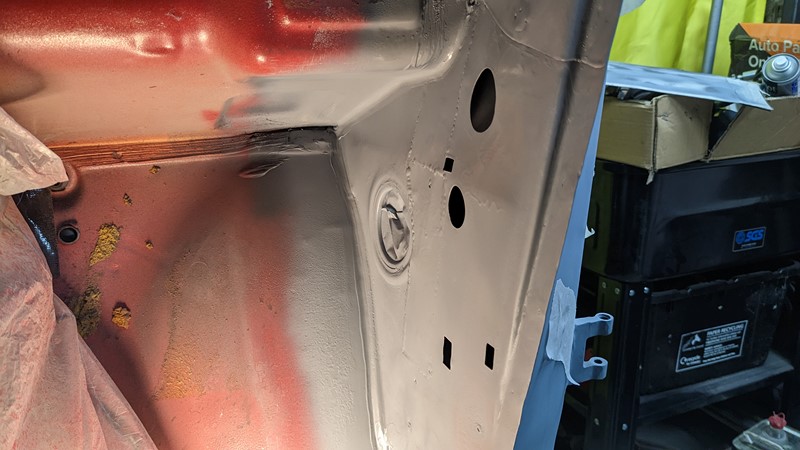
The rattle can finish was quite evident when I stopped painting the wing. This area wasn’t painted from the factory, so I made sure I had fully covered the repairs. This shows the poor quality of the nozzle on the can. Unfortunately, the range of dots shows how uneven the spray is.
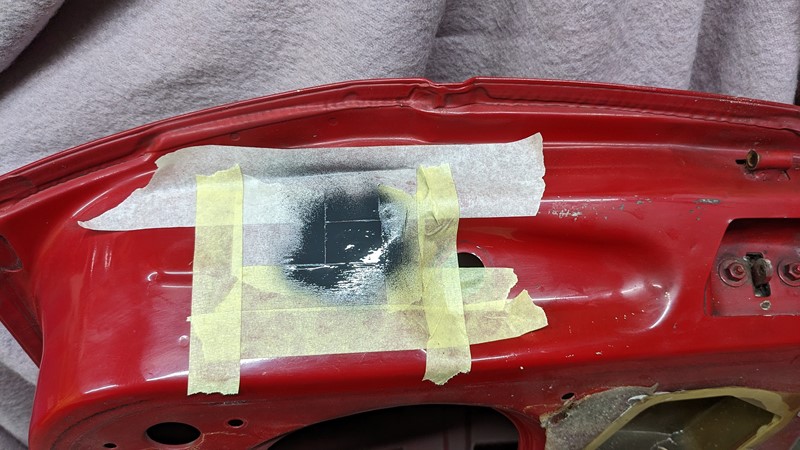
One more thing I tackled while I was at it was the point on the door where the door light strikes. The small rust bubble soon expanded when poked.
Many layers of etch primer, high build and top coat later, and I completely forgot to take a picture of the finish before fitting the door and harness to the car. You’ll have to use your imagination for the final appearance or wait until you see it in person 😉
Machine Polishing
After letting the paint rest for a couple of weeks, I decided to try machine polishing the new paint. I deliberately tackled somewhere that wouldn’t be an utter pain to repaint if it came to it. Or in other words, I stayed well away from the A-pillar and turned towards the driver’s door shut. Those with better memories will remember in episode 25ish, I cut a section of the lower door lip, so it needed half of the upper sill painting. This made a perfect place to deploy the new Auto Finesse polisher, as new and old paint overlapped!
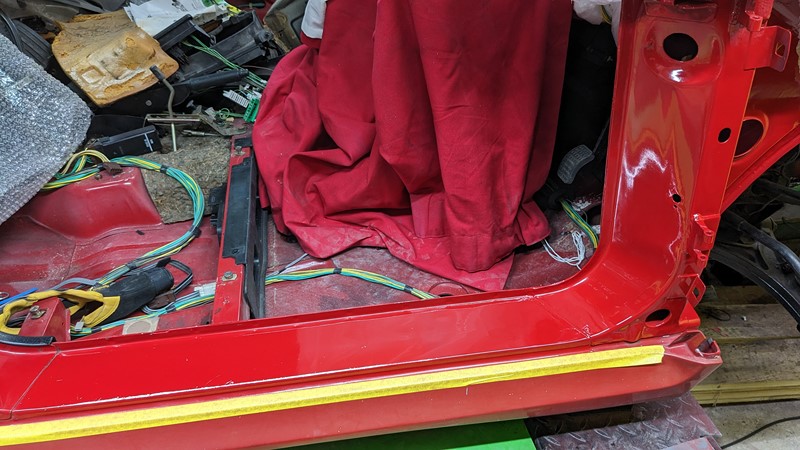
Should I have jumped to the machine polisher so soon? Probably not, to be honest. However, I really wanted to know if I could cut the rough out of the new paint and how well it looks against the original paint. The door shut/cill seemed like the best place to play, and my gosh, did it come out well! The obvious ‘line’ is a reflection. The actual joint is practically invisible in this picture.
The moment of truth
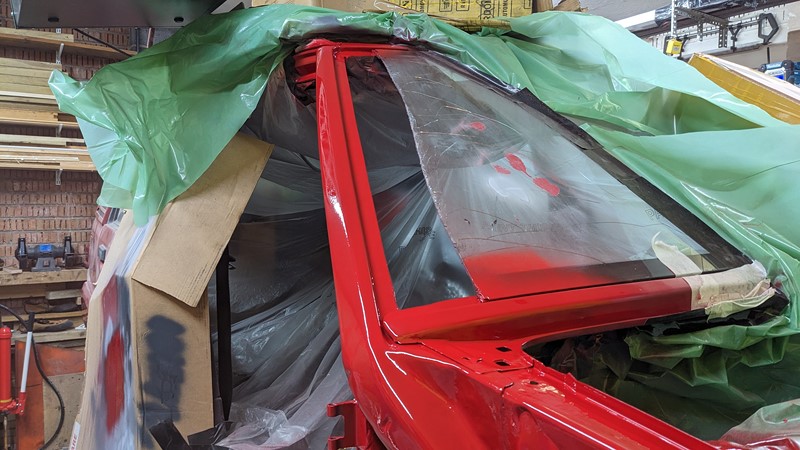
There is just one last thing to do. This is the point I find out just how well all the alignment, measurement and warping prevention have come together. Is the door pillar now miles out? Will the door still close? Should I roll the car to the road and set fire to the lot?
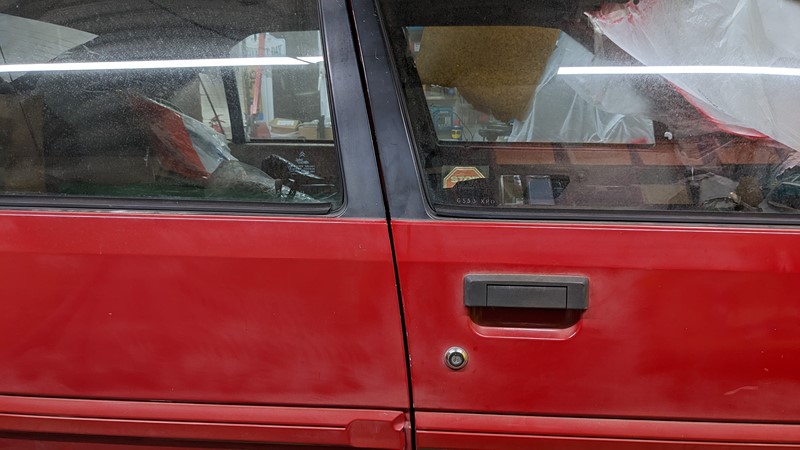
Well, without any fettling and nothing more than a new set of roll pins, the door has gone on pretty much perfectly aligned. I’m more than a bit relieved at this point; the outcome could have been very different!
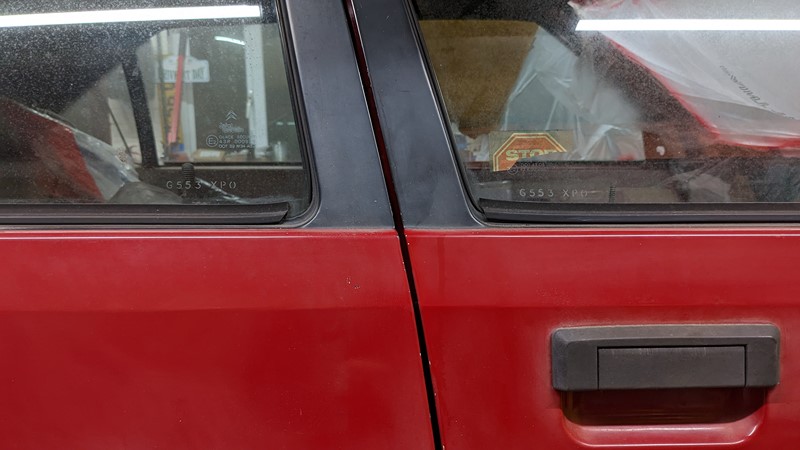
From a slightly more rearward angle, the alignment seems to get better. The gap between from and rear door is pretty much perfect from top to bottom. This is actually better than my own car, a relatively frustratingly common occurrence at the moment!
Wrapping Up the A-pillar painting
A door on a car, big whoop de doo. As uneventful as this step really is, and something I’ve done many times before, finally getting the door hung is a HUGE milestone for me.
A-pillar was repaired and painted, and the door was finally back on. Not bad for a little under two years!
I have to confess to losing interest in this project more than once, but this has finally spurred my enthusiasm. As much as I want to get the car to the CCC National Rally in a few weeks, that really isn’t going to happen as I look at the very long list of stuff still to do!
I think the best way to celebrate this milestone is to remember how it all started in Episode 1!
Look how far we’ve come!
M
NEXT – Eps29 – Windscreen Surround Repair
PREV – Eps27 Wheel Arch Repairs
Back to Citroen articles
Back to Automotive articles
Amazon Affiliate Links – Things used in this article
BXProject is using Amazon Affiliate Links. It’s a quick way to show you what I have used in this article.
“As an Amazon Associate, I [may] earn from qualifying purchases.”
Since January 2024, Amazon has blocked embedding images, but I think the links are still valuable.

[…] NEXT – Eps28 – A-pillar Painting. Again.PREV – Eps26 – Unpainting the A-pillar […]
[…] NEXT – Eps30PREV – Eps28 A-pillar Painting. Again! […]