Every now and again in this 10-year project, there are handfuls of write-up snippets that I just have to put together to make one meaningful article. And this Episode of ‘Will XPO ever actually see the road again?’ is going to be one of those ‘bitsa’ write-ups—with bitsa hubs, brakes, and bearings seemlessly bundled into one (shortish) article.
Stuborn bottom ball joint removal
I’d hate to try and count up just how many BX ball joints I’ve changed over the years, but I certainly couldn’t count the number on one pair of hands. I’m definitely in to double digits. Usually, removal on the Citroen BX is straightforward and can be done with the hub still on the car.
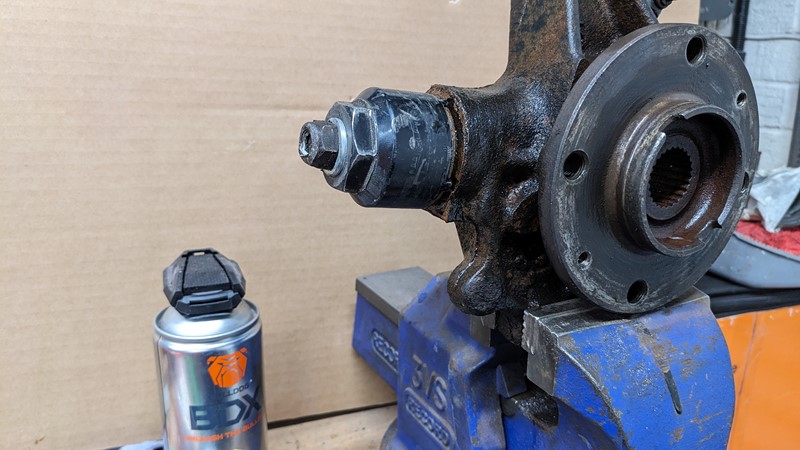
But not on this day! After beating XPO as far as I dared, the damn ball joint still wouldn’t undo. The amount of force required would be excessive, so off the hub came. Into the vice, the trusty ‘special tool’ gets bolted on over the ball joint.
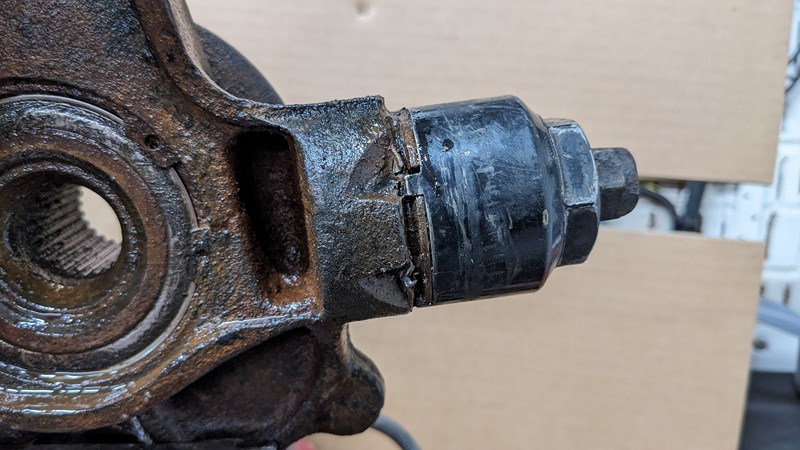
With excess force comes, very little.
The ‘special’ aspect comes from the teeth that lock into the notches on the ball joint’s housing. Keeping good engagement between the teeth and the slots is crucial to undoing the ball joint, and this is why I bolted the special socket to it. And don’t worry—I’m not mental. I did unlatch the locking stakes.
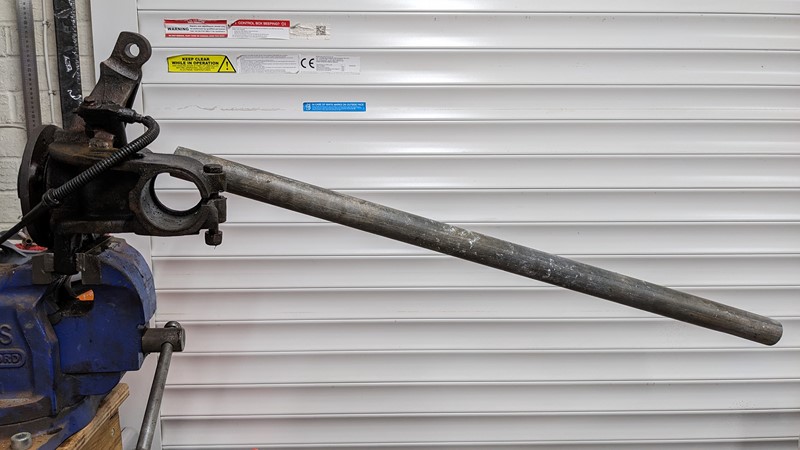
Generally, a liberal application of force will get the ball (joint) rolling. My trusty 4-foot-long scaffold bar comes into play yet again. However, despite my ever-increasing mass, this bugger was not shifting. I’m always amazed at how much abuse the teeth on the special socket can withstand.
It can’t be stuck if it is a liquid.
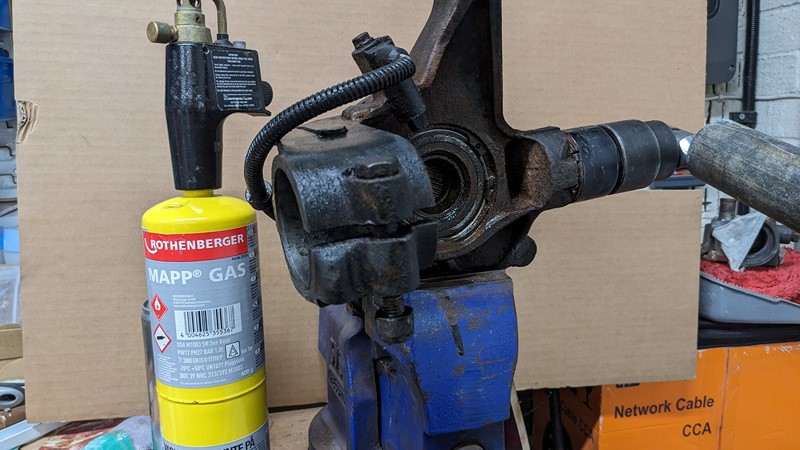
When in doubt, flame it out. I’m not suggesting going as far as ‘can’t be stuck if it’s liquid levels of fire, but enough to get some expansion in the two metals. Apply fire to the ball joint, then quickly bolt the special tool back on WHILE WEARING FIRE-RESISTANT GLOVES. Yeah, I learned that the hard way. Twice.
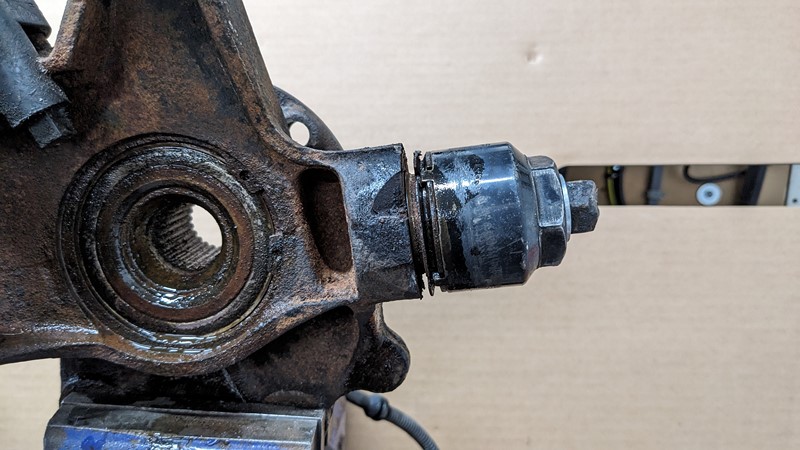
With sufficient thermal momentum and some body mass, the bond between the hub and the ball joint finallygives way. A new bottom ball joint goes in, and the overhaul can continue.
Citroën BX Front Wheel Bearing Removal
There are a few jobs on the BX where the genuine workshop manuals come into there own. The Haynes is actually not too bad in this area. However, the Citroen book of ‘truth’ givese some helpful pointers. A few pages can be skipped as we already have the swivel housing and hub off the car.
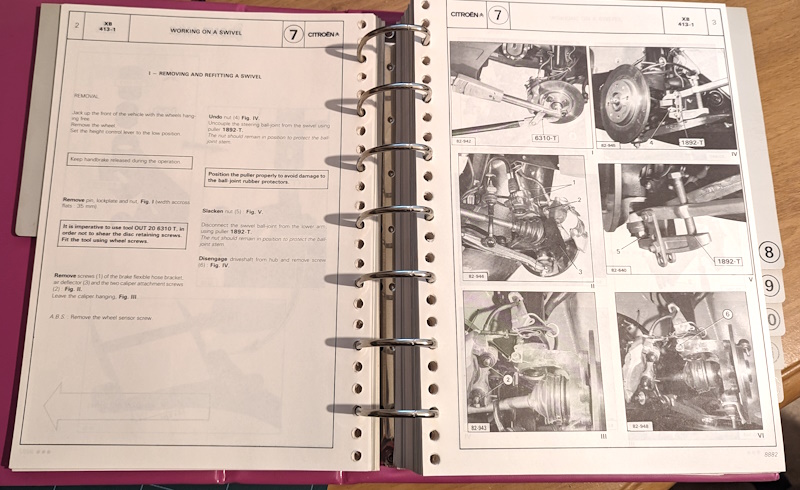
Bearing Retaining Circlip removal
The next task was to remove the circlip that once held the bearing race in place. While the primary function has long been overtaken by corrosion, encouraging this evil to release its hold is not easy. After a range of assaults, I finally gave in and waited a week for Sealey to deliver man-sized tools.
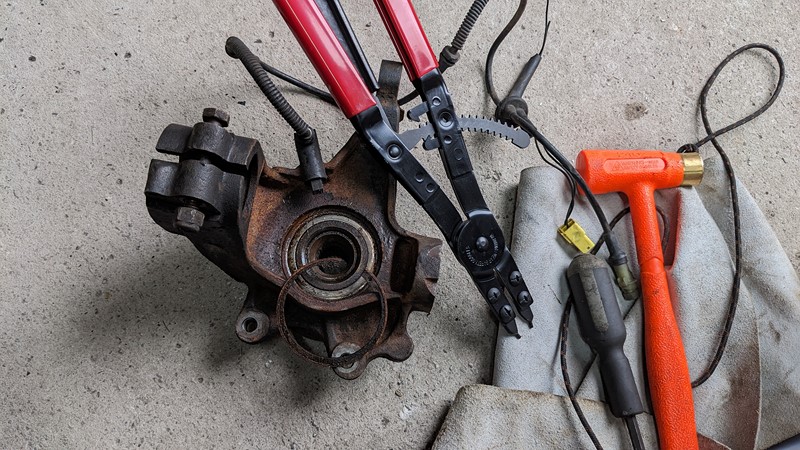
In this case, the massive tool was the Sealey AK8501 heavy-duty circlip pliers. I know they are seemingly excessive for the task, but they will be handy for tractor work. Despite the granduer and cost, this heavily corroded circlip still gave up quite the fight. And took some more skin off my knuckles.
Bearing removal
Another massive Sealey tool was then pressed into service. Get it, pressed, because it is a 10t hydraulic press. The Sealey YK10B bench press is the only sort of bench pressing I do these days. I bought this tool for this purpose. However, after a few years of labour, I think this is the first time I have used the press to remove a bearing.
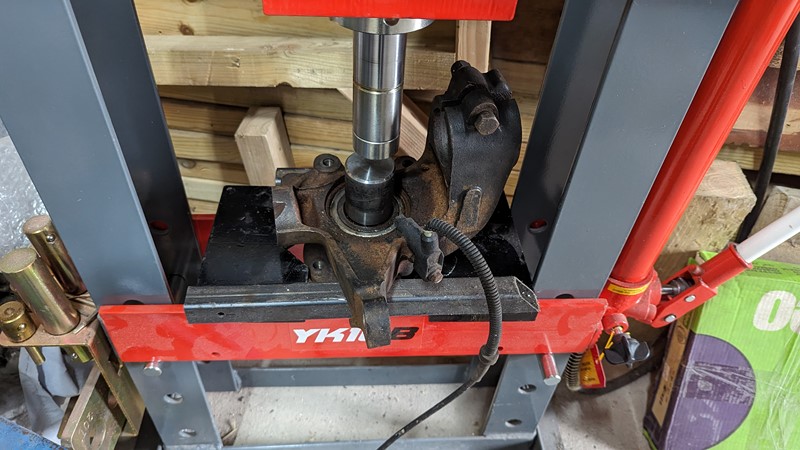
A not-so-recent purchase of Citroen workshop tools didn’t include the right tool for this job, but it was close. A range of press tools were soon assembled, and the inner race punched out. This was swiftly followed by the outer race, which put up more of a fight.
New-ish bearing goes back in
Amazing to think, just a few years ago, when I first started working on cars, this was a job I couldn’t do myself. A friendly garage was usually quite happy to push bearings out in exchange for decent-quality biscuits. But today, I can push in my own bearing.
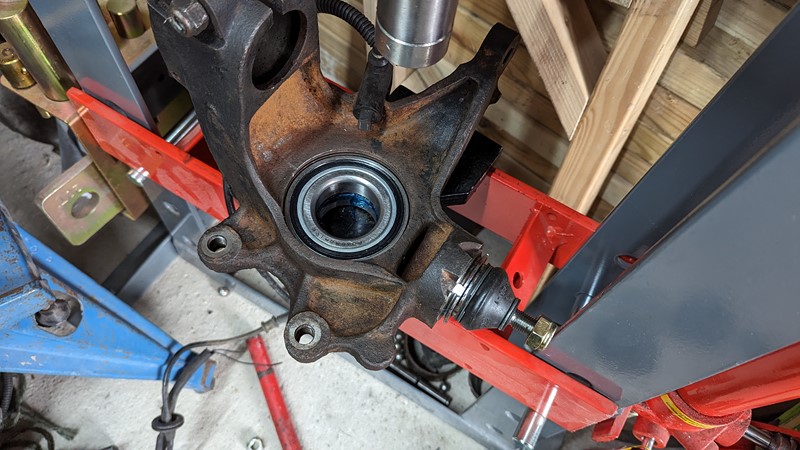
Although a genuine bearing, the grease was somewhat old and stiff.Before installation, the old lubricant was swept out, and the whole thing washed out. Then, the bearing was repacked with some high-quality high-pressure wheel bearing grease. Finally, the refurbished part was pushed back into the swivel housing and secured with a new circlip.
Cleaning up the hub
Excessive or not, there was no way I could leave the hub the way it was. Perhaps the build up on the surface was old copper slip. I’m not sure, but the goop on the hub would not aid reassembly. So, instead, the hub took a trip to the parts wash.
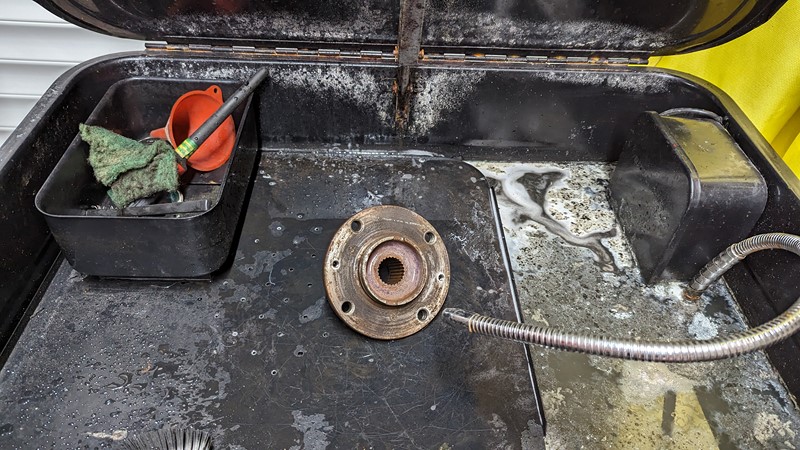
I would not call the end result ‘gleaming,’ and it certainly wouldn’t pass the Daz door-step challenge. However, a quick degrease and rub down did well. Much of the old copper slip and rust soon vanished.
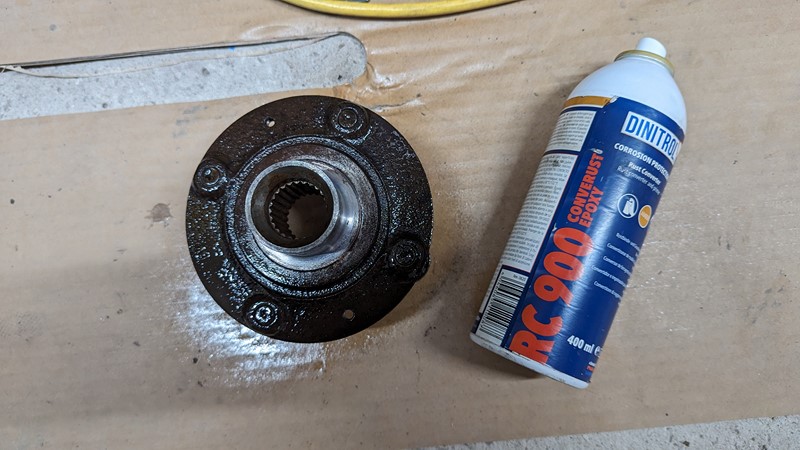
The back of the hub was also treated to some Dinitrol RC900. Visually, this is pointless, as this area is trapped between the rotor and the swivel housing and will never be seen again. However, knowing it is treated and unlikely to significantly corrode again, makes me sleep better at night.
Front Brakes Overhaul
I do love a good friction plate and line replacement, or in this case, pads and discs. Once again, the Citroen workshop manual came out to play and guided me through some good decisions. First up, the calliper running surfaces were cleaned up. I didn’t quite break out the polisher, but the result is chalk and cheese to what it was.
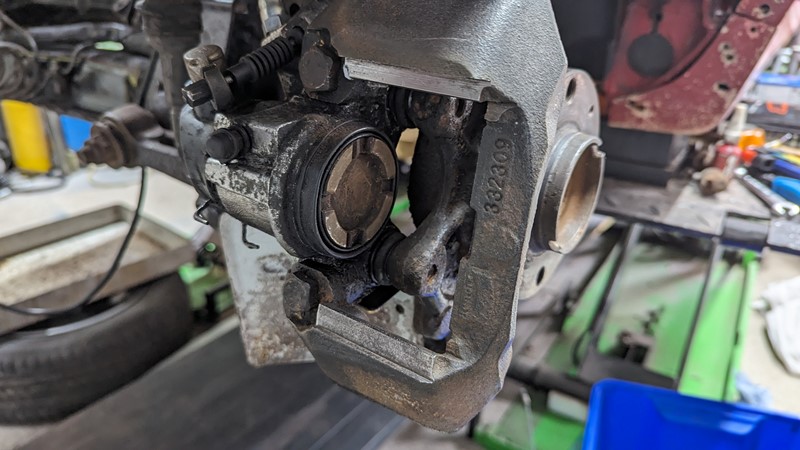
Next, the calliper was wound back fully, correctly, and in the correct position. Apparently, the double ‘groove’ should sit at the top once wound back. Who knew? I can’t see how it matters, but I’ve taken so much care at this point that I might as well get the small details right.
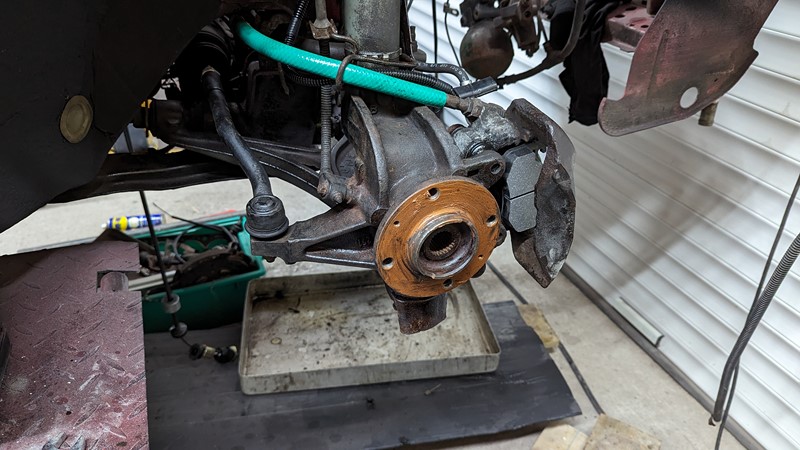
Then, the copper slip comes out to lubricate the contact faces. The hub is lightly costed to stop it from corroding to the brake rotor. The backs of the brake pads and the pad runners also get a little copper slip attention. This should keep everything running true and free from squeaking. But time will tell.
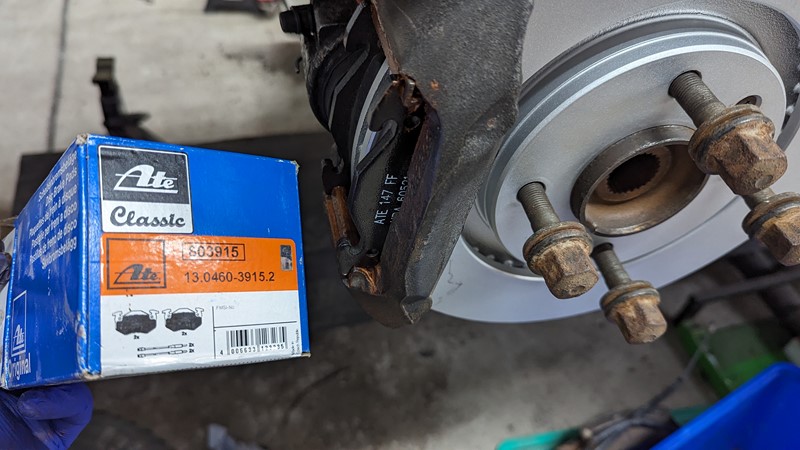
A rare treat for XPO is that it is receiving ATE front pads. OEM at the time, I suspect these ATE classic pads probably contain fewer carcinogens. The brake rotors themselves and Bendix. While I prefer not to mix and match pads and discs, in this case, this could be the perfect OEM setup. The rotors are precoated and will need correct running in when XPO hits the road.
Thats all folks.
That’s all for hubs, brakes, and bearings for now. Ah, just three months to change a wheel bearing and bottom ball joint and replace front pads and discs—some sort of record. At this rate, these brake components might even see some action this decade. Wouldn’t that be fun? In the words of Monty Python, ‘Get on with it’, and I will, just as fast as I can manage.
M

Pingback: Citroën BX – XPO – Engine Bay Preparation – Eps37a - BX Project