
In Episode 33, the article focused on getting most of the interior wiring repaired and connected so that the interior trim could be installed in Episode 34. But that only has us halfway with the electrics. I want to get the instrument cluster fully working, which means getting all the sensors connected. While many of the sensor connections need the engine in place, there is some electrical work to be done. Just like the interior wiring harness, the engine bay harness has been significantly altered and damaged. So, in electrics part 2, the focus is on repairing and overhauling the wiring in the engine bay.
The challenge ahead in the electrics
Much like the interior wiring seen in episode 33, the exterior harness has been somewhat interfered with. Many wires have been labelled with duct tape rather than masking this time. At least twenty terminations are entirely missing. And several connections have been terminated poorly with cheap aftermarket connections.
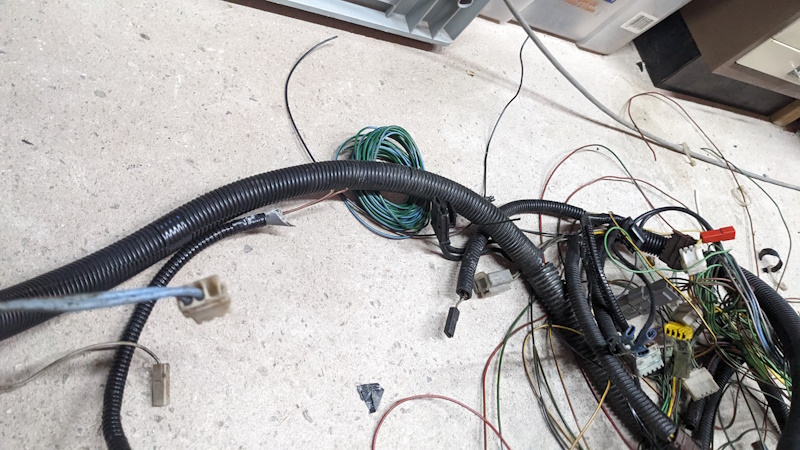
While much of the bodgery is on low-power signal connectors, a few high-current connectors are looking worse for wear. Before installing the original harness into the engine bay, it undergoes a full end-to-end check. All connections that can be repaired before installation are made good. A few connections are so severely damaged that whole new wire runs are needed. In this case, the harness must be reinstalled so I know how long the replacement wires need to be.
Headlights
Poor output should be tackled at the source.
Ask any BX owner about driving at night, and they will likely rant about headlights for an unnecessary amount of time. Or, more specifically, the ever-reducing enlightening power of the light output. I can almost guarantee that there will be a reference to candles and their superior light output. I would imagine comments will be made about burnt-out ignition barrels and how the only solution is relays.
Top cause of poor headlights on the Citroen BX
At 30 years old, certain aspects of forward illumination need to be considered for even the newest BX. The top three issues, as I see them, are;
- Modern headlights are horrendously powerful, and making a comparison to HID, LED, and frickin lasers is complete madness. While BX’s may not have the gas-fired lights of old, a 55w H4 will never compare with modern retina-searing headlights.
- Unfortunately, the 30-year-old BX wiring will have an increased electrical resistance over what it once was. The PVC sheathing will have leaked much of its VOC content between the copper strands in the wire. This, in turn, separates the conductors and makes them less able to carry the electron goodness needed for illumination. That is usually the black stuff you see when cutting into old car wiring.
- A quick walk around any meeting of BXs (CCC Rally, X-Rally, Rustival, FotU) and a look into the headlights will show the primary cause of poor light output. Few BX headlights still have good reflectors (shiny bits at the back). This means a portion of light from the bulb doesn’t come out of the headlight.
Overcoming reduced potential in the electrics
Let’s consider power consumption. Assuming that the H4 bulb draws 55w, and a BX that is moving should have no less than 12.8v measured at the battery. P=IxV, so each bulb at worst-case might draw 5amp. By modern standards, that’s really not a lot of power. However, many savvy owners will tell you they measure a lot less than 12.8v at the bulb. So, how do we restore the potential across the bulb? Well, I’ve always found the solution to be on the ground side of the connection.
Rather than adding all new wiring, hacked-in relays and poor connections, I prefer to tackle the cause of the issue. Running a new wire from the bulb directly back to the body grounding point behind the battery.
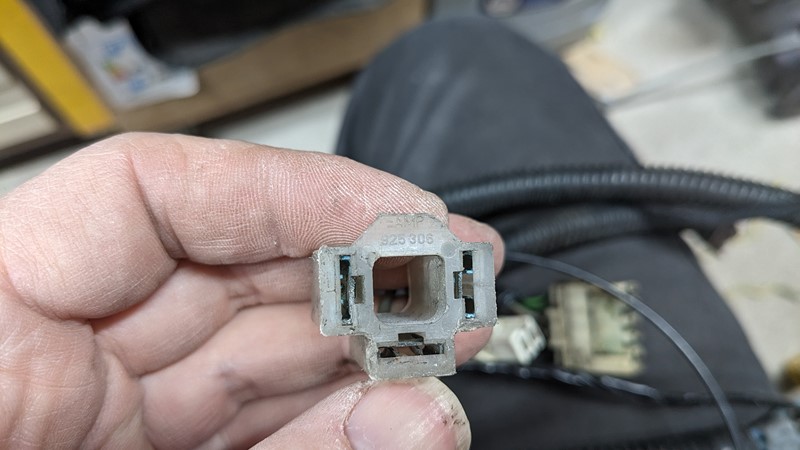
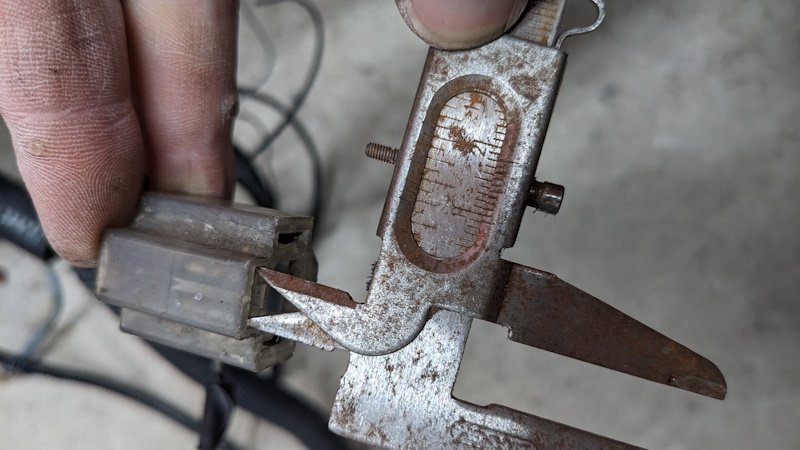
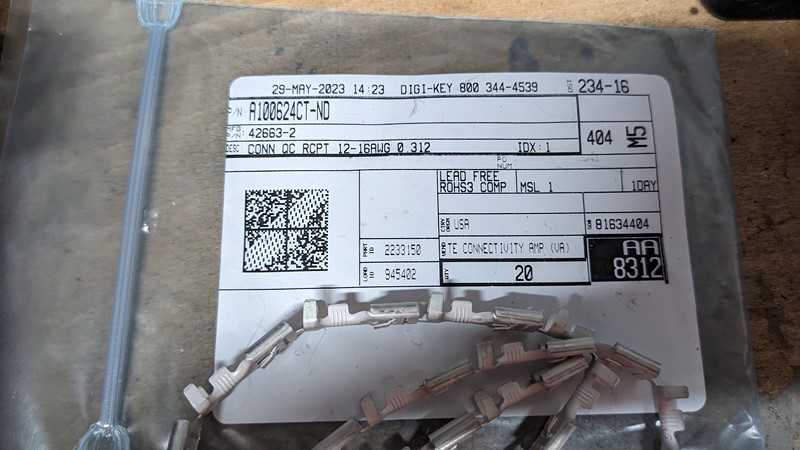
Aside from physically running the wires, this takes just three crimp connections. I could quickly determine the connector range by measuring up the terminals and using the part number on the housing. The original headlights use the AMP FAST-ON range of connectors. Better still, they are still made and can be easily ordered! The 7.92mm female connectors can be found by searching for part number 42663-2 and cost about 25p each from DigiKey at the time of writing.
The proof is in the pudding.
I have found it rather difficult to get a good picture to show the difference in light output. However, by changing just the ground connection to the headlight bulbs, a significant increase in brightness can be seen. While I’m not anti-relay, changing the power feed to the bulb will achieve nothing if the return path (ground) is not improved. XPO will also get a new set of headlights, including new reflectors. This should restore the original factory light output. A decent set of Osram Nightbreakers should significantly improve overall light output without any bodges!
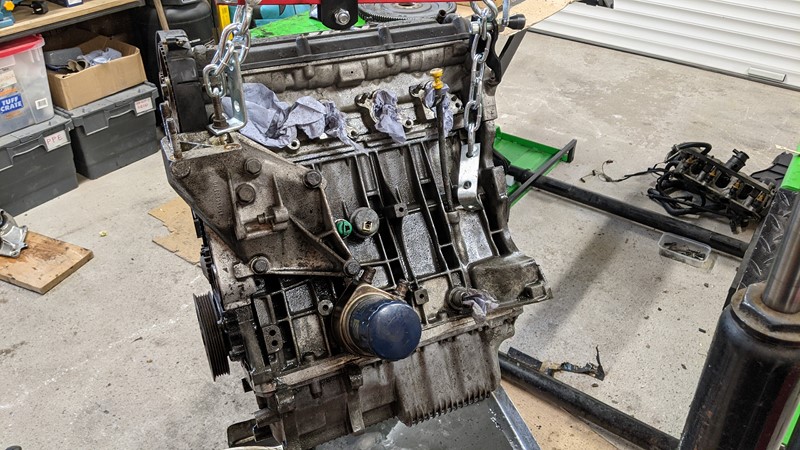
Engine Sensor Harness
The engine has a separate harness for sensors and starting/generation that many BX owners will be familiar with. That multi-way connector behind the battery, which seems to go faulty just before an MOT, is known to many of us. I’ve previously covered the steps for remaking the whole harness and replacing the big unreliable interconnector.
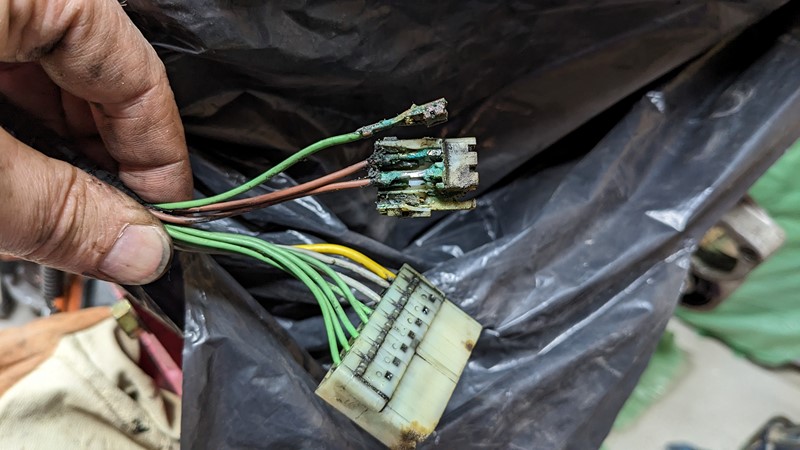
It was no surprise that the engine sensor connectors were in a terrible state, especially given the rest of the issues with the engine. However, once I started cleaning up the larger of the two connectors, the contacts were in surprisingly good condition. The pins were not corroded or deformed and had clearly been subject to lubrication in the past.

In the end, only one connector needed replacing, and I already keep the replacements in stock. The smaller of the two connectors had a completely destroyed housing, which was no longer usable. However, I had a replacement housing hidden in the depths of my BX spares!
Engine Control Electrics
The Citroen BX 16Valve also has a separate harness to control the XU9j4 engine for the control system’s two and three-row ECU variants. Unlike the other vehicle harnesses, this one did not appear to have been interfered with. All connectors were present, and none of the telltale labelling was visible.
Damage in high power wires.
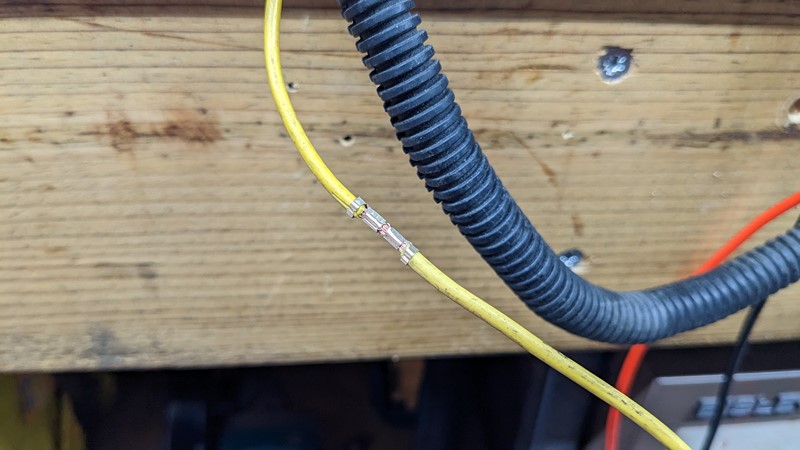
However, I’ve already reached a peak lack of trust level with the electrics on the car, so every connector was cleaned and lubed and every wire checked. Boy, I am glad I did this before putting the engine back in! Hidden within the convoluted tube was an inline connector with poor repair and no weatherproofing. The connection was slowly corroding away. An obvious fire starter and likely something that would have led to a LOT of head-scratching!
I won’t share the horrific images to protect the more innocent readers. The badness was cut out, and an inline crimp was installed. The repair was then fully sealed from the outside world. Ah, that’s better!
Choosing an ECU
While XPO did come with an ECU, it was realised early on that the provided ECU was actually for an air conditioning-equipped vehicle. Along with different mappings, some additional pins are populated to cut the power to the compressor in a wide-open throttle condition. No one wants to lose horsepower to the air conditioning when flat to the floor.
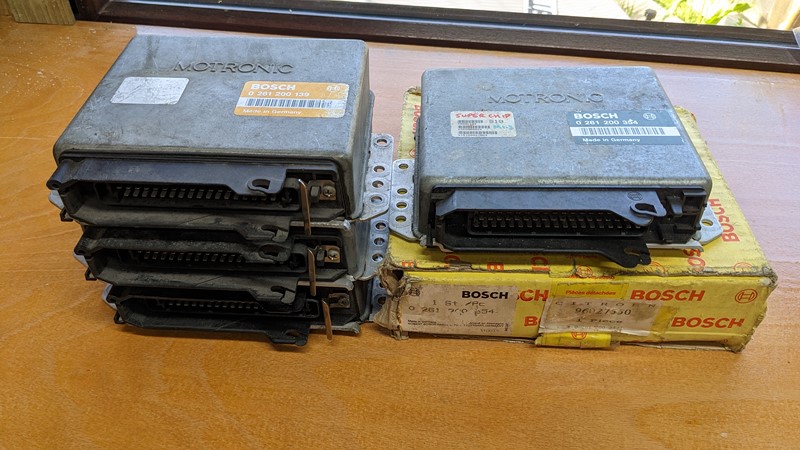
Rather than fit this unique and special ECU, I decided to install an alternative ECU from my ”supplies’. Like all classic car hoarders, I love a bargain, and when I see a cheap ECU for the BX 16v, I’ll often jump in with both feet. Fortune has it that I have a good stock of two-row ECUs that fit XPO!
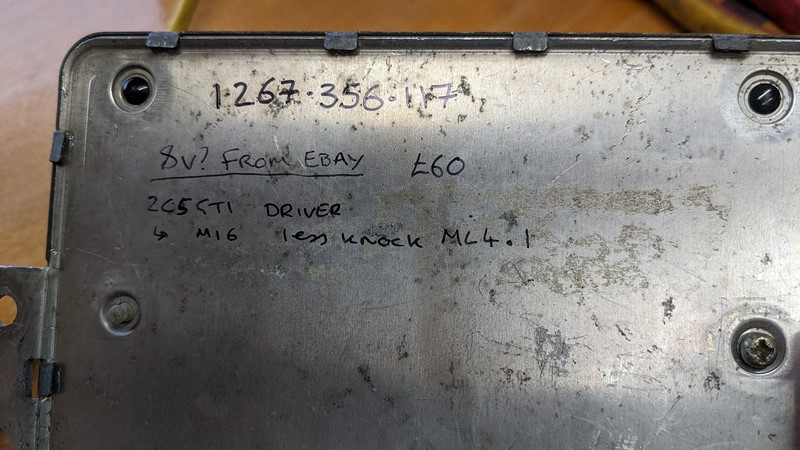
In this case, an eBay bargain at £60 comes to the rescue and preserves the aircon-equipped control unit for another day. This ECU may well have been such a great bargain as it was listed as an 8v controller; however, the part number suggested otherwise. The control unit is bolted into the car and connected to the repaired harness.
Injection and ignition harness
Not wishing to spoil the final steps of preparing the engine for installation, I won’t share too many details about the injection harness. Suffice it to say some work was needed to restore the wiring to good condition.

Above is all that was left of the injection harness protection by the time I was through. More broken connectors and mismatched ground terminals made for some challenging repairs. However, the injection harness was in a much better state than the ignition harness. This wiring section had clearly been miss-wired, connected to power and had a thermal event. Wires melted back to just the copper conductor, and a completely melted connector housing was not the worst issue. There wasn’t enough of the harness left to rebuild, so a replacement was brought out of retirement. See, hoarding is good!
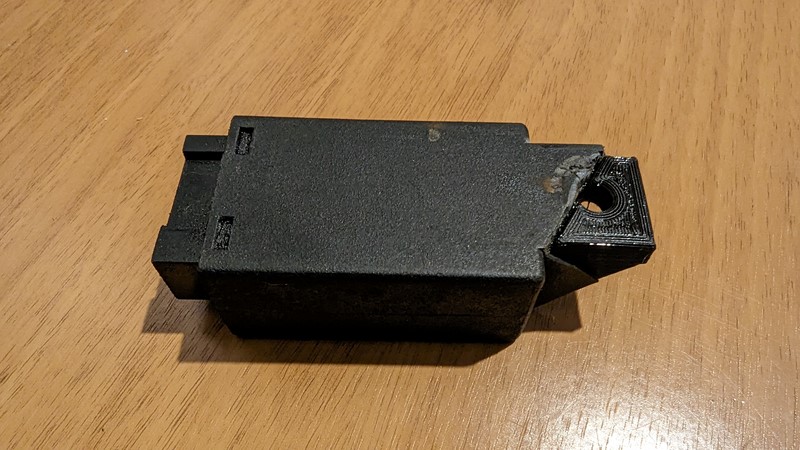
Water Level Box
Unfortunately, not only the wiring harness electrics need some TLC, but also some of the hardware. There are several broken sensors which will need replacing. However, there is one electric component I think I will be able to salvage.
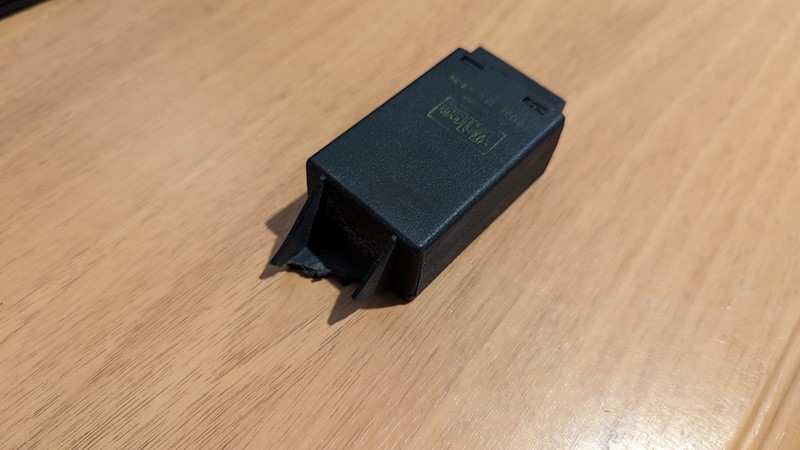
The ” Valeo “Water Level Switch Cont”ol Unit” (9751753580) is part of the coolant level warning system. Unusually, I don’t know what it does or how it works. I know that if it’s not plugged in, the coolant level doesn’t work! So, the box definitely needs to be plugged in. However, fixing it to the car is a little tricky with the snapped bracket.
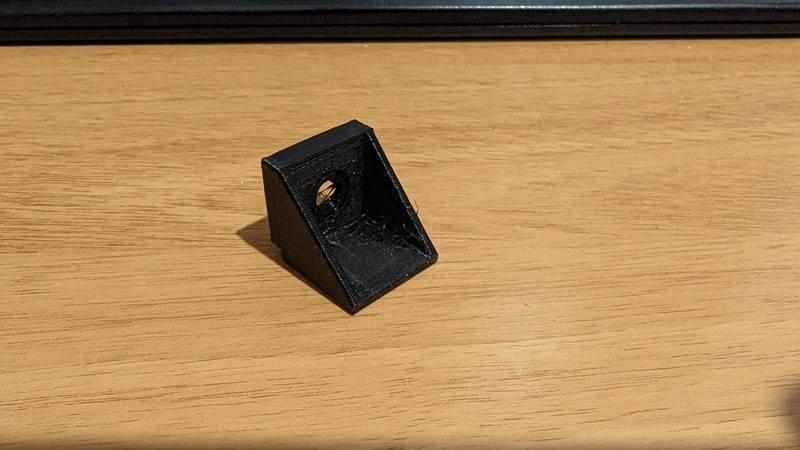
The best solution here is to 3D print a repair piece so I don’t have to replace an otherwise working electric component. Although entirely bespoke to the way the mount has broken on the car, this repair piece was easy to design in Autodesk Fusion 360.
I am using the Ender5 Pro with some Filamentive rPLA, and 10 minutes of printing later, I have a repair piece. Amazingly, the repair piece fits perfectly the first time. Clearly, my measuring skills are slowly getting better.
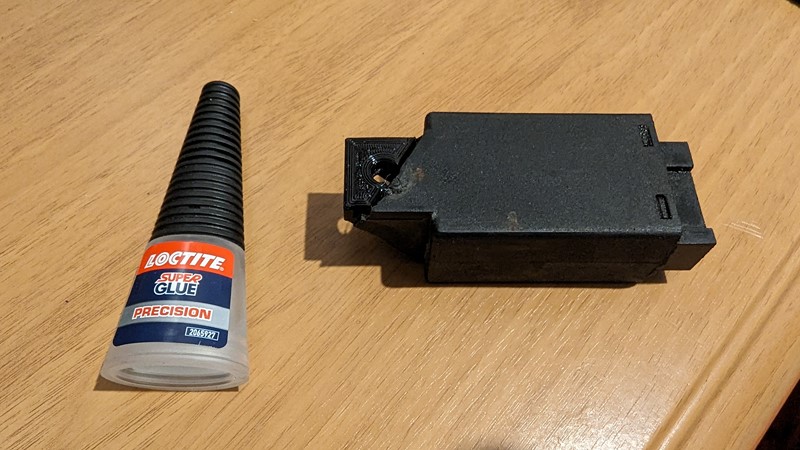
Although the repair piece fits quite well, it will need a little bit of help to permanently attach it to the original Valeo case. In this case, I break out the Loctite Super Glue. I’ve found this works really well with the Filamentive rPLA.

And there it is fixed. Theisn’tra isn’t flattering to my functional printing, but the water level control unit is now solidly attached to XPO. And more importantly, it works!
Next time, in the XPO articles!
With most of the engine bay electrics restored to working order, I can add some finishing touches to the engine and get the power unit back in the car. I’m a way off the car ‘running and driving’, but I certainly feel like I’m getting closer to success. Better still, I have a working water level sensor warning light. I hope!
M
NEXT – Eps36 Hubs, Brakes and Bearings
PREV – Eps34 Interior Trim
Back to Citroen articles
Back to Automotive articles
Amazon Affiliate Links – Things used in this article
BXProject is using Amazon Affiliate Links. It’s a quick way to show you what I have used in this article.
“As an Amazon Associate, I [may] earn from qualifying purchases.”
Since January 2024, Amazon has blocked embedding images, but I think the links are still valuable.
[…] NEXT – Eps35 Interior TrimPREV – Eps33 Electrics Part 1 […]
[…] NEXTPREV – Eps35 Electrics Part2 […]