
Spured on by getting some of the electrics tidied up, work on XPO progresses apace. In this episode, I’ll finally start reinstalling the BX 16Valve interior. However, the process isn’t going to be as simple as I first thought! There where a surprising number of steps to get through before the interior installation could be completed.
Cleaning the interior
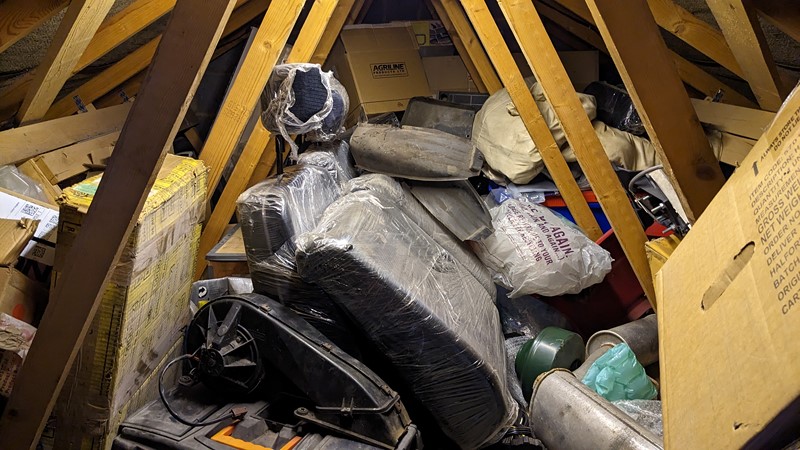
Way back at the start of the project, one of the first jobs I tackled was to strip the interior out of XPO. I forget how many decades ago that was. However, as soon as the seats came out of XPO, they where all cleaned. Really really cleaned. A great many hours where spent with the carpet cleaner dragging buckets of filth out of the fabric. Once dried, the seats where shrink wrapped and amandoned in the loft. All I had to do, is get them back out and into the car.
The rest of the trim plastics needed a good scrub before starting the interior installation. I’ve taken to using a car shampoo for cleaning parts in the sink. The majority of the BX interior trim sections are small enough to be cleaned in the kitchen, ideally when the rest of the family are out. On sunny days, I leave them outside to dry, but generally a run over with the airline gets the trim dry quickly.
Sunroof Drain Tubes
So now it’s time to fit the . . . nope, no interior installation just yet. Before refiting all the plastic panels, there were a few preparation steps needed. The first up was to clean the sunroof drain hoses. At thirty years old, the PVC tubes are not as flexible as they once where. As a result, I find it easier to clean the drain tubes without the dash and a-pillar trims in place.
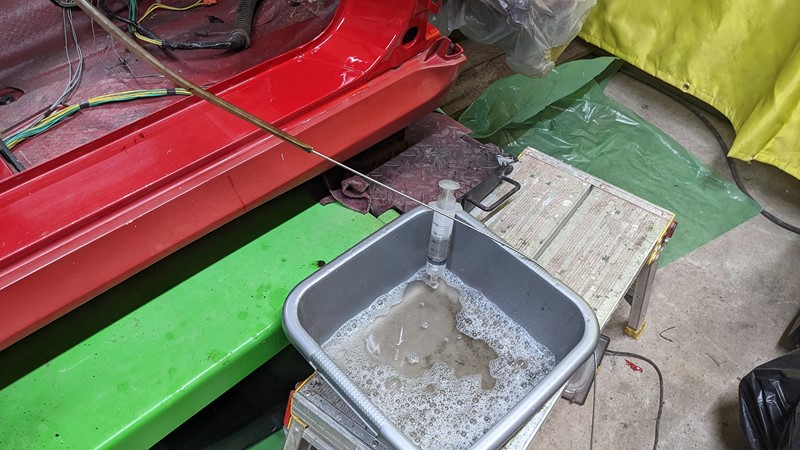
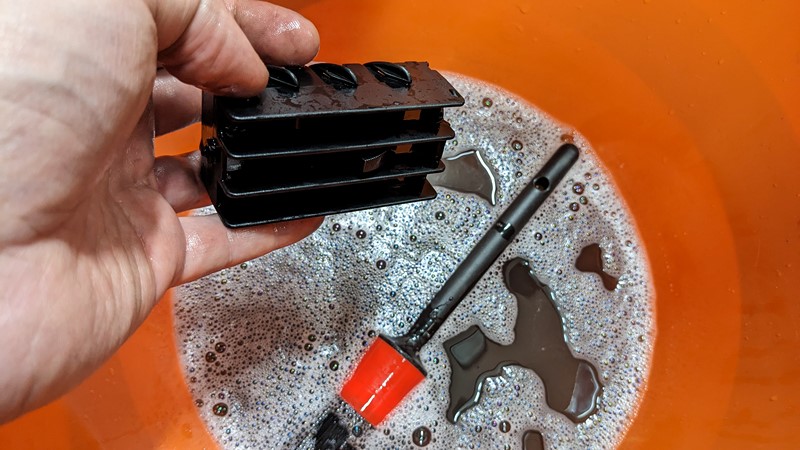
The cleaning process is simple enough. Using a large syringe, a mixture of dish soap and warm water is injected up the tube. I then leave the washing liquid in the tube for a good 15 minutes, with a bung at the bottom of the hose. This helps to soften the pipe, but also release a lot of the dirt in the hose.
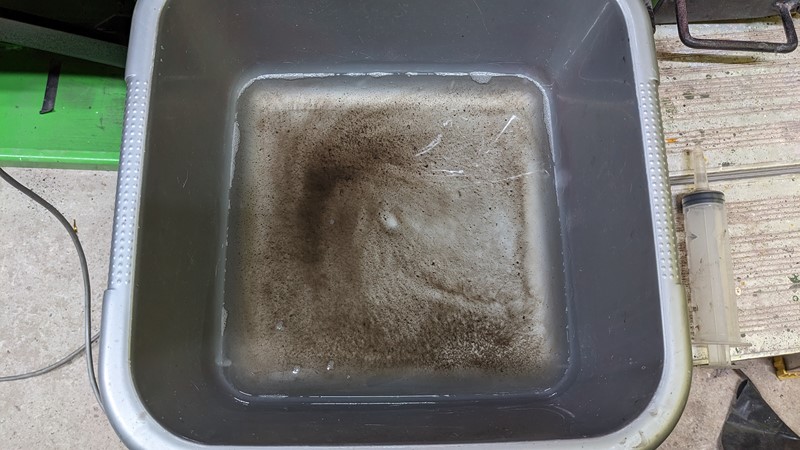
Next up, a long ‘flexible feeding tube’ pipe cleaner is used to agitate and remove any remaining filth. Along with a few more pumps of the syringe, and quite a large amount of dirt is drawn out of the sunroof drain. The picture above shows just how much dirt came out of a single drain hose.
Steering Column Sound Deadening
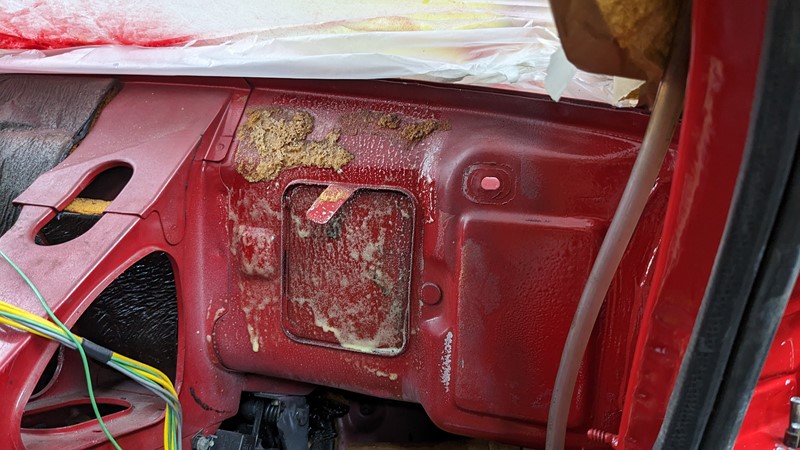
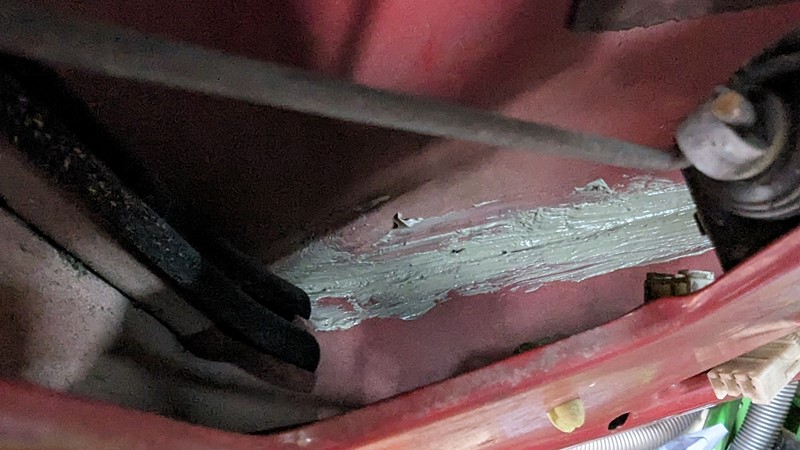
So now it’s time to fit the . . . nope. Next up, the sound deadening panel behind the steering column needs refitting, and a little repair. A section of the crass car panel had to be pulled back from the wire wall to allow for the A-pillar welding.
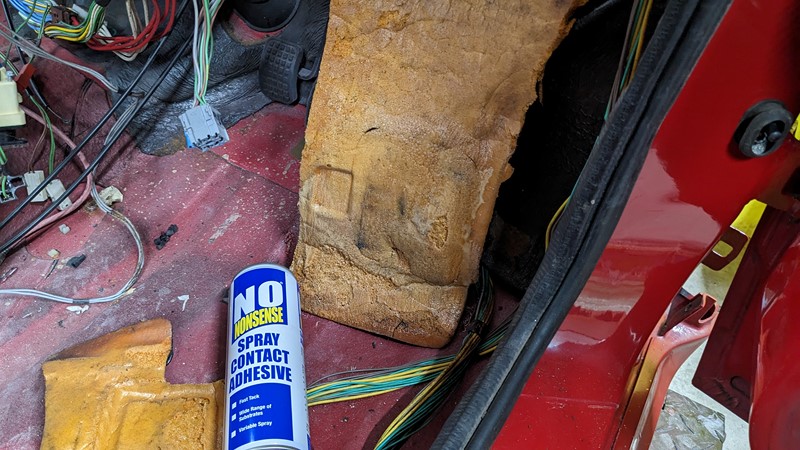
The sound deadening panel works much better when in firm contact with the metal bulk head. I was quite surprised how little was in contact with the metal when it was removed. I guess the glue Citroen used simply didnt last thirty years. I’m having no nonsense here. Snarf snarf.
To get the position right, I’m starting top down. A good dose of the spray contact adhesive went onto the bulk head, with a matching dose on the back of the sound deadening material.
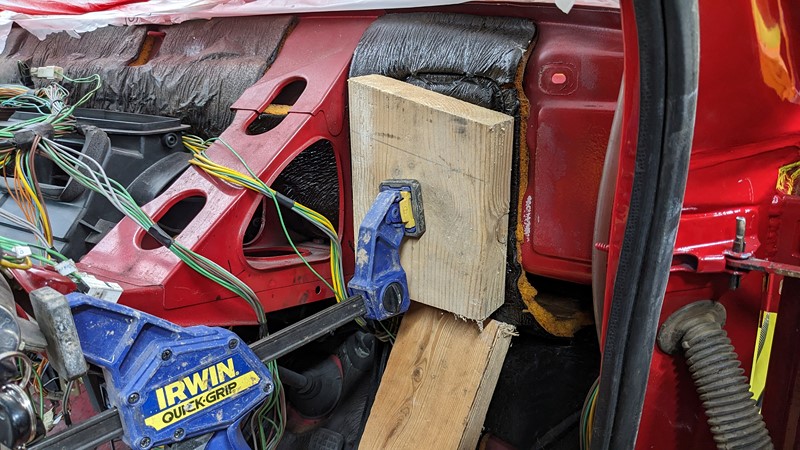
The butile backing of the sound deadening make it both heavy and stiff. These are two properties that make glueing to a vertical surface rather tricky. So, over a few days, I stick one section at a time. The glued sections are then held in place with an interesting arrange mend of blocks and clamps.
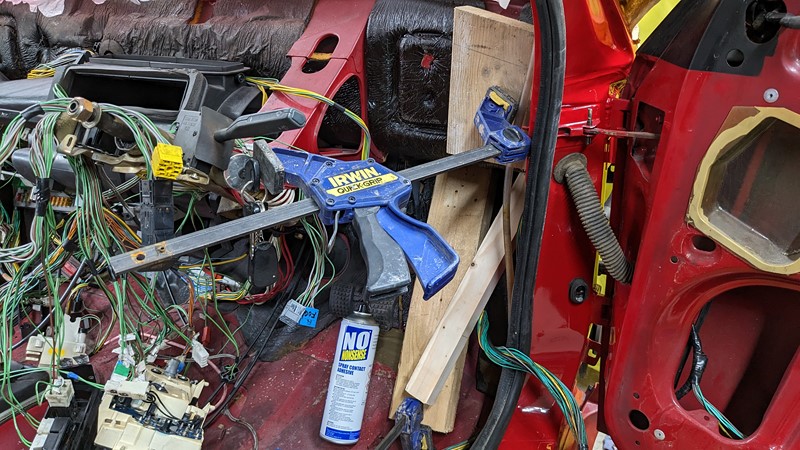
Slowly but surely the panels are all glued back onto the bulk head, better than when they came off. The seems are also glued to try and restore the magic of sound deadening. I’ve also put the panels back without the mouse nest.
Installing the dash
So now I can push on with inst . . . nope. More cleaning first. While this is completely excessive, I’m cleaning the rear of the dash before installing it. I have no good excuse for cleaning the area that will never be seen, I can only seek forgiveness.
Preparing the dash for installation
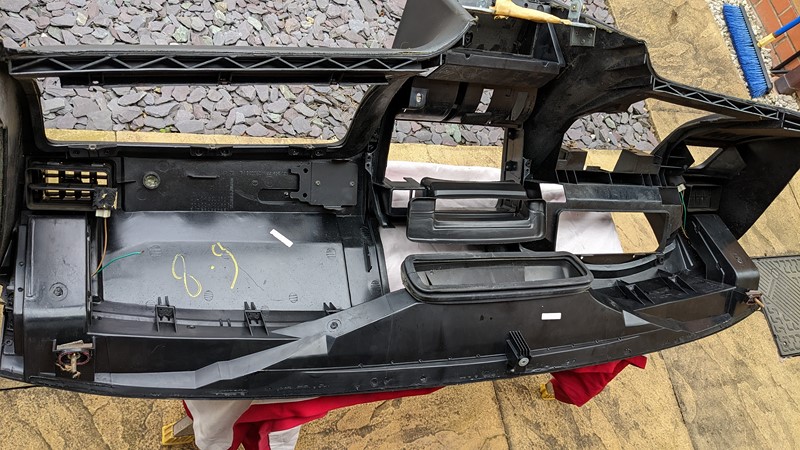
To really clean the dash, all of the IP (instrument panel) wiring harness needs to be disconnected. However, before the zip tie cutting begins, many pictures where taken to get the harness back in the right place. This is something I would love to do with my own BX at some point.
To get into the small nooks and gaps, I’ve taken to using one of these ‘detailing’ brushes and a bucket of soapy water. This is a relative newcomer to my arsenal of cleaning tools, but a game changer for getting into the filthy gaps.
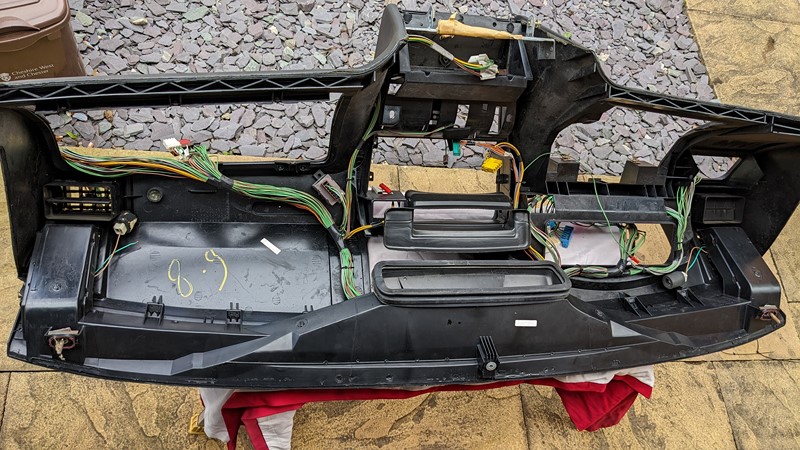
Once I’m happy with the cleanliness, the dash harness goes back in. By installing the harness to the dash, it will make the interior installation a lot easier. No I didnt repair that broken tweeter wire, and yes I am going to regret it.
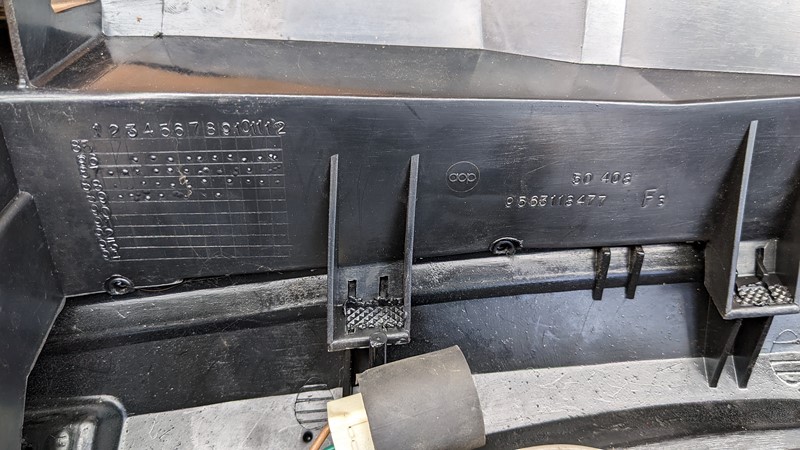
For those that like date stamps and part number stamps, I have a little reward. The eigth month of 1989, sound about right.

At a new level of geekiness, I found it interesting just how many seperate moulding make up the BX dash. I counted a total of eight different mouldings, and I suspect there may be a few more that I’ve missed. I can only thing that is a lot of plastic welding for someone.
Bolting it all back in.
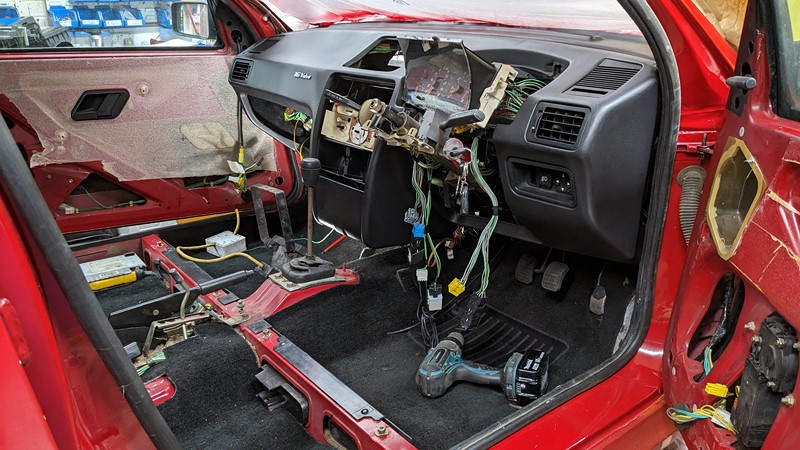
Then, as if by magic, the dash is back in. I’ve also installed the previously cleaned carpets. For me this was another huge milestone and really helped spur on the interior installation.
Door Cards
For no obvious reason, I take a detour to installing the door cards. In the last article we got a lot of the interior wiring working, including the door electrics. With the electric windows, electric mirrors and central locking all functioning, the door cards can go back on.
However, there are a few preparatory things to tackle. The bottom of BX doors is an incredible moisture trap which often leads to rot. The issue is the join between the inner structure and the outer skin. Where they join moisture and rain can sit and eventually rust through. While there are drain holes, they aren’t at the lowest point, especially if you park on any sort of slope.
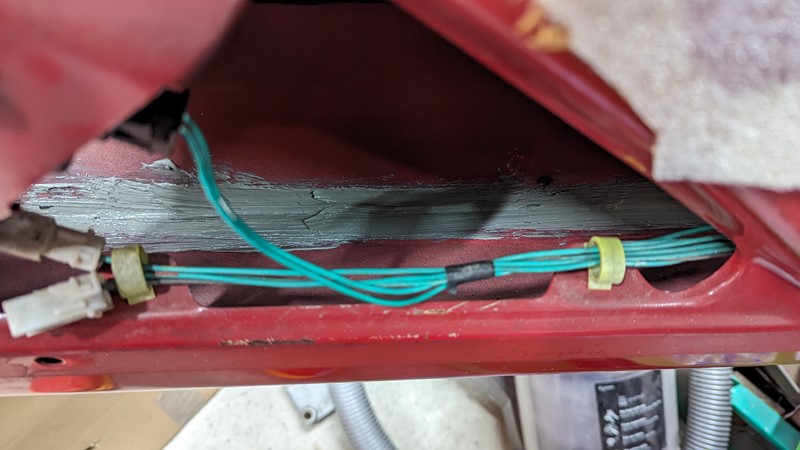
My solution is to treat any rust with an epoxy rust converter. Then I apply some seam sealer all the way into the bottom of the panel joins. In this case I’ve used brushable seam sealer which isn’t the greatest finish, but should do the trick.
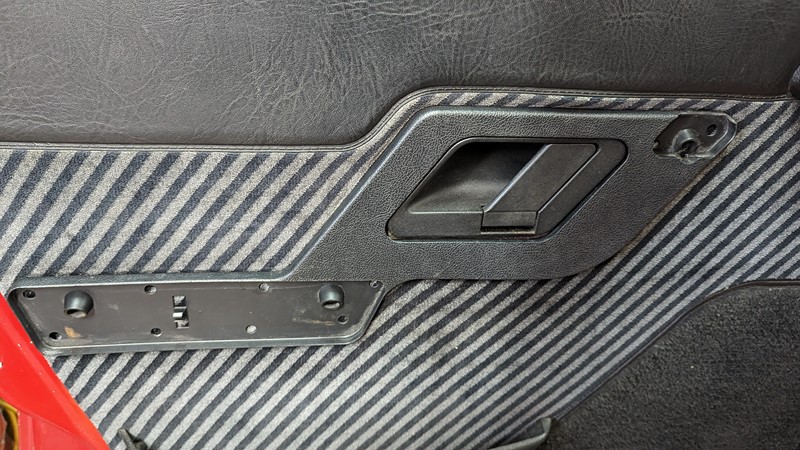
Finally, the door card can go on. Rather annoyingly, the front passenger door handle surround is broken. Worse still, the drivers handle is completley missing. Feels like a problem to solve on another day!
Upper Centre Rebuild
Back to the dash again, and the upper center trim installation can begin. I’ll try not to double up on content which is already covered in the Heater Tap series.
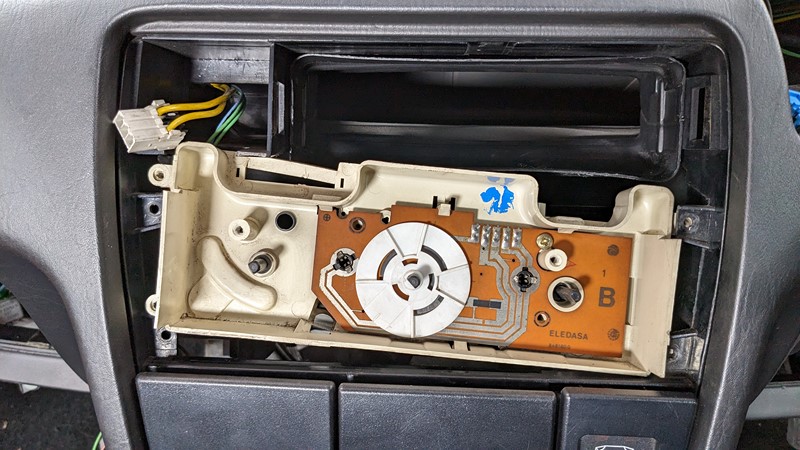
I can confirm that the usual amount of swearing went in to reconnecting the cables for the heater box. Between the very sharp cable ends and the stupid spring clips, this is a rather stressful task. In this case, made worse by one of the cables to the inlet flaps having snapped and will ultimately need replacing.
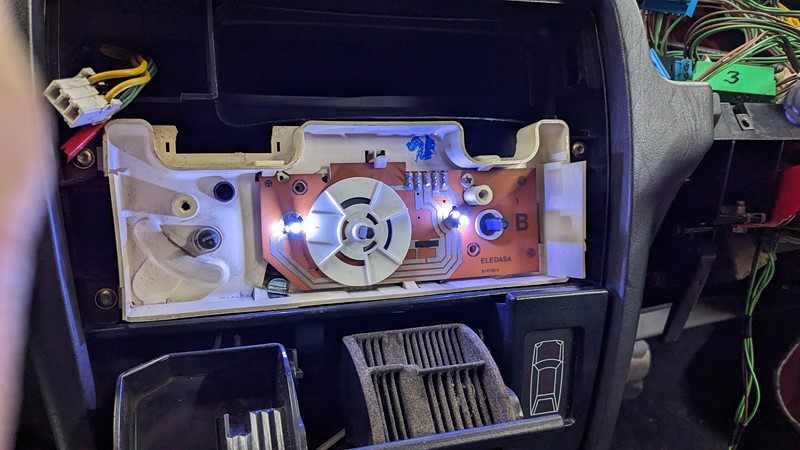
After a lot of debate with my internal monologe, I’ve decided to go with quite white LEDs around the heating controls. I find the standard incandecent bulbs to be too dim to readily pass through the control knobs. I dont know if this is due to the plastics aging, but I’ll give the white lamps a try.
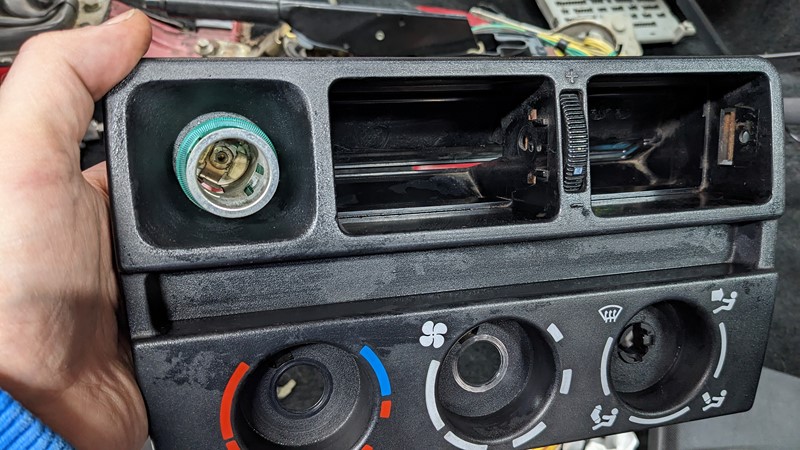
As with the rest of the trim, the centre of the dash is scrubbed before it goes back in. I’m impresed with just how well this interior trim came out given how filthy it started. I half expected I would need a replacement.

And there it is, all back in and installed. Yes, I forgot to wash the grills before putting them in. This will be corrected. I’m also disappointed with how yellow the dials look. They aren’t the onese that came with the car, but for now, they have been misplaced and these will have to do.
Rear Seat Installation
The the dash went in first, partly to let me continue with the electrics, but partly because it is the biggest section of interior trim. Following that logic the next big piece of interior is the rear seat back. Normally I would install the boot carpet and plastics first. Unfortunately I haven’t yet managed to source any of these missing trim parts.

The rear seat back should be installed with just four bolts. And rather conveinently someone has left the bolts behind, in the holes, with the heads snapped off. This is rather common the BX and the bottom of the holes are exposed to the outside world. It looks like I’ll have to drill them out.
Drilling and tapping
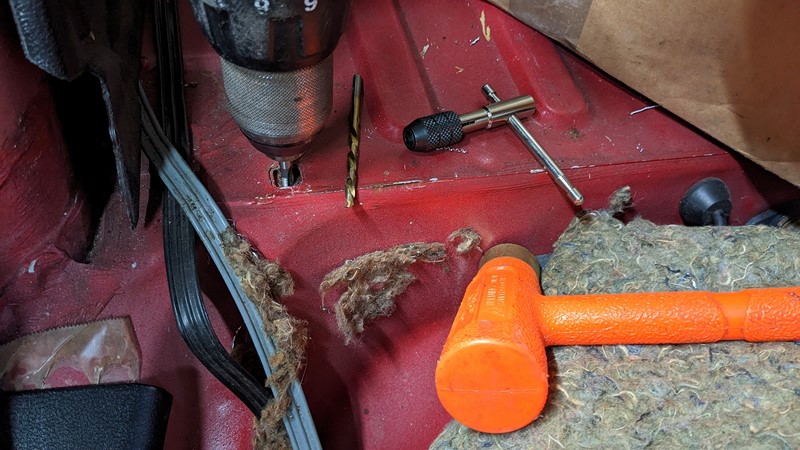
I have to confess, I’m getting pretty good at drilling out and retapping M6 threaded holes. I guess that comes with lots and lots of experiece, and high level of skill at snapping the little blighters. I’ve also recently learned the art of using a tap with a drill. I wonder how long until a snap the tap.
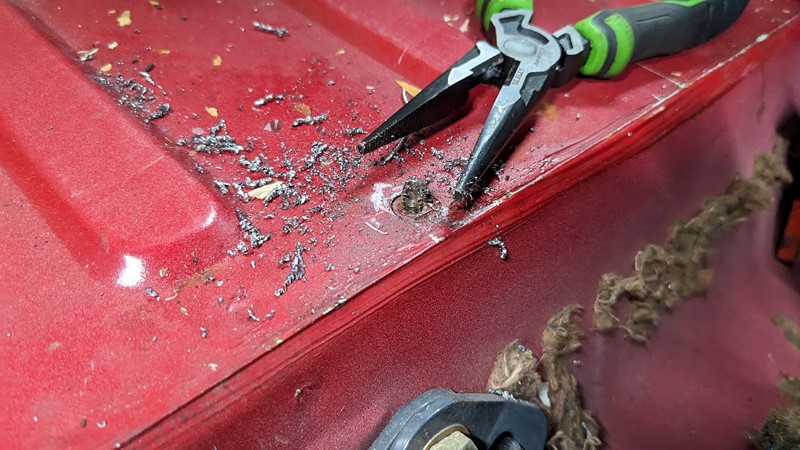
I was very optimistic that this ‘long’ piece of bolt would be enough to grab and unwind the remains of the stud. However, the left over bolt had other ideas. Pretty soon it met the drill and surcomed.
Bolting it all together
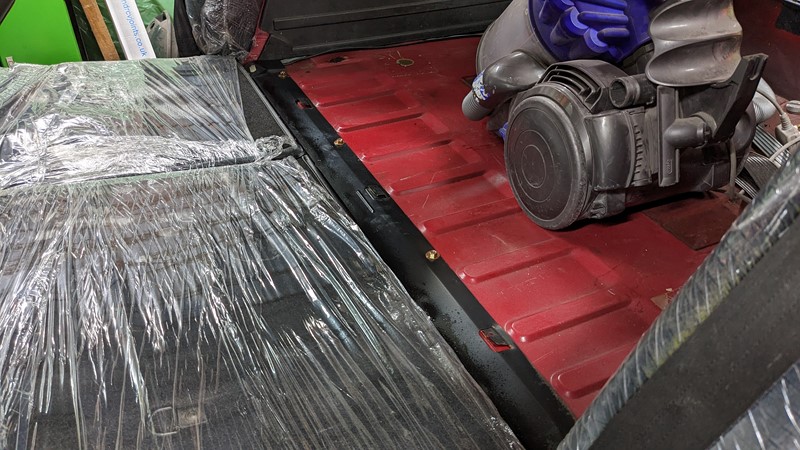
A bit of cleaning and four new bolts are employed to bolt down the lower edge of the seat back. Perhaps unsurprisingly, each bolt received a healthy covering of copper slip. The next lucky owner should be well served if they need to get the seat back out.
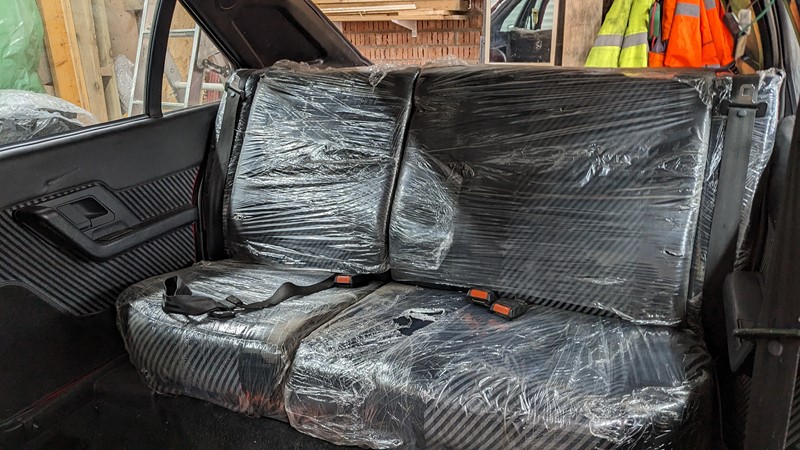
The seat back is quickly followed by the seat base. At this stage the interior installation is absolutely flying along. It may not be a surprise to learn how comfy these seats are. A good thirty minutes were spent testing with my posterior at this point. Very satisfying.
Quit While Your Ahead.
For now, this is where the interior installation ends. In part because I didn’t take any more pictures, but also because not quite all of the interior is back in yet. Knowing there where still some electrical issues to resolve, there was no point in putting the passenger set back in. I also found some of the remaining interior trim was not even for a Mk2 Citroen BX. This last revelation meant completing the interior installation would have to wait a few weeks, or months
or years.
Until next time!
M
NEXT – Eps35 Interior Trim
PREV – Eps33 Electrics Part 1
Back to Citroen articles
Back to Automotive articles
Amazon Affiliate Links – Things used in this article
BXProject is using Amazon Affiliate Links. It’s a quick way to show you what I have used in this article.
“As an Amazon Associate, I [may] earn from qualifying purchases.”
Since January 2024, Amazon has blocked embedding images, but I think the links are still valuable.
https://amzn.to/42sbuRB – Feeding pipe cleaner
https://amzn.to/49fyq8Q – Detailing brush kit


[…] NEXT – Eps34 Interior InstallationPREV – Eps32 Tackling the Scuttle […]
I’ll have to start calling you The Doctor because you’ve got more patience than anyone I know ; )
[…] most of the interior wiring repaired and connected so that the interior trim could be installed in Episode 34. But that only has us halfway with the electrics. I want to get the instrument cluster fully […]