

It’s been a while since the last XPO article, but this is a good thing! Although not widely shared, progress on the Citroen BX 16Valve, which has been off the road since 2008, has been good. Progress could almost be considered as swimming! So, we return to the XPO rebuild story from about the point we left off. The windscreen surround was complete in the previous episode, and new glass had been installed. This episode focuses on the scuttle, putting everything back together and repairing a few parts.
Straightening the bulkhead
The first, and probably most trivial task, is straightening the top lip of the bulkhead panel which borders one side of the scuttle. This is not the most buckled bulkhead I’ve seen before. The deformation usually occurs when an engine is poorly removed or refitted.
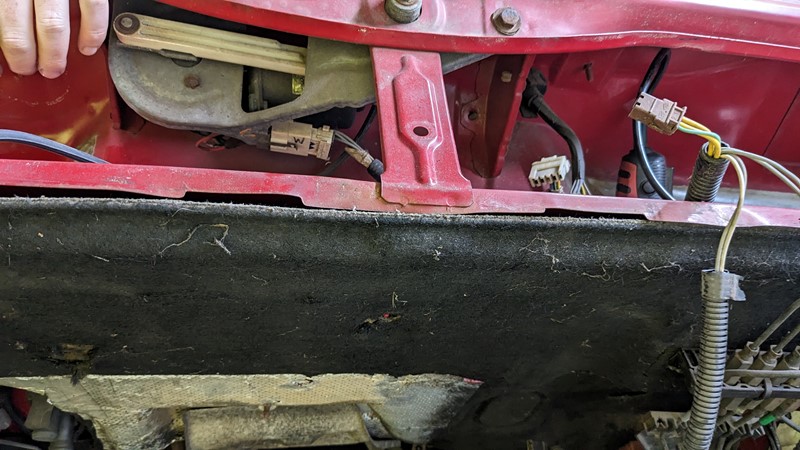
Fortunately, in this case, the dents are relatively minor. Usually, when an engine collides with the bulkhead on the way out of the engine bay, metal work damage is seen. In this case, the damage is minor. Slight undulations in the leading edge of the firewall are present, and no deep scratches or lasting damage to the metal.
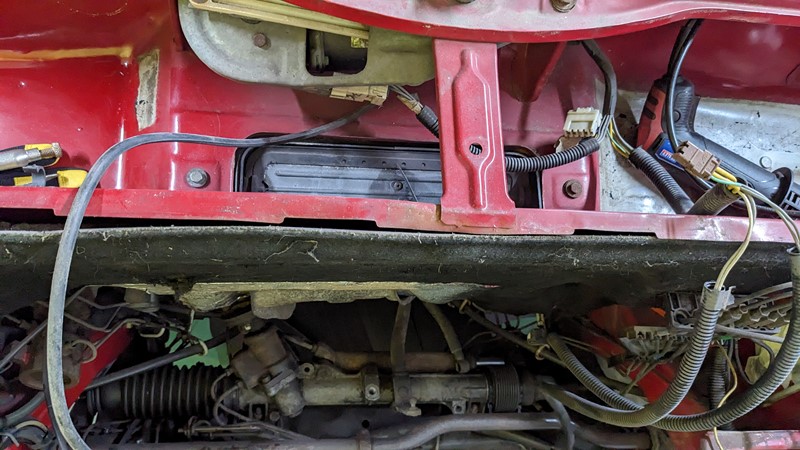
With gentle manipulation with some sheet metal pliers, the lip is straightened, and the fabric bulkhead trim sits back in place. A little surface rust around the scuttle mid-stay is cleaned and treated.
Missing Scuttle Mount
Preparing the scuttle
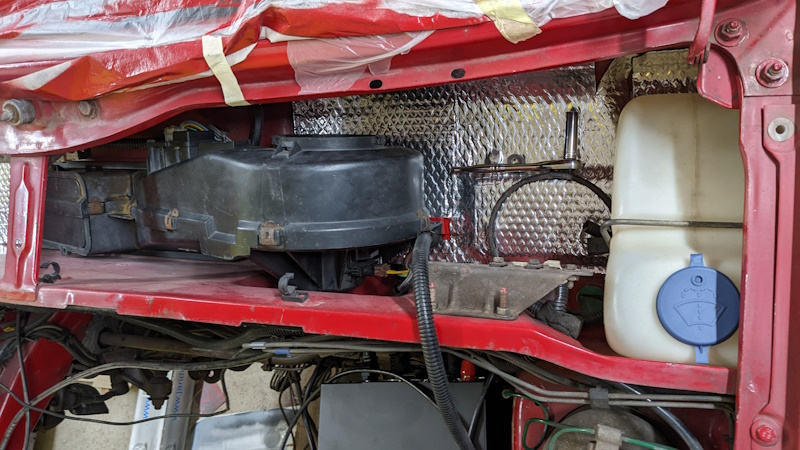
The next issue to tackle was the missing cabin blower mounting. The original mounting was so corroded it came off with the blower housing. Only three points hold the blower unit to the body, so this primary mount is rather critical.
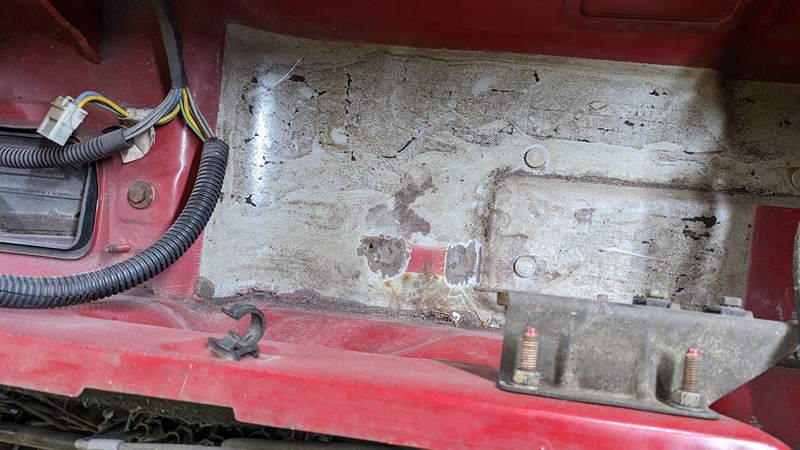
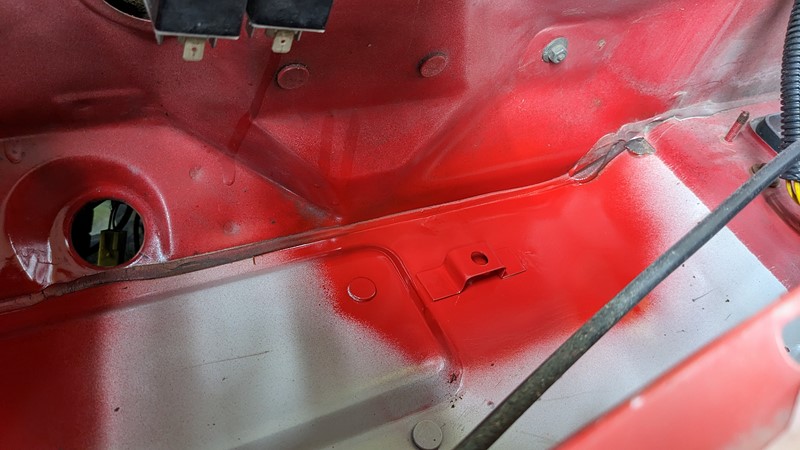
The first task was to strip off the old bitumen sound deadening. At thirty years old, a lot of the VOC content of the initially flexible sheet has escaped. This makes the material shrink, and go brittle, making it useless as an acoustic absorber. The ageing process does make the sheet easy to remove, though!
Once the sheet is out, the old pads are ground back, revealing a hole through the scuttle. This small hole will let rainwater directly from the scuttle into the cabin above the fuse box. It will need welding back up and treating on both sides!
Making up a new bracket

Fortunately, just enough of the old bracket is left to take some rough measurements and bend out a new metal replacement. The replacement is a little thicker than the original, 0.9mm rather than 0.7mm, but this is my only steel stock. It seems to have come out okay, though.
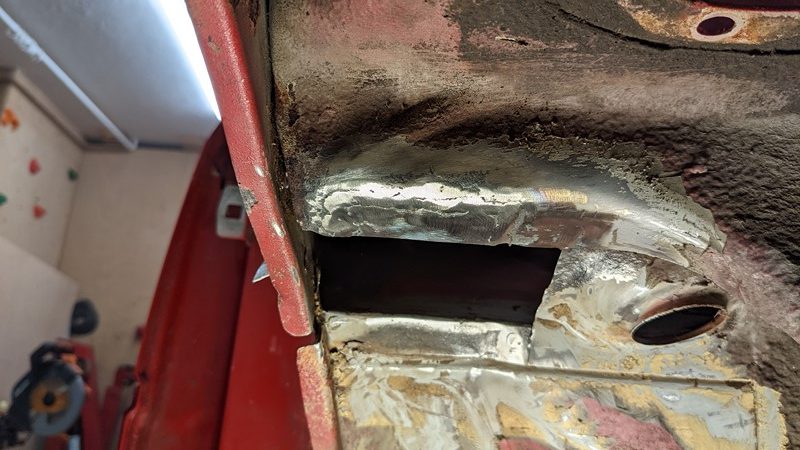
Remounting the bracket
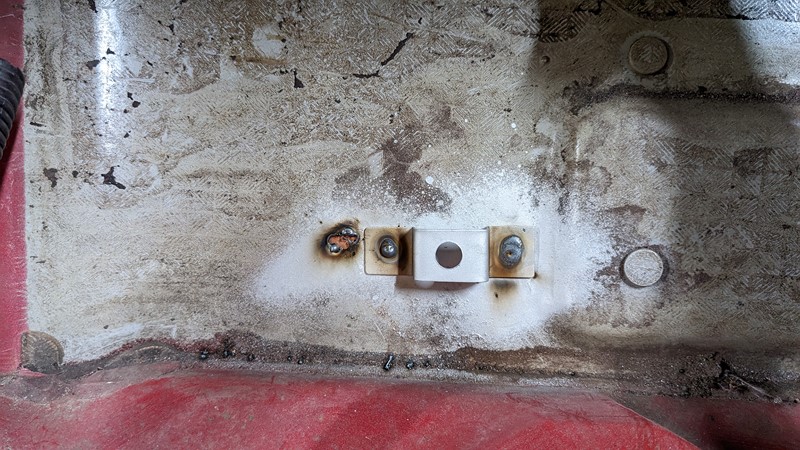
The new bracket is coated in weld-through primer, and is plug welded back onto the scuttle, like the original. The small hole, with a copper pad on the underside, is also plugged to stop the weld from escaping. It’s worth noting that a ‘door’ was cut into the sound deadening on the cabin side to avoid a fire. The door also allows both sides of the weld to be treated.
As usual, a coat of etching primer, a few high-build primer layers, a base coat and a top coat are all applied to both sides of the repair. And while it looks great in the end, the irony is that nearly all the paint will be covered!
Dead To Me
Chosing the right mat
As discussed, the original sound deadening panel has not aged well and had to be removed. The original material has a bitumen base, so is rather flamable. This tendancy to burst into flames and the copious welding, is the main reason for removing the old material.
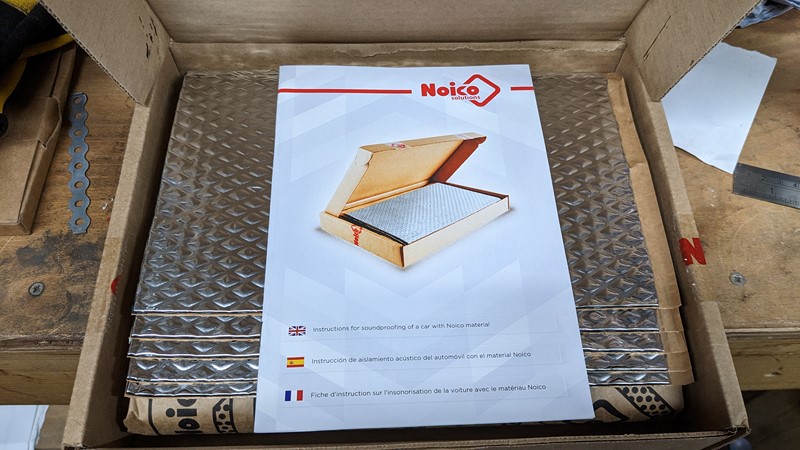
And while the old sound deadening is easy to remove, it needs replacing. There are plenty of automotive brands of sound deadening, some with excellent sales and marketing departments. The ‘better’ the brand, the more expensive it becomes. And while I was about to order some Dodo mat, a trusted acquaintance suggested Noico Mat.
Cutting the mat to fit the scuttle
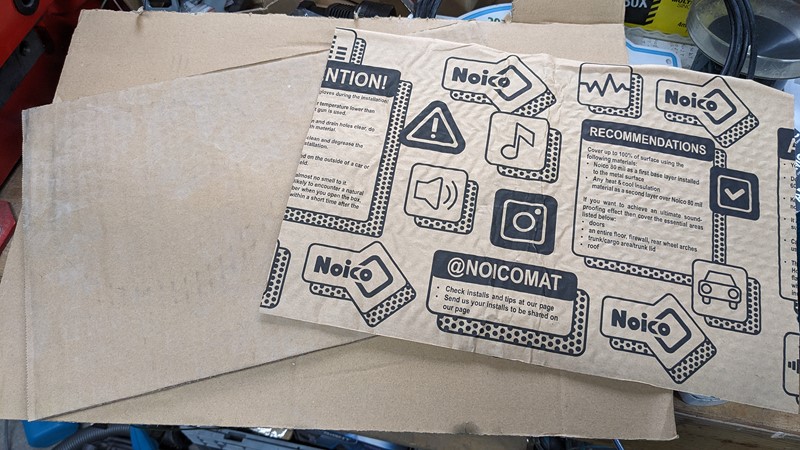
I opted for a 2mm sheet when ordering the sound deadening mat. The panels arrive folded, and really need gently warming up to get them straight and get the best application. The mats also go down better on a clean and prepared surface.
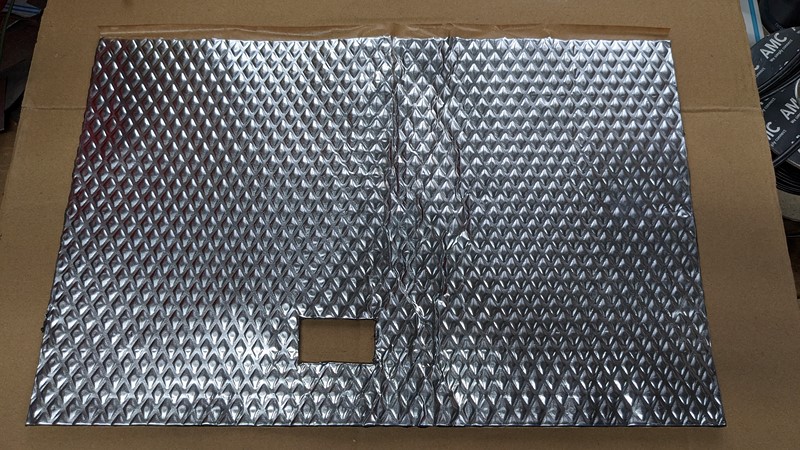
I needed to make up a template to get the hole for the new blower bracket in the right place. In this case, a piece of waxed paper was cut to the size of the mat, and the mount location was measured and transferred to the wax paper. This template was tested in the car, and the hole was transferred to the mat.
Installing the mat to the scuttle
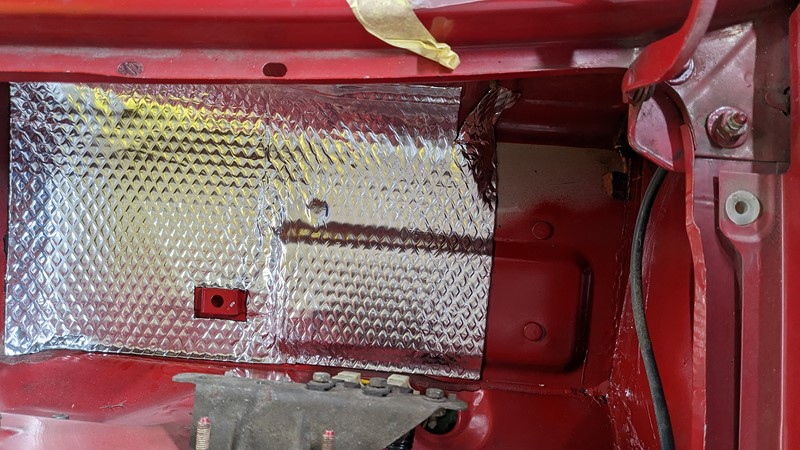
And while this seems like an excessive process, it has worked quite well. The new mat is a little bigger than the original, but I’m sure this can only be good. More coverage, more noise absorption through the scuttle?
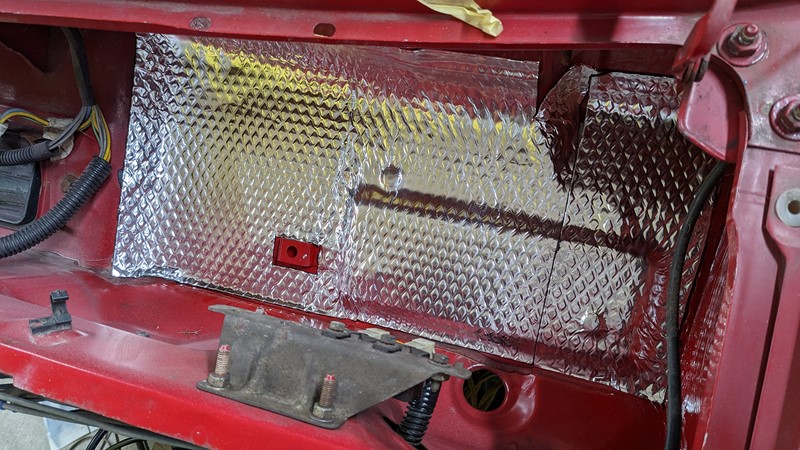
An additional piece is needed to fill the whole side of the scuttle. Originally, there was a ‘window’ in the extended piece for the washer bottle to sit on. This means the washer bottle slowly rubs through the paint, letting moisture in and resulting in corrosion. So, I’ll leave this area covered and hopefully prevent future failure.
Washer Bottles
The next thing to go into the scuttle is the washer bottles. The installation and operation of the washer bottle and motor are straightforward. However, this is a topic I have failed an MOT on, and I often find problems with other BXs.
The connection to the blower motor isn’t sealed, and the scuttle area is not a dry zone like a modern car. This means rainwater often gets in and results in the scuttle being damp. This damp air quickly finds its way to the blower motor connections and causes corrosion.
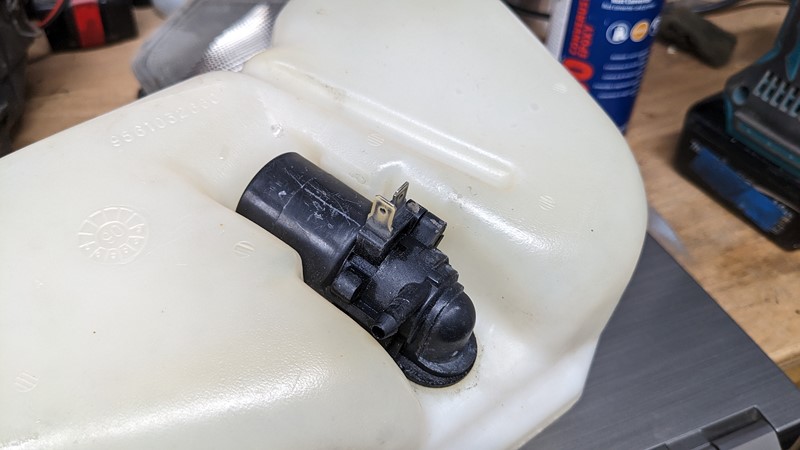
The operation is checked with a bench power supply before the motor is installed in the washer bottle. The contacts of the known good motor are then cleaned with wet and dry, and Vaseline is applied.
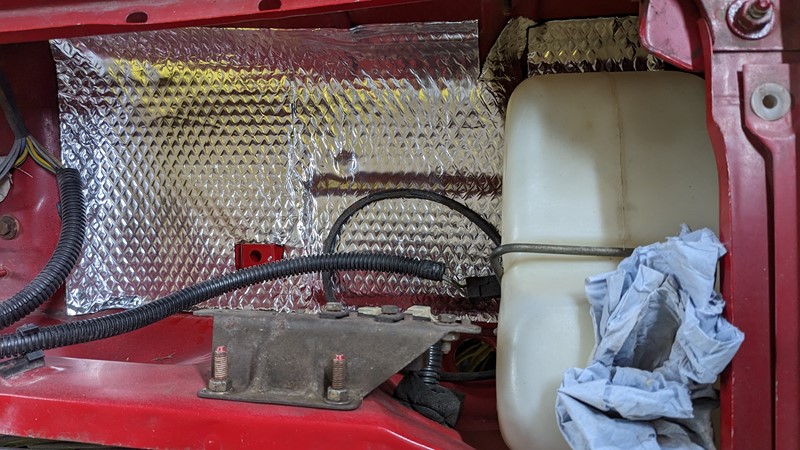
The washer bottle is then installed on its mount. It’s easy to do without the scuttle trim in place. The connector for the washer bottle was previously cleaned and lubricated with Vaseline to keep moisture out. A final check was to ensure the rear washer button worked, which didn’t, but we’ll return to that. I also had to order a new filler cap for this bottle.
Blower Overhaul
While the blower unit is relatively simple, XPO arrived without one! Not an issue as I have a significant stock. The cabin blower unit comprises a motor fixed to a squirrel cage fan inside a snail scroll. Air is drawn into the centre of the squirrel cage and forced into the cabin ventilation handling unit.
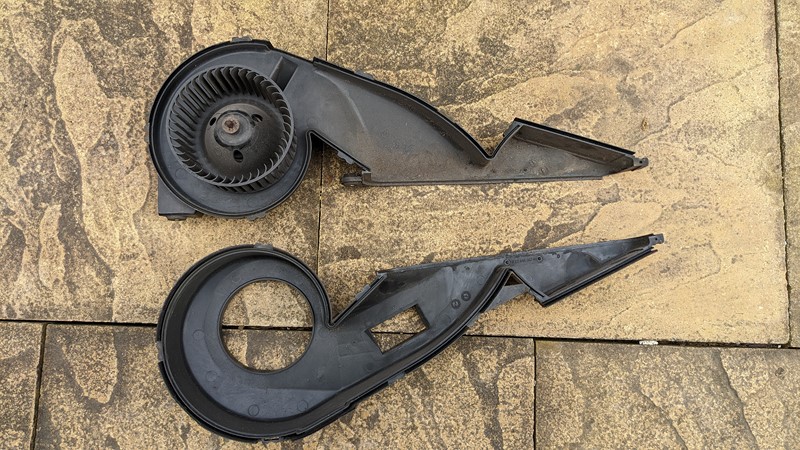
Several metal clips hold the two sides of the blower housing together, and are quickly removed. This gives access to the whole scroll and reveals just how much dirt has built up.
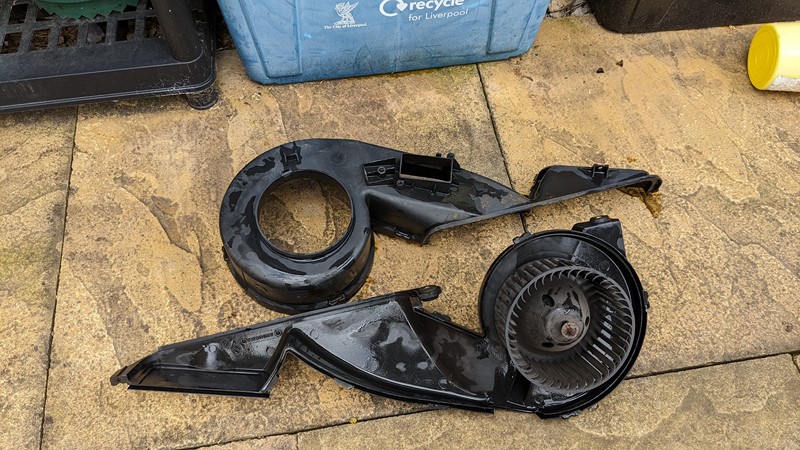
Careful application of a scrubbing brush and hose, and the dirt from the scroll is removed. The blower unit was immediately looking much better. I should mention that the blower was rotated by hand to ensure the bearings were functional before separating. Although this unit came from a working car, there is no guarantee of unexpected failure during storage.
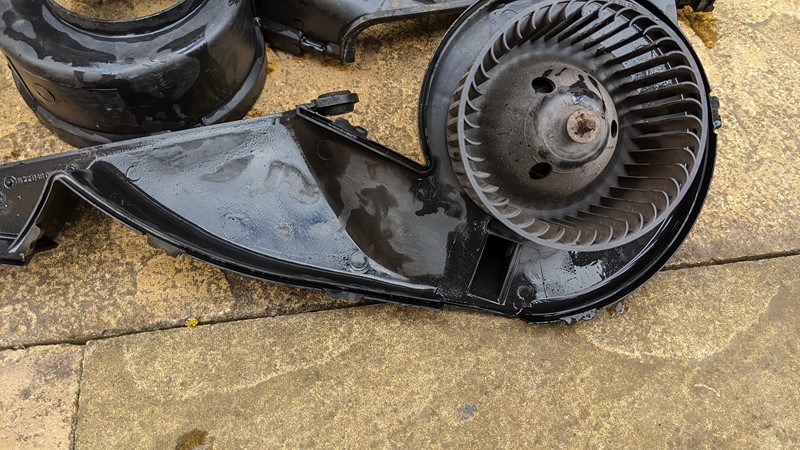
Keen eyes will recognise that the squirrel cage fan has yet to be cleaned with water. The design means any water entering the three holes in the top of the fan will end up in the motor. I think it is worth pointing out that a channel under the fan diverts air to the motor. Getting water in the channel is also not recommended.
Blower Controller
Anyone who has been around BX’s for a while will know that a controller board drives the cabin blower. The board is slotted into the side of the blower housing and features a Darlington pair sat on a significant aluminium heat sink.
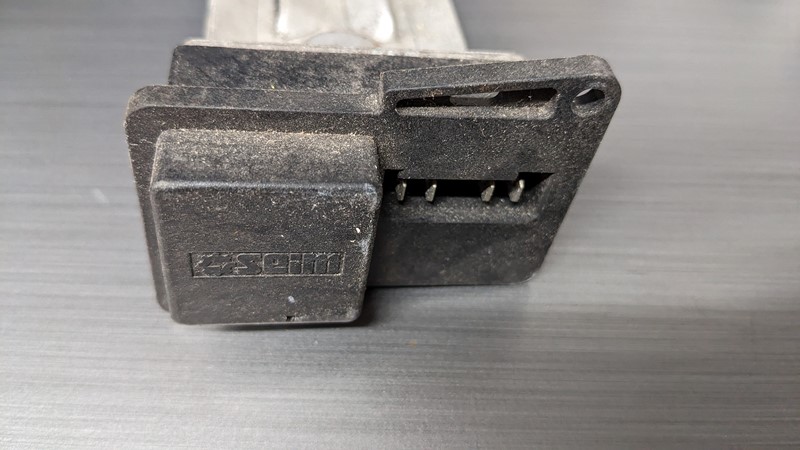
As I’ve discovered over the years, several of these blower controller boards exist. A number of manufacturers made them and feature a few different darlington pair units. In this case, the blower ended up with a SEIM brand board.
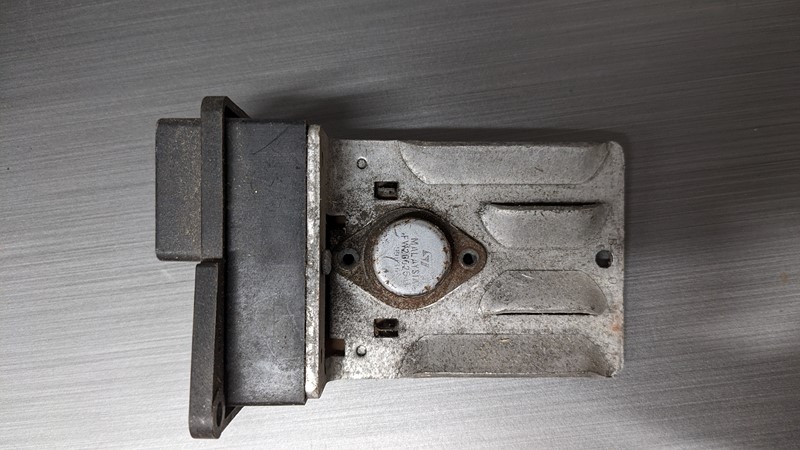
The SEIM board features a FW26625A1 Darlington Pair from ST Micro, in a TO-3 package.

Hopefully, evident in this picture is a central contact on the bottom of the Darlington pair. The connection between the PCM and the contact is a sprung metal clip. This connection often corrodes and reduces the power to the blower motor.

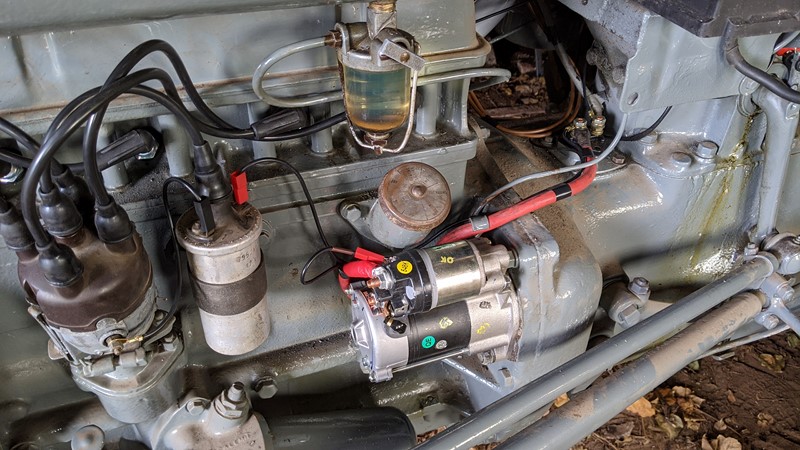
Before fully installing the blower motor, the entire system is connected and checked for function. In this case, I’m happy that the motor, control board and the control knob in the cabin are all working. The scroll casing can be clipped back together, and the blower unit can be re-installed.
The working blower can now be bolted into the car, giving life to the cabin blower system for the first time in a long while. This is proven when it gets turned on, and I get a blast of filth to the face!
Replacement Bonnet Hinge
The original bonnet hinge still hinges but is not happy and needs restoration. I usually find the BX hinges bind up. This is not a surprise as the hinge sits in the damp scuttle and is seldom used. This is what had happened to the nearside hinge.
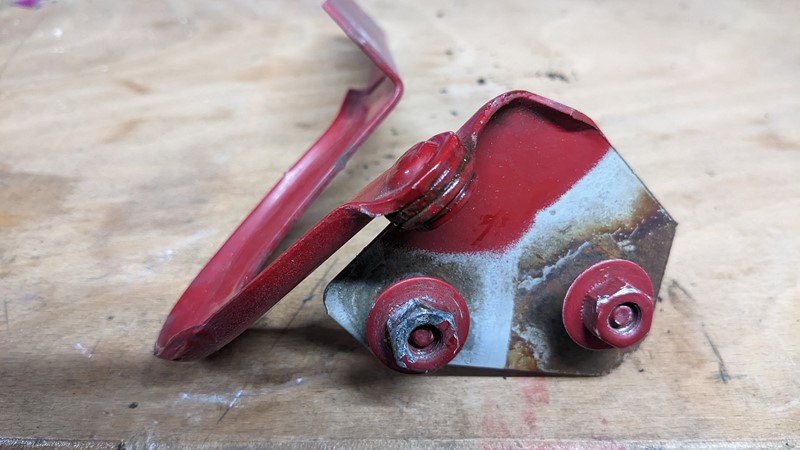
However, the offside hinge has gone floppy. I’ve struggled to show in the picture above, but there is a bearing material between the metal sections. In this case, the material has warn out and the lack of bearing makes this hinge super floppy.
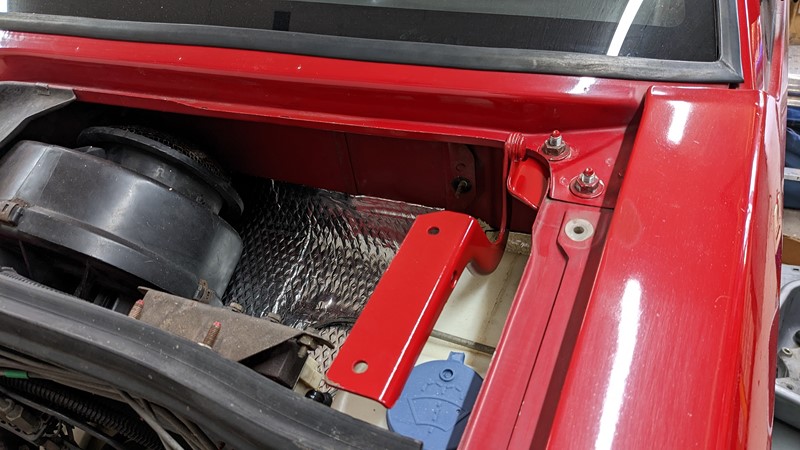
Arguably, this shouldn’t matter to the bonnet opening operation, but I’m not happy to leave the hinge rattling around. Once again, Doc comes to the rescue, and he posts me up a functional white hinge. The replacement is quickly painted red and installed into the scuttle.
Water Shredder Trim
There is one last bit of trim to fit the water shredder. This trim stops rainwater from dropping directly onto the wiper motor and its mechanism. It has quite an important function for such a minor piece of plastic.
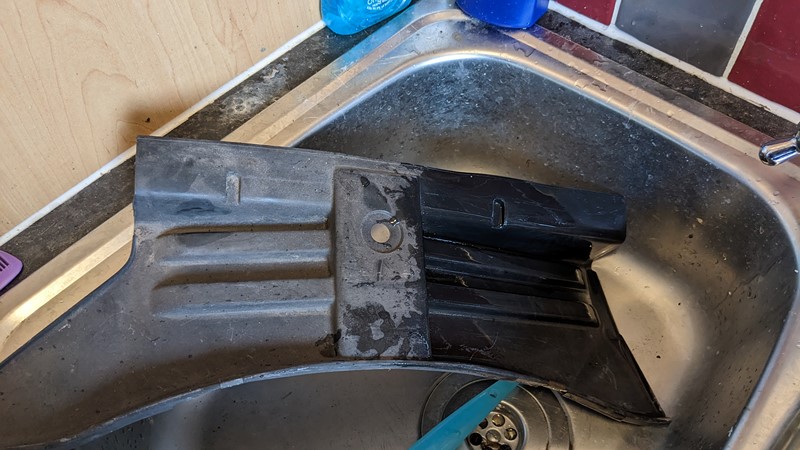
After years of storage, the build-up of filth is not a big surprise. A quick trip to the kitchen sink, and a date with a scrubbing brush beckons. The result is acceptable, although the plastic is showing its age with white filler showing through.
In the next episode
We will leave the XPO adventure here for now. The sprint has very much turned into a marathon, and the next episode is no exception. Moving from body work to focus on the electrics, and they are bad. Really bad!
Until next time
M
NEXT – Eps34 Electrics Part One
PREV – Eps31 Cleaning and Plating
Back to Citroen articles
Back to Automotive articles
Amazon Affiliate Links – Things used in this article
BXProject is using Amazon Affiliate Links. It’s a quick way to show you what I have used in this article.
“As an Amazon Associate, I [may] earn from qualifying purchases.”
Since January 2024, Amazon has blocked embedding images, but I think the links are still valuable.

[…] NEXT – Eps32 Tackling the ScuttlePREV – Eps30 Steeing Rack Boots […]