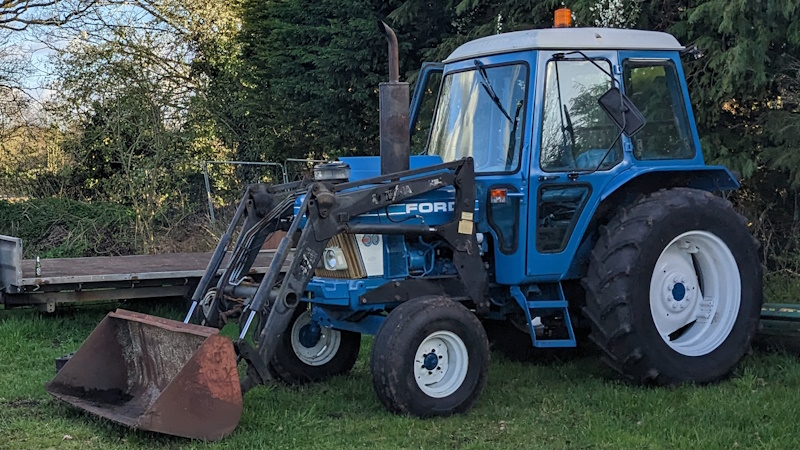
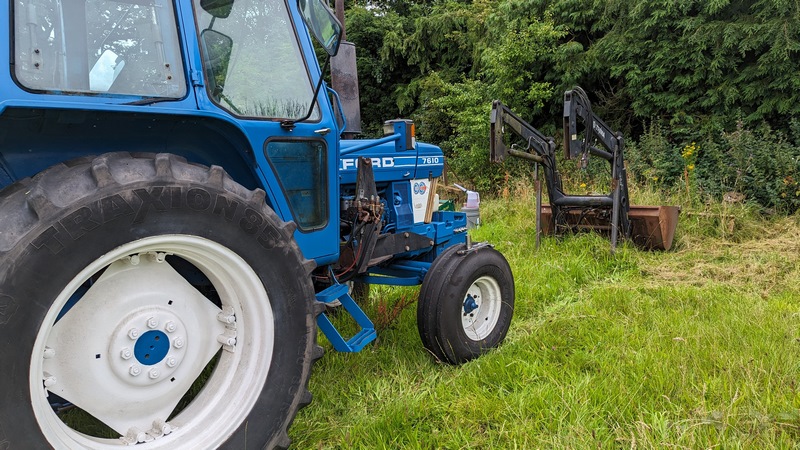
At some point in every tractor loader’s life, it needs to take a little rest and be outstanding in the field. Earlier this summer, the Trima 1420 Loader needed to come off the tractor before the Kelsall Steam Rally. After the ‘fun’ of getting the structure into the air, when I came to fit the loader onto the tractor, I wanted a quicker way to get the loader on and off. This meant I would need some Trima 1420 loader legs.
Genuine Trima 1420 Loader Legs
According to the infinitely useful TractorGearbox website, the Trima 1420 loader weighs 320 kilograms (without the bucket). I can well believe this, having tried to lift the damn thing at the start of the year. Yes, it was easy enough to slide around with a long bar, but picking the thing up was not happening!
Since at least the 80’s, tractor loaders were designed to come off the tractor with relative ease. The theory is simple. First, place some legs forward of the tractor brackets. Then, tip the bucket. The whole mechanism should lift out of the tractor bracket. Basic geometry, with the weight of the bucket doing much of the work.
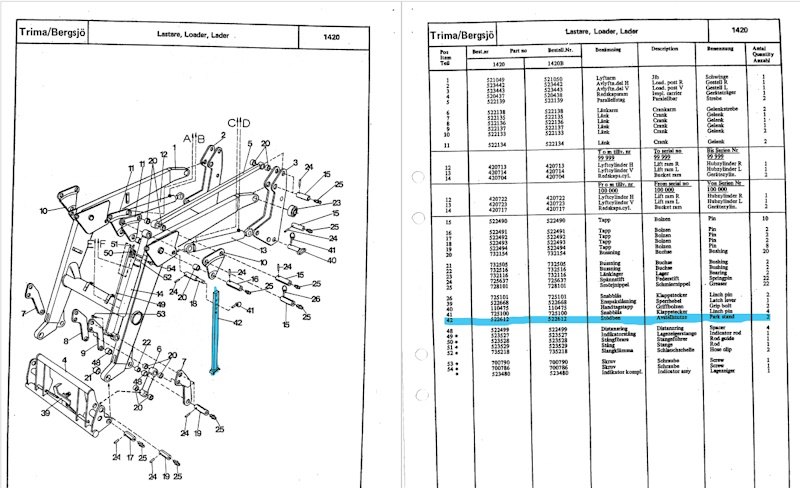
Despite having the part manual and the part number, tracking down genuine Trima legs had proved impossible. I did, however, find images of some homemade ones, which seemed easy enough to reproduce. Better still, I even had the steel in stock!
Getting the dimensions right
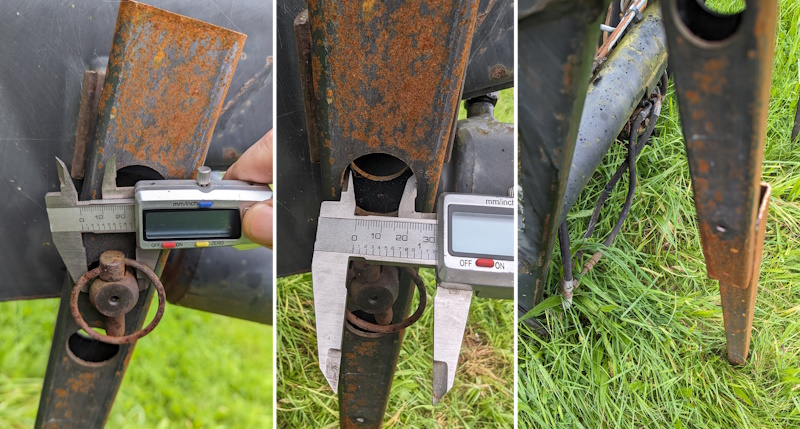
One of the biggest challenges I had with making Trima 1420 loader legs was how high to make them. On either side of the loader is a pin and bracket for setting the legs onto, so I knew where the legs would land. But this did not tell me how high the legs needed to be. The bracket was just over 50mm wide, which was convenient given the amount of 2″ box section I keep in stock!
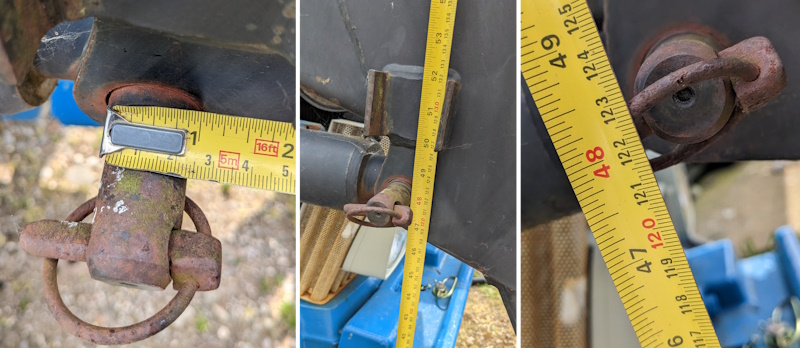
With the bucket mounted to the loader, I set the bucket to the floor in the ‘flat’ position on a reasonably level piece of ground. I could then measure from the floor up to the height of the pin. This worked out to be about 1200mm. I’m guessing that this is not an accident since everything else on the loader is metric. I took this as the lowest I would want the loader leg holes.
At the same time, I measured the diameter of the pin, although, as we will see, this was quite a waste of time!
Cutting and welding the loader legs
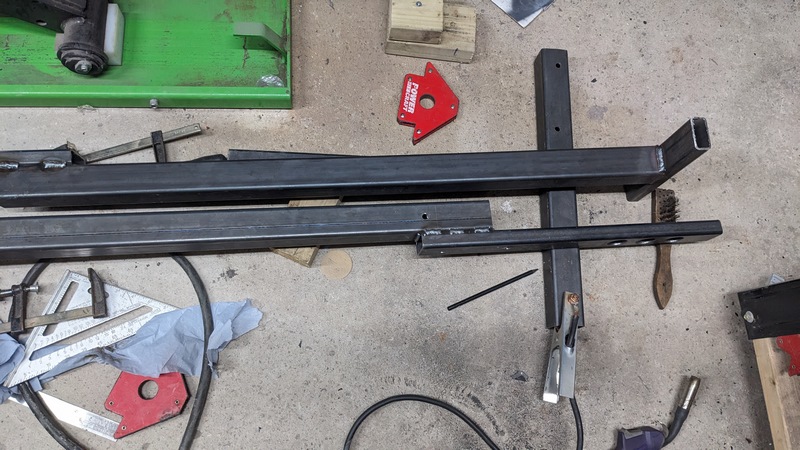
With the depth from the loader lynchpin to the loader body being about 40mm, I couldn’t use a single piece of 50x50mm box section for the whole leg. This was rather convenient, as I had a couple of 1m lengths of 50x50mm box and a couple of 1m lengths of 25x50mm box. Just about perfect!
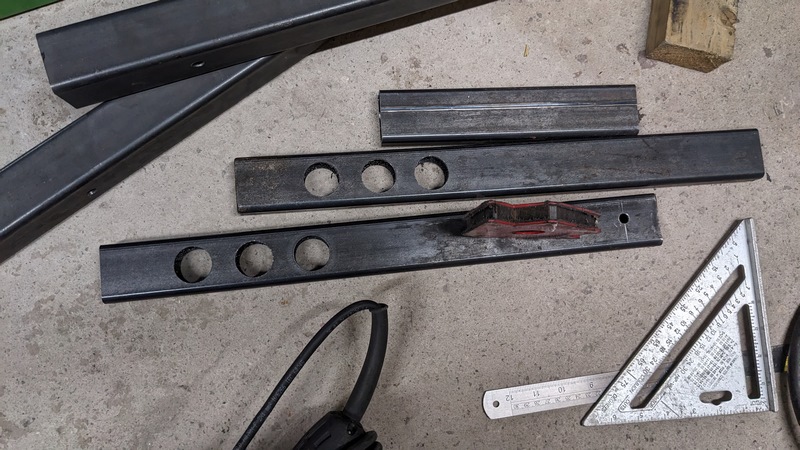
To make the holes, I even treated myself to a new hole saw from the Bosch Powerchange range. What a wonderful thing to have compared to some of the well-worn 10-year-old no named hole saws I’ve been struggling with. After sawing through the holes, the metal stock was cut to length.
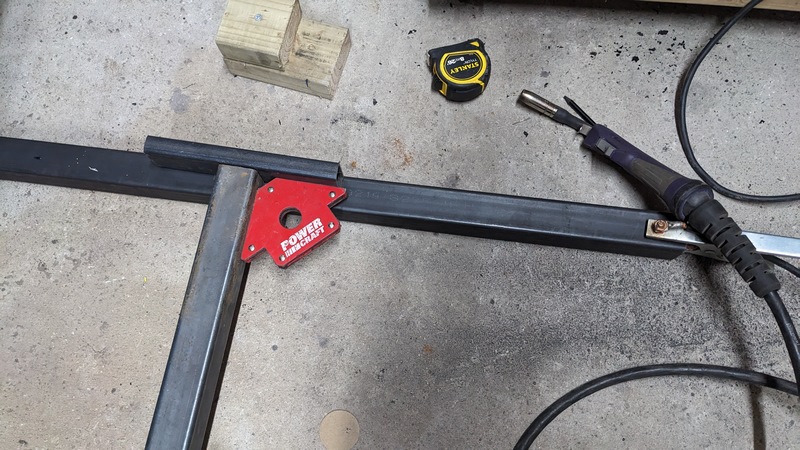
I’ve no idea why I started with the feet, but some 250mm 25x50mm box section offcuts worked just perfectly. I used some 50×50 box sections to keep everything level and a quick ground plane for the welder. Tacked and seamed on all sides, and the feet were attached.
Once the feet were attached, I could set the centre of the lowest hole at previously measured 1200mm. The height was set by adjusting the overlap between the 50×50 box and the 25×50 box. The overlap allowed me to get a level of precision with the leg length that was completely unnecessary but satisfying.
Using the homemade Trima 1420 loader legs.
Back out to the field, and using the legs was relatively straightforward. With the bucket in the level position, the legs were fitted to either side of the loader. The pins that hold the loader body to the tractor brackets were forcibly removed.
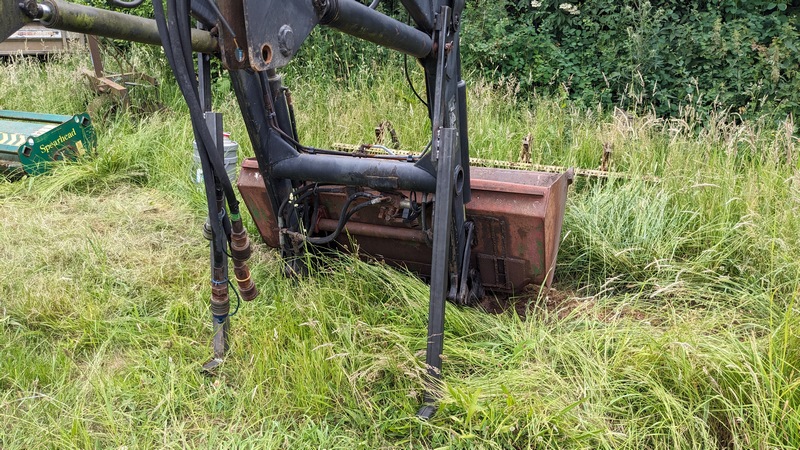
When the bucket was tipped up, the loader pivoted on the legs and lifted out of the tractor brackets. Once the brackets were clear of the loader, the hydraulics could be uncoupled. Then, the tractor could be reversed out from between the loader arms. The total time taken for removal was about 30 minutes. While this wasn’t my first time putting a loader on legs, it was my first time on this tractor with this Trima 1420 loader.
Many things would have made the process easier. Level ground, solid ground, and tipping the bucket down before starting. Tipping the bucket forward pushes the arms up. This would have allowed the top hole of the loader legs to be used. In turn, this would have allowed more clearance when bringing the tractor back in!
Refitting is the opposite of removal.
After two months without the loader on the tractor, we needed it off its legs. While the loader was off, I sourced some weights for the front to allow the flail mower to be used. However, we needed to move some bulk bags, so the loader was returned to duty. I was on my own for reloading, so few pictures were taken, but it was a relatively straightforward process.
Drive the tractor between the legs and hook up the the hydraulics. Tip the bucket and drop the loader back onto the tractor brackets. Tip the bucket more to lift the loader legs off the floor and disconnect. Well, that is what should have happened. The loader does not fit with the weights in place, which I had completely forgotten about!
Lessons learned
As well as taking the weights off before attaching the loader, a few other lessons were learned. I mentioned before that I should have used the top hole on the loader legs. This would have given more clearance for clearing the tractor brackets. Two months on grass, and the loader legs did sink a little into the ground. A little more height would have avoided the need for ramming speed!
Remember that lovely new Bosch hole saw I bought? Well, evidently I forgot the pin size when I drilled the holes. What should have been 25mm somehow ended up at 30mm! Oops. Fortunately, some 30mm OD 2mm wall thickness tube has arrived, so I can weld in a sleeve. Then, I can pretend it was meant to be that way from the beginning. The sleeve will also make the legs more stable!
That reminds me. I welded all four sides of the cross piece of the box section that makes up the feet. Apparently, my welding is better than I thought, as the 50×50 box section is filled with rain. While it will be easy enough to add some drain holes, I do wish I had thought about it earlier.
Home-made Trima 1420 loader legs are a success.
I recognise this is a really simple farm project that most readers of the article could tackle. However, I’m still pleased with how well the loader legs have come out. With a little finessing, I’ll be able to get them on and off a lot quicker. More critically, the height of the holes seems to have been just about right, which is a huge relief.
I do wonder if the feet should be turned through 90 degrees. I’ve welded them in the orientation the parts catalogue suggests. However, a turn through 90 degrees may help to prevent the floating loader from toppling. And perhaps a cross brace would help as well?
Until next time!
M
NEXT – Ford 7610 – Loader Hydraulic Pipes
PREV – Ford 7610 – Loader Bucket