
Hurrah! Finally, the rotten A-pillar is all welded up, and the inner wing has been repaired. Unfortunately, while this episode of the story starts in the middle of May 2022, it doesn’t finish until late July. For three cans of paint and a tube of sealant, that’s an incredibly long time. But hopefully, I can find some excuses why painting the A-pillar has taken me so long!
First coat, etch and prime.
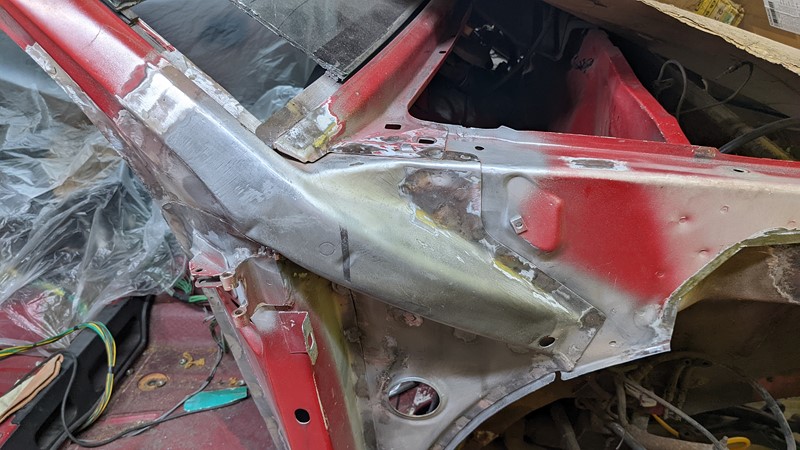
The final stage in Episode 23 was to grind back all the welds around the replacement A-pillar panel. This exposed a fair bit of bare metal that needs to be treated before painting.
I’m always nervous about what products I use when painting. I generally try to stay with a single system, and for convenience reasons, that is usually the U-pol system. Personally, I prefer a multi-stage approach to get the best top layer, but I wonder if a 2k epoxy primer would significantly speed things up.
The first step is lightly rubbing down all the surfaces to create a key for the paint. Then I clean the surfaces with a panel wipe. Nope, I don’t really know what a panel wipe is, but it does an excellent job of removing grease and contaminants. Once the panels are clean, masking tape and paper are carefully applied. Then at least two layers of Upol power can etch primer are applied.
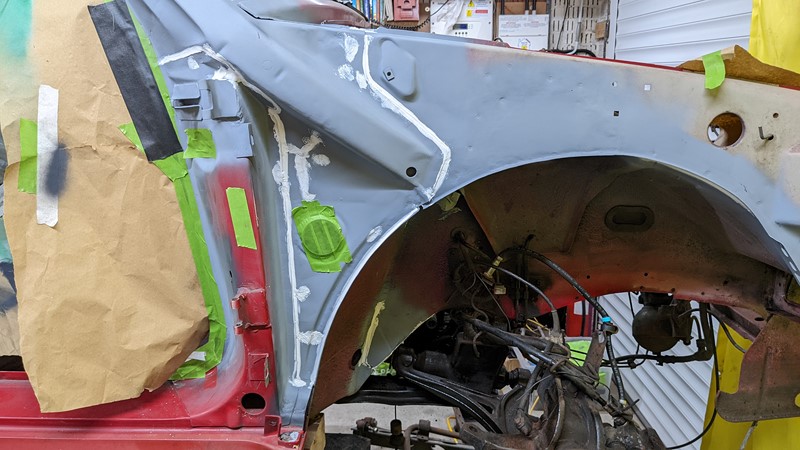
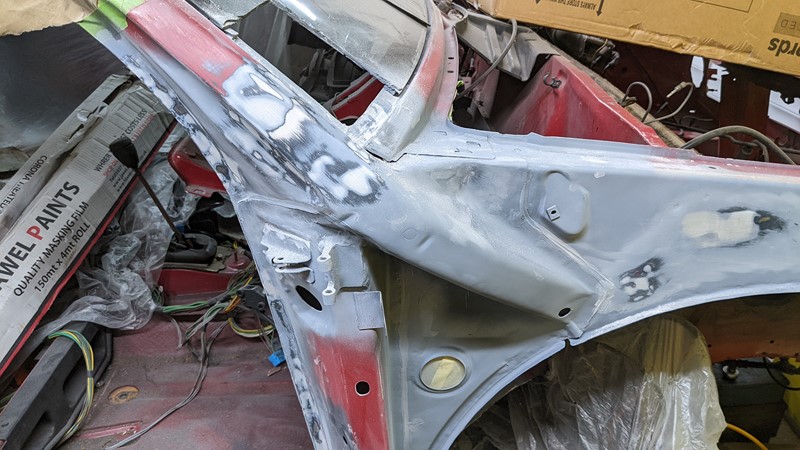
The etch primer is used “for priming bare metal surfaces to promote adhesion of paint and prevent the metal surface from rusting”, which is just what I need. Now, officially I can apply the top coat directly to the etch primer, but I know there will be defects in the existing surface. So the solution is a few layers of Upol high-build primer to build the surface up and allow some rubbing back, which we will come to.

Pretty soon, the whole outside is primed and ready for the next step.
Preparing the cabin side of the repair
The process is much the same on the inside of the repair. However, on this side of the panel, there is still some cleaning up of the welds to finish off.
It’s good to see that plenty of penetration has been achieved in the welds. Before painting, the welds are ground back with the finger sander. Next, a wire brush is employed to remove the worst of the build-up, and then everything is rubbed back with 120 grit.
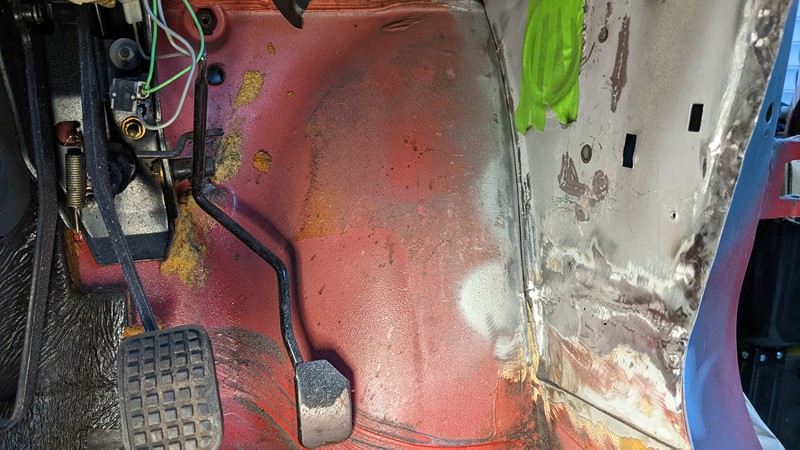
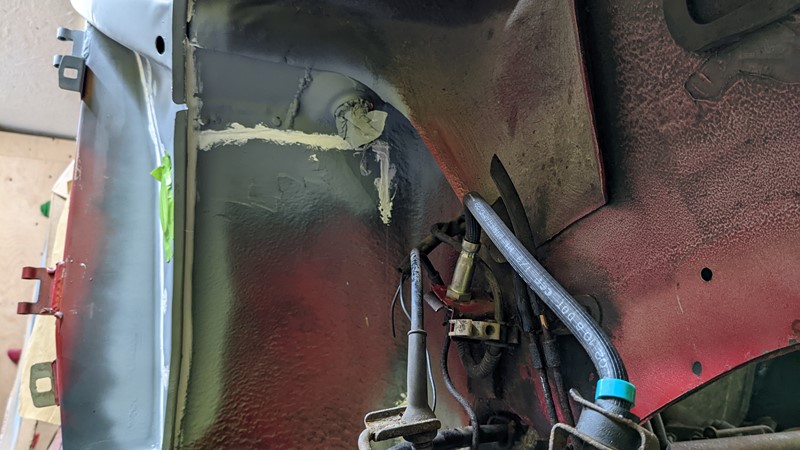
Before painting, the panel looked a bit rough, with a mix of bare metal and old panel sealer and weld-through primer. However, in no time at all, the panel will be looking ship shape.
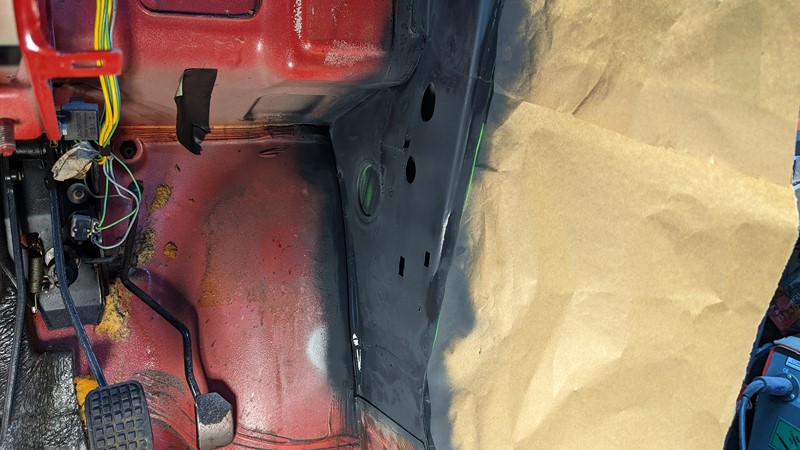
The first coat of etch primer goes on, and the panel quickly looks less of a patchwork quilt. Somewhere around now, the welding inside the a-pillar is also treated. Amazingly, I manage to get the finger sander onto the back of some of the welds. While not really needed, reducing the rise may save some paint in the long term, maybe.
Door Frame Repair
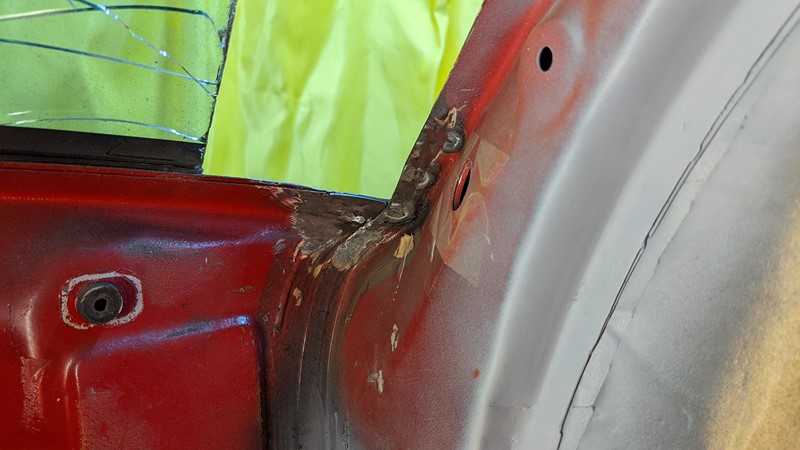
Now into June, and while rubbing down the original paint a little, I discovered yet more rust! I’m fairly sure rust in this area starts as moisture trapped inside the inner and outer A-pillar. I do question the logic of running the run roof drain into this area.
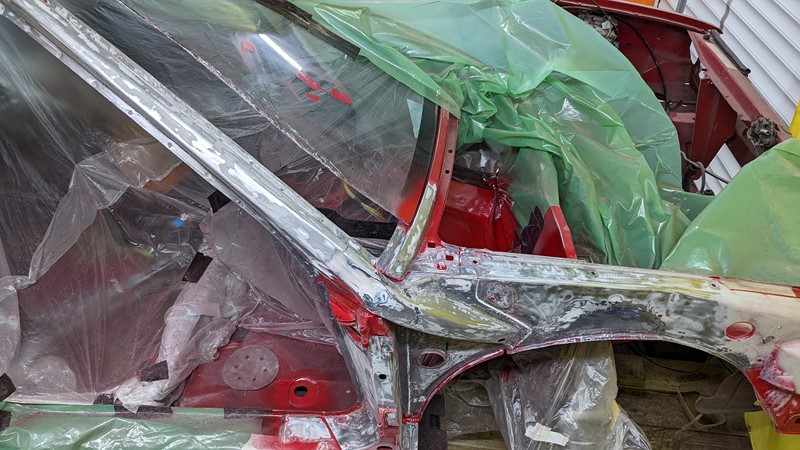
One of the sunroof drain tubes ejects into this area, so it usually stays wet in the UK. Once the rot is removed, a little panel sealer will solve the problem forever. But first, cutting back. It takes quite a lot of grinding until the rust-free metal is found.
So the welder is rolled back out to patch up the removed material. It doesn’t look so pretty right now, but the paint will tidy up the appearance, and once the rubber door seal is on, it won’t be seen again!
Seam Sealer
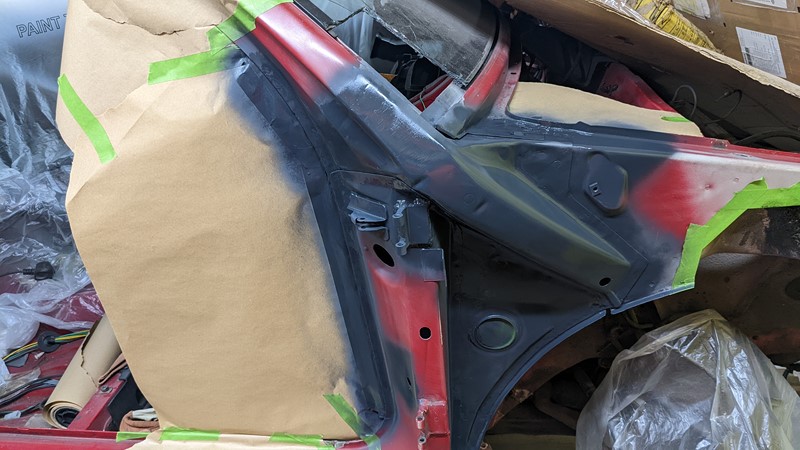
The next step in the painting is to seal all the seams. The idea is to stop any moisture from building between the panels. Typically, this is where the rust starts. However, I need to take care not to over-seal the panels and trap moisture inside open sections.
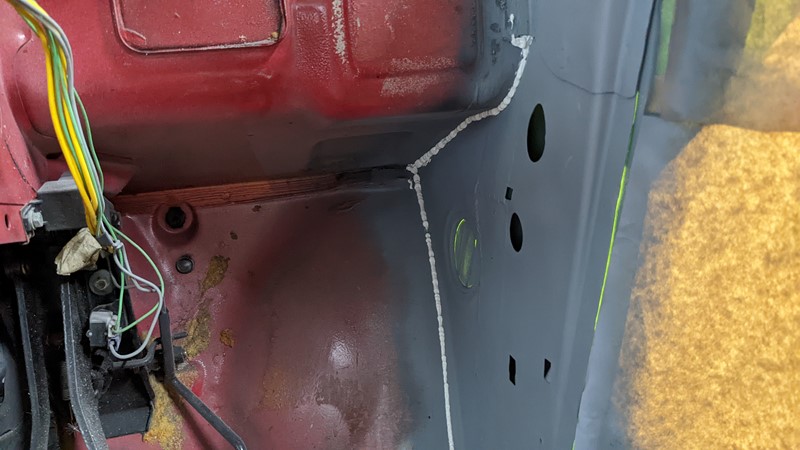
Continuing the Upol theme, I’m using Tiger Seal to take care of the gaps. This polyurethane sealant and adhesive sticks incredibly well to just about everything. While it’s overkill for sealing gaps around these panels, it works very, very well. Better still, it is directly over-paintable.
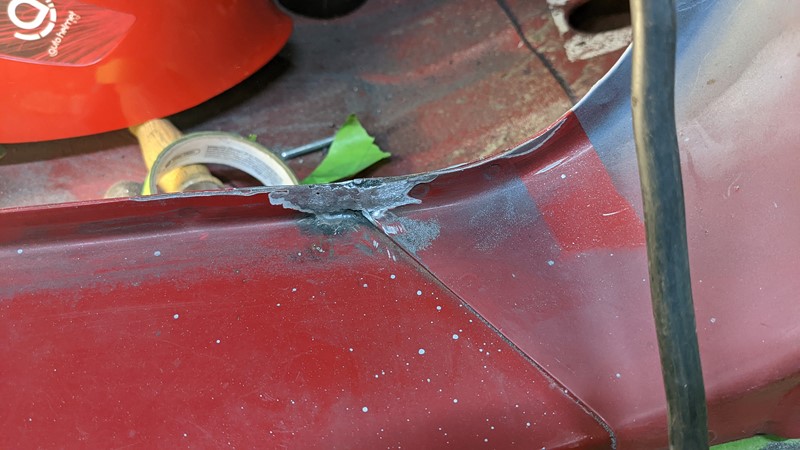
The outer side of the repair gets the same treatment. Even some of the welds get a little going over where they are less than perfectly flat to try and stop moisture trapping on the sticky-out bits. If you look carefully, you might even notice the drain at the bottom of the A-pillar is not sealed!
The early (piss poor) welding in the bottom of the scuttle also gets a good going over. I do wonder If I should have done some grinding back here beforehand. Oh well. Too late now.
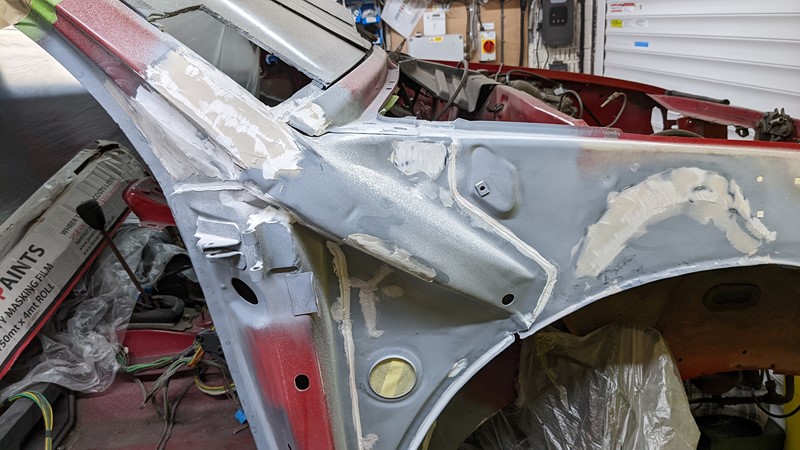
Filler for Perfection
High-build etching primer alone is not enough to fill some of the blemishes in the A-pillar. The divets and dents in the metal come from multiple sources. Some defects are from removing the donor panel way back at Albert Looms. Others are a result of over and under-welding.

While the majority of these defects won’t be seen, those on the A-pillar will be obvious once the paint goes on. So the solution is to build up with some ISOPON P38 two-part filler. Mix, apply and wait for it to set. And while waiting, muse over ISOPON being a deliberate anagram of poison!
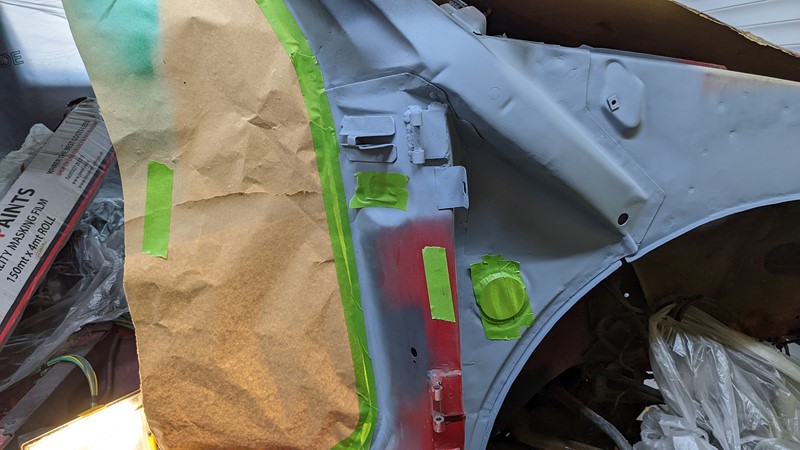
A few days later and the real hard work begins. First, the highest parts of the filler are reduced. The air grinder is pressed into action, first with an 80-grit sanding pad. Then a slightly finer 120-grit sanding pad reduces the filler as far as I dare by machine.
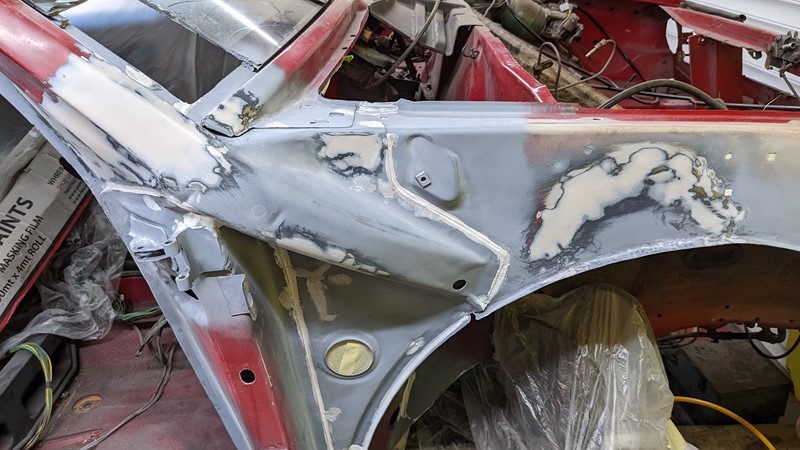
Finally, the perfection of the surface comes by hand. Slowly reducing from a 200-grit sanding pad down to about 1000-grit. It’s worth pointing out that the dust creation is huge, so I have a room air filter running and a dust mask.
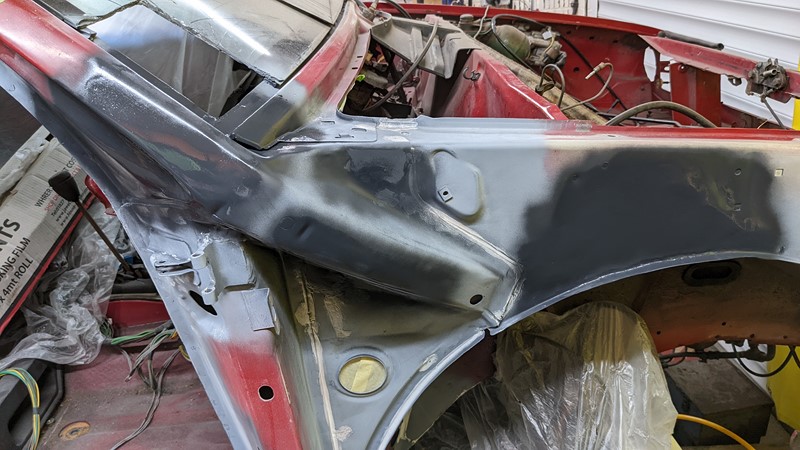
The first application and sanding back of the filler means rubbing back to the metal in places. To keep the metal protected, when I’m done sanding, the area gets a good coating of etch primer. Once that’s dried, another layer of high-build primer goes on.
The second round of filler
Although the worst of the micro dents and surface scratches are removed with the first pass, I’m still not happy with the finish. So around we go again. I’m definitely overdoing it, but I won’t be happy with the finish if I paint it now.
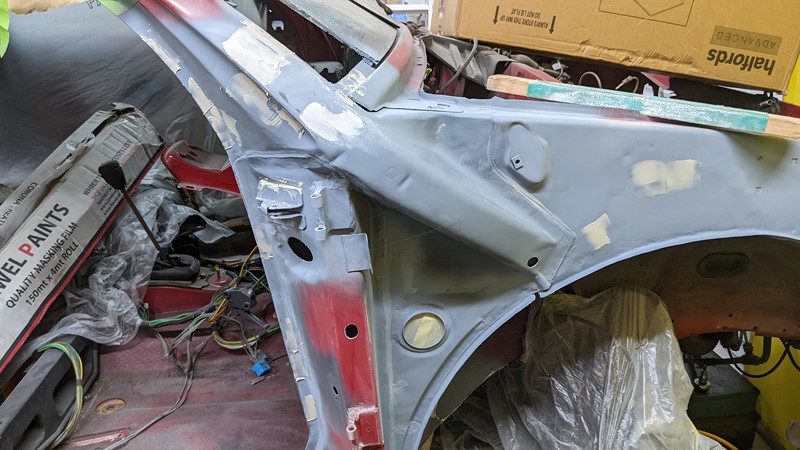
The second time around requires a lot less filler, fortunately. I’m not sure how much more sanding my shoulders can take. Some of the areas I’m trying to improve will sit under door seals or the outer wing, never to be seen again. However, I take the stand that all practice is good practice!
One of the things I love about this process is seeing the layers of primer and filler appear as the surface gets closer to perfection. It looks almost like a gobstopper by the time I’m finished. I’m now pretty happy that this is as good as I can get the base before painting the A-pillar.
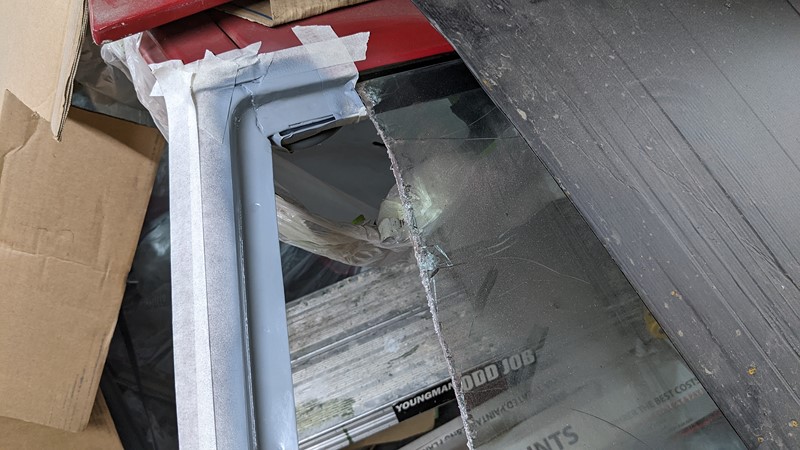
Tackling the windscreen
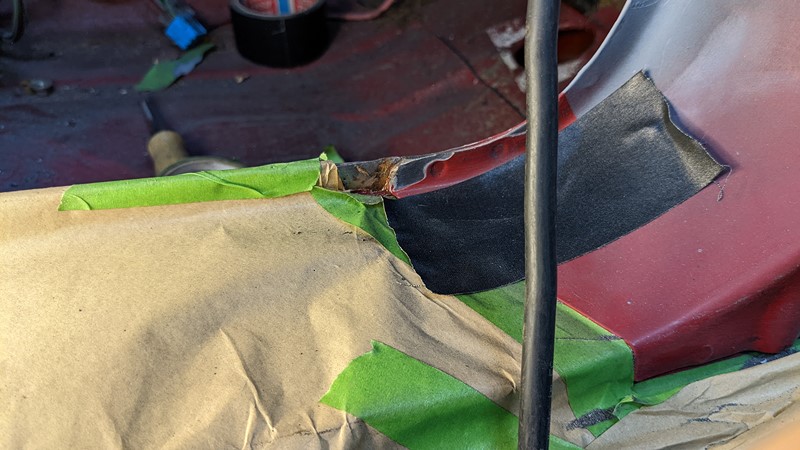
Before I can finally start painting the A-pillar, I realise there is one more place I should tackle. The top corners of the windscreen are prone to rusting. I’m sure they fail here for two key reasons. Firstly the moisture trap caused by multiple panels converging (notice a theme). Secondly, for the amount of twist in the body causes a lot of flex in the corners of the screen. Rust in this area is a given on BX 4x4s.
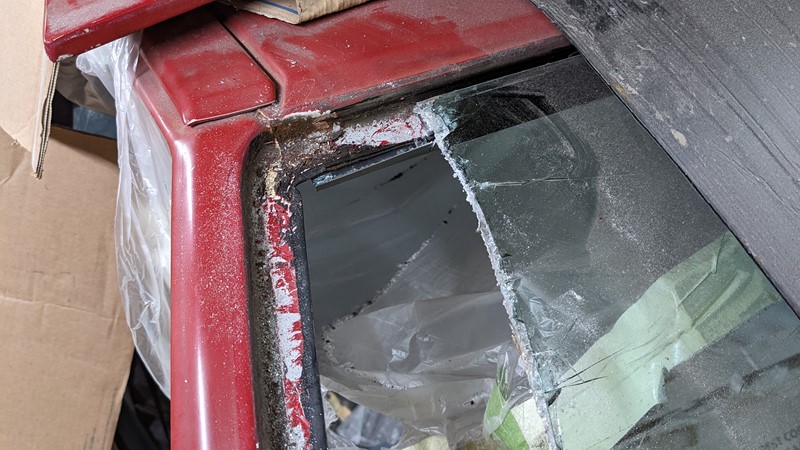
The windscreen is trimmed back with an angle grinder. No, really. Terrible idea, but it made me smile as the glass turned to liquid and then fired off around the garage.
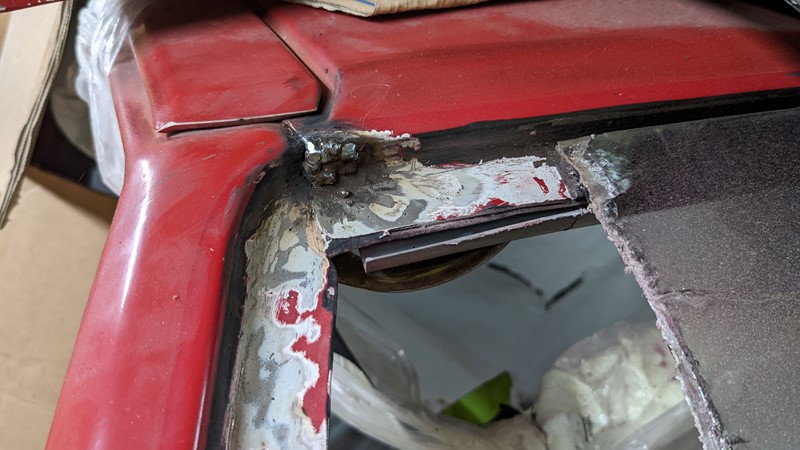
The metal isn’t too bad here. I’ve caught it just in time. However, for the longevity of the repair, the metal is carefully built back up with a hot metal gun.
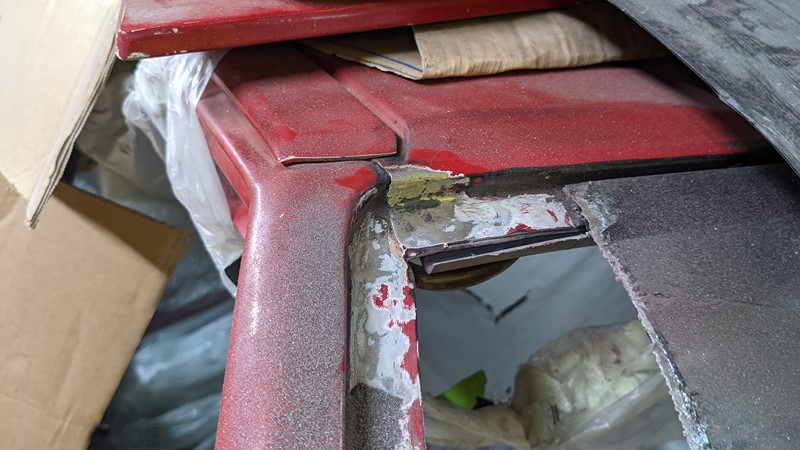
Then, once the weld has cooled, it is ground back to flush. The area of the repair should sit under the windscreen seal once it goes back in. But that won’t excuse it from painting.
I’ll skip all the painting stages. They are much the same as the rest of the car. Etch primer, high build primer, sand, filler, sand, primer, sand, so much dust, I can’t cope. When will it end?
Finally, painting the A-pillar
After all the welding and priming, and sanding, we reach July 22nd 2022, and finally, painting can begin. For the first time, I’m going to use a 2K acrylic, a pretty dangerous substance that I don’t want to breathe in.
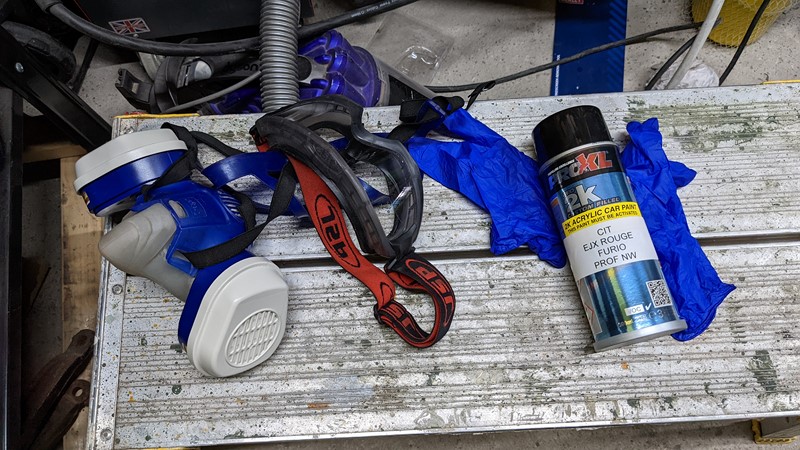
I’m breaking out all my PPE, decent goggles, multiple layers of gloves and, of course, a close-fitting mask with filters designed specifically for spray paint molecule size. I’ve actually put a brand new set of filters on for this job. I’m definitely taking this seriously!
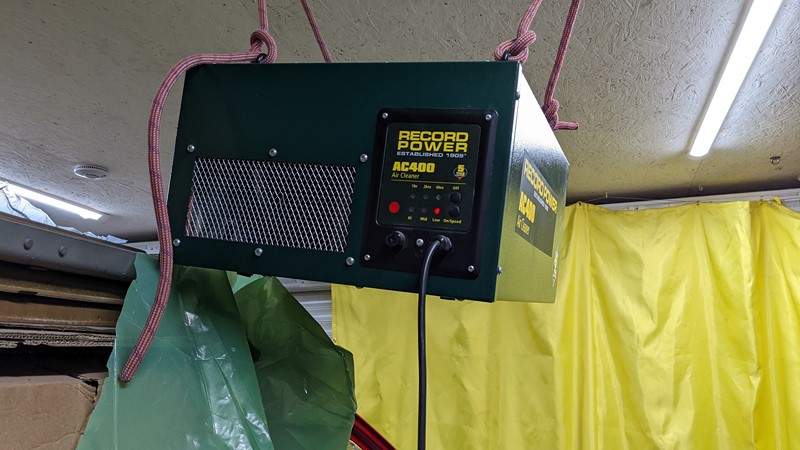
And it’s not just the air I’m breathing that gets filtered. The woodshop air filter does a really good job of getting the dust out of the air and stops it from dropping back into the paint. The Record Power AC400 gets turned on a few hours before the final prep and painting starts.
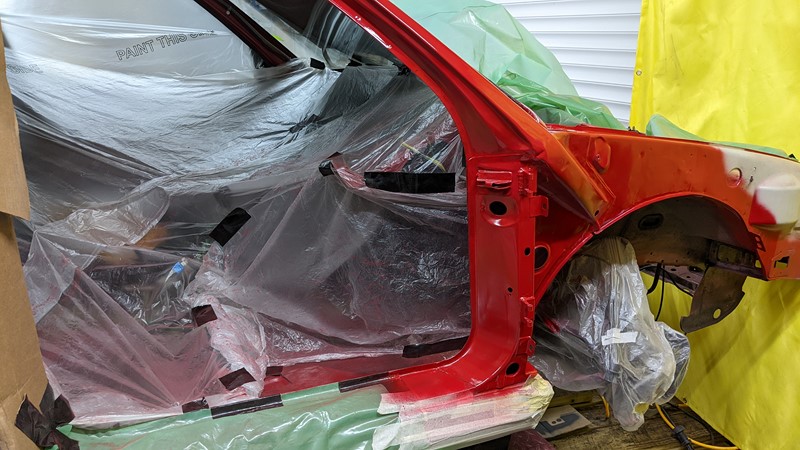
And after all that waiting, the paint is finally sprayed. A single can manages to get two coats inside and out, including the scuttle. The finish is near perfect. A few spots need machine polishing back, but overall, the painting of the A-pillar is a complete success.
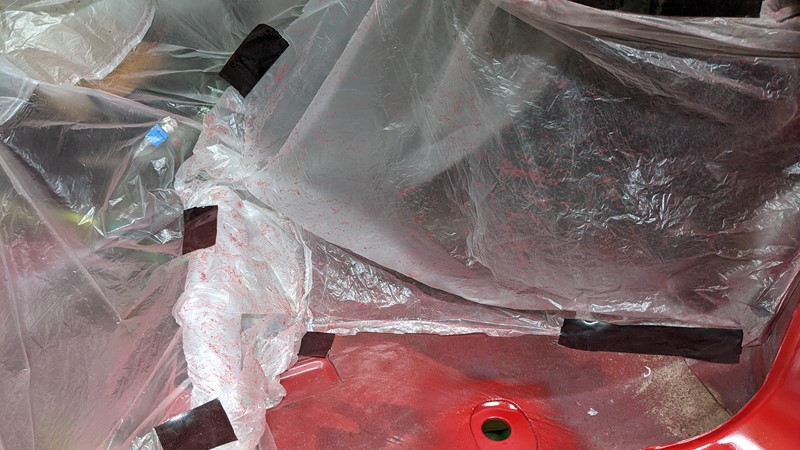
And if you think I was being over-cautious with the filtration, the red fallout on the sheet shows just how much paint bounces off the body and into the air.
How it started, how it’s going
The following day, I made a terrifying discovery. While looking for the drying times for the 2K acrylic paint, I found a YouTube video on releasing the activator in the can. The 2K paint is physically two separate fluids inside the can that must be mixed to start the curing process.
While I’d followed the instructions on the can exactly and even looked up the instructions on the manufacturer’s website, it was nothing like the video. So I went back out to the garage, repeated what I had seen on the YouTube video, and sure enough, I felt the activator canister in the can release.
This made it pretty clear that the paint I had sprayed had no activator in it and would never harden. And sure enough, a wipe with panel wipe the following day, and a great big red streak came off the car. I’ve had enough of these should-destroying moments to know the best thing to do is simply power through. So within 48 hours, the once perfectly laid paint is completely removed, and I’m back to square one.
M
NEXT – Eps26 – Unpainting the A-pillar
PREV – Eps24 – Wheel Arch Repair
Back to Citroen articles
Back to Automotive articles
Amazon Affiliate Links – Things used in this article
BXProject is using Amazon Affiliate Links. It’s a quick way to show you what I have used in this article.
“As an Amazon Associate, I [may] earn from qualifying purchases.”
Since January 2024, Amazon has blocked embedding images, but I think the links are still valuable.


OOOOOOOOOOOOOOOOOOOOOOOOOOH bugger.
Yeah. But at least I realised before progressing any further! Suffice to say, it’s now all painted again and looking pretty good. Just need to catch up with the episodes!